That dead bulb sitting in your junk drawer isn’t garbage — it’s a blank canvas with a built-in curve, a glossy finish, and a shape nothing else in your craft box can offer. Once you strip away the “it still works, right?” hesitation, a burned-out bulb becomes one of the most forgiving surfaces you can paint on: no edges to fight, no seams to hide, just smooth glass that rewards a steady hand and forgives a shaky one.
Below are 19 designs built for exactly that kind of low-stakes, high-payoff crafting. Each one leans on the bulb’s natural shape instead of fighting it, uses a short, repeatable materials list, and can realistically be finished in under an hour.
Before You Start
- Wash each bulb in warm soapy water and dry it completely.
- Wipe the glass with rubbing alcohol — this strips oils so your first coat doesn’t bead up or peel.
- Work in thin layers. Acrylic dries fast on glass, and two light coats beat one thick, drippy one.
- Seal with a clear varnish or Mod Podge once fully dry if the piece will be handled or displayed somewhere dusty.
1. Honeybee Buddy A round-bellied bee is one of the easiest “characters” to paint because the stripes do all the work.
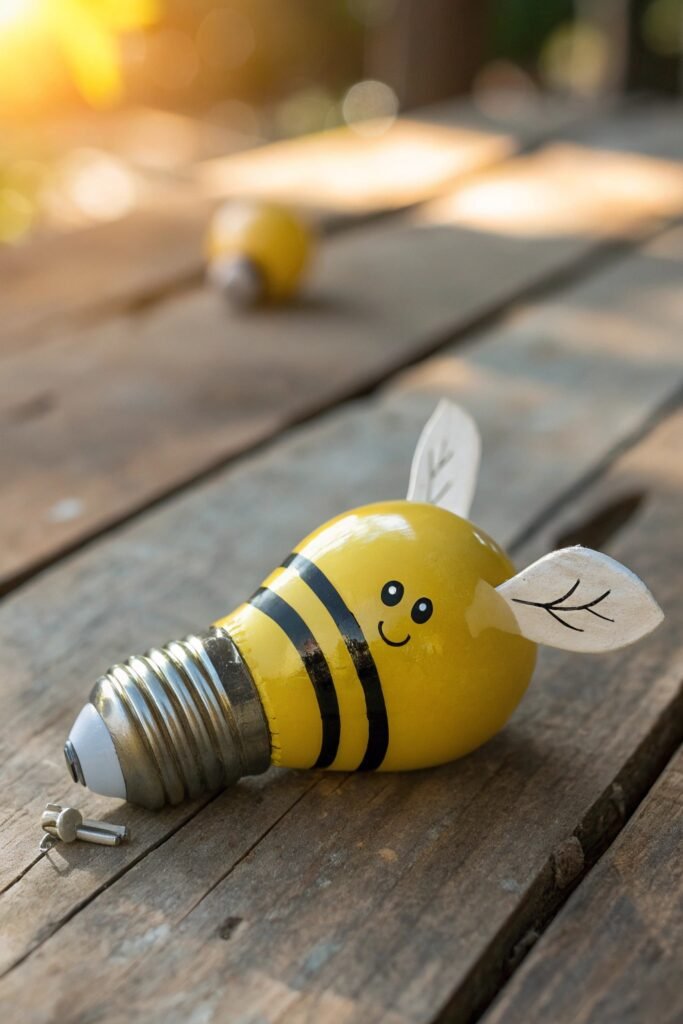
Materials: acrylic paint (yellow, black, white), fine brush, palette, optional sealer
Steps:
- Base the whole bulb in warm yellow and let it dry fully.
- Wrap three or four black bands around the widest part of the glass, following the curve.
- Paint two small teardrop-shaped white wings near the screw base.
- Dot on two black eyes and a small curved smile.
- Let dry completely, then seal if you’d like extra shine.
2. Berry Milkshake Two color blocks and a handful of berries make this one read as a drink without any fine detail work.
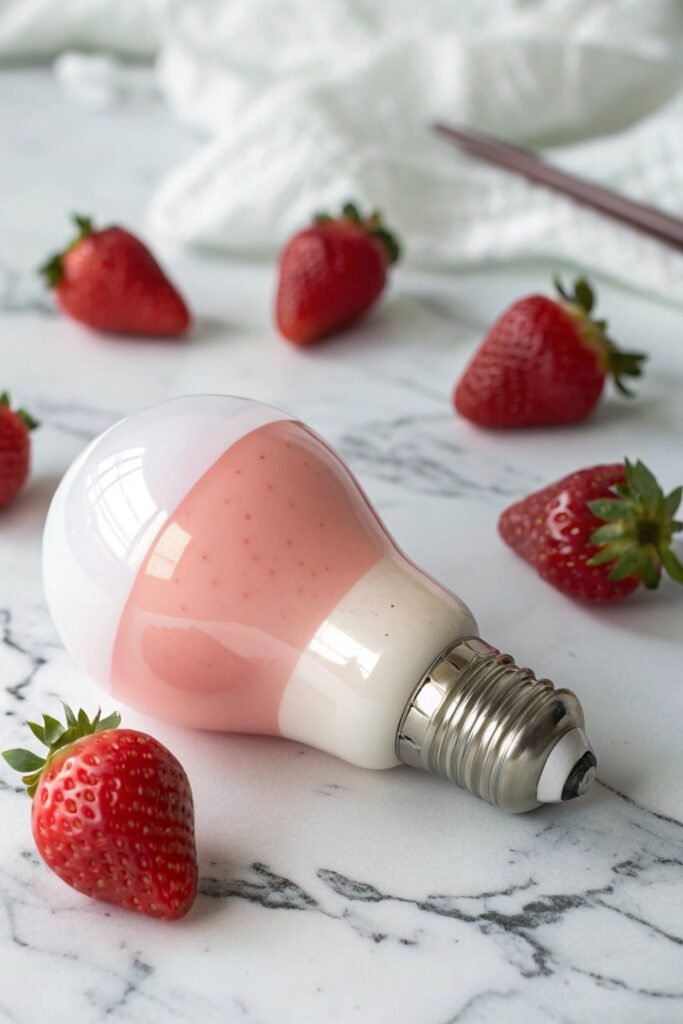
Materials: acrylic paint (pink, off-white, red, green), fine brush, palette, optional sealer
Steps:
- Paint the lower two-thirds of the bulb soft strawberry pink.
- Paint the upper third creamy off-white, blending the seam while both are still tacky.
- Let dry, then scatter a few small red strawberry shapes near the color transition.
- Add tiny black seed dots and small green leaf flecks to each strawberry.
- Dry fully and seal.
3. Pocket Cactus The screw base becomes the “pot,” so you only need to paint the glass body as the plant.
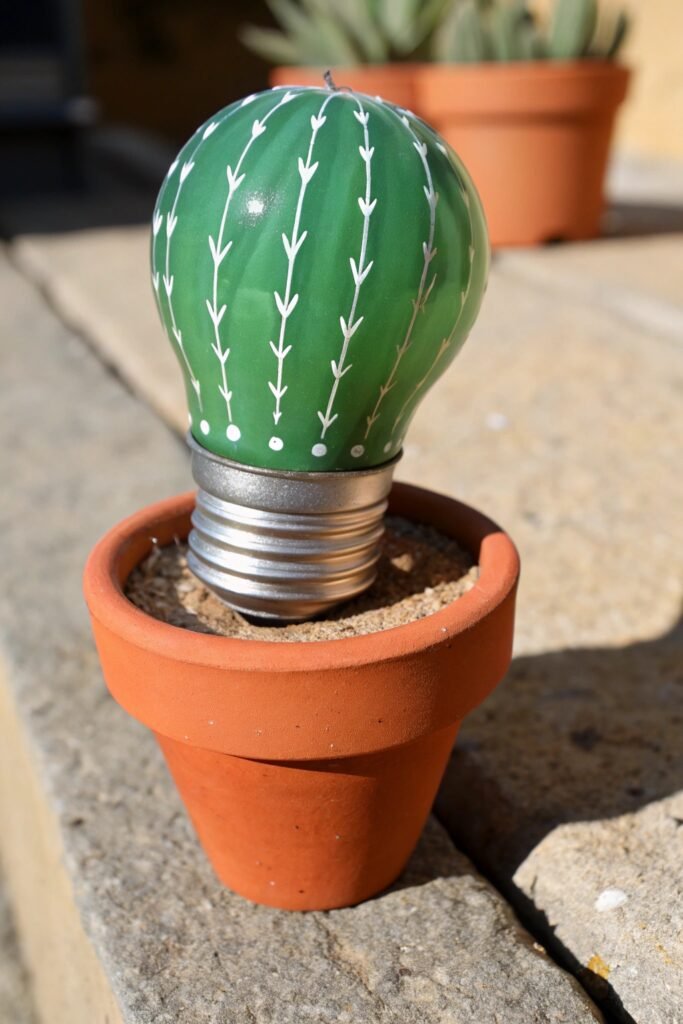
Materials: acrylic paint (terracotta, green, white), fine brush, palette, optional sealer
Steps:
- Paint the screw base terracotta for the pot and let it dry.
- Paint the glass body cactus green, using two coats for solid coverage.
- Add a few curved rib lines running down the length of the bulb.
- Add short white dash marks along the ribs for spines.
- Dry completely, seal, and set upright in an egg cup or tealight holder.
4. Sherbet Drip A loose, uneven “drip line” is more forgiving than a straight one, so don’t overthink the shape.
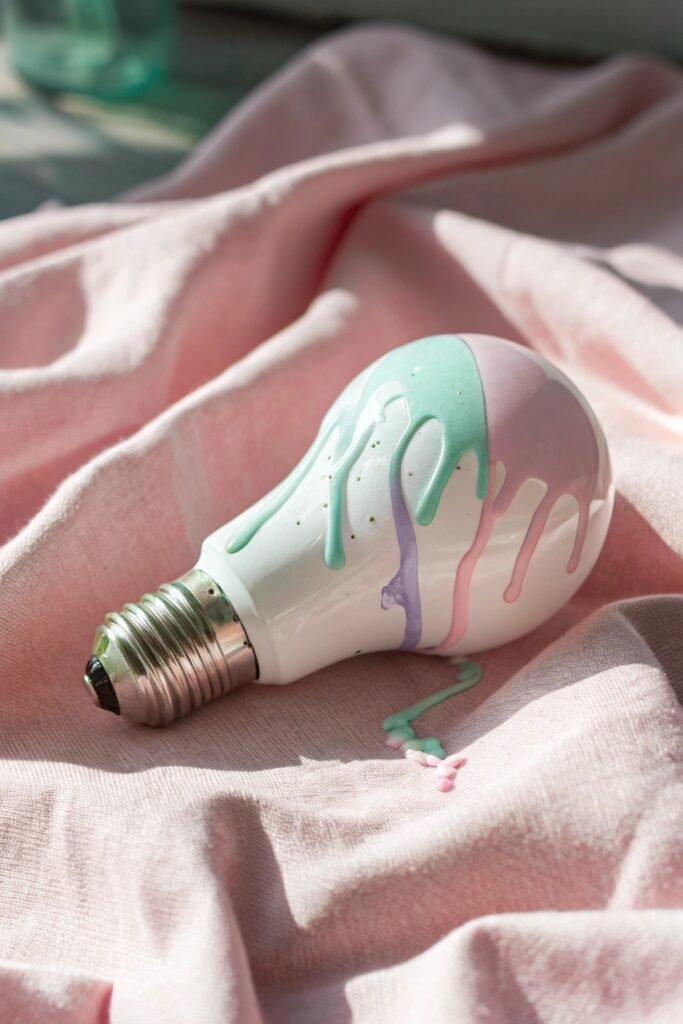
Materials: acrylic paint (white plus 3–4 pastel colors), fine brush, palette, optional sealer
Steps:
- Paint a white base coat over the entire bulb so pastels stay bright.
- Loosely sketch or paint an uneven line near the top of the bulb.
- Fill downward from that line with your first pastel color.
- Add two or three more pastel bands beneath it, overlapping each edge slightly while wet so they blend.
- Let dry fully, then seal.
5. Midnight Sky Globe The dark background hides brush wobbles, which makes this one of the most forgiving entries on the list.
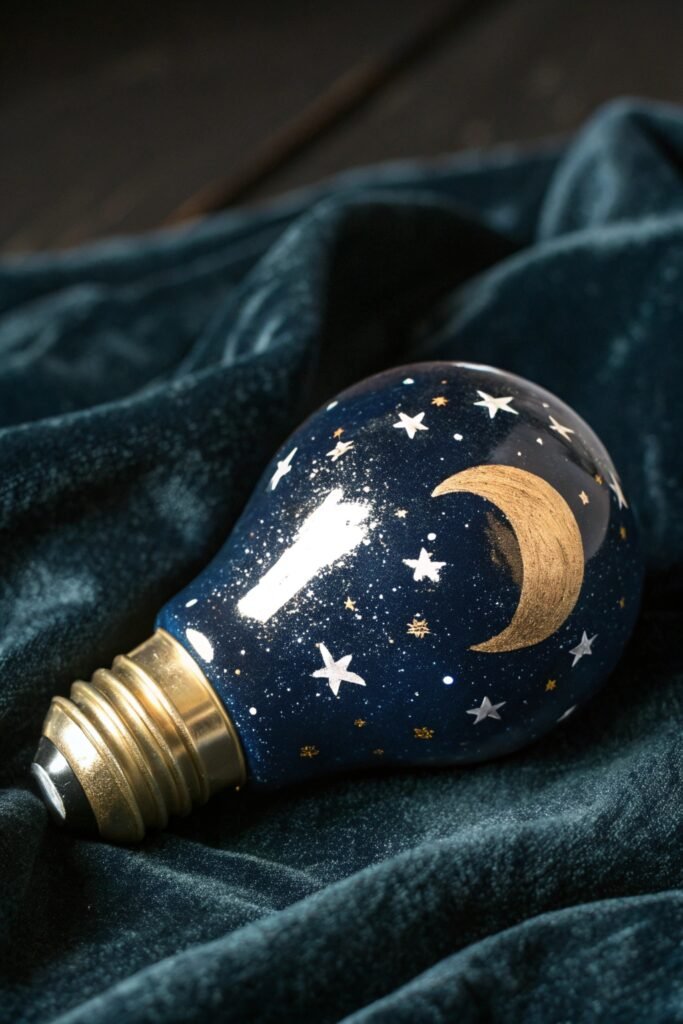
Materials: acrylic paint (navy or indigo, pale gold, white), fine brush, palette, optional sealer
Steps:
- Paint the whole bulb a deep navy or indigo base coat.
- Lightly sketch a crescent moon shape and fill it with pale gold.
- Dot on small stars scattered around the curve of the glass.
- Add a few brighter starbursts and tiny white speckles for texture.
- Dry completely and seal for a soft shine.
6. Watermelon Wedge Three color blocks, stacked like a real slice, then a scatter of seeds once dry.
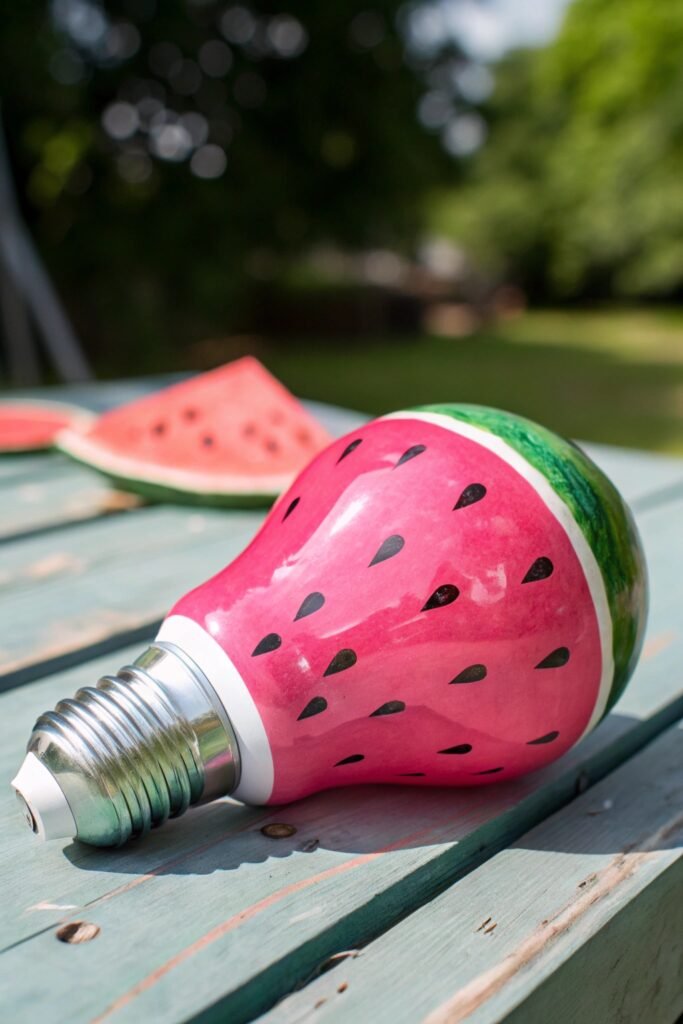
Materials: acrylic paint (pink, white, green, black), fine brush, palette, optional sealer
Steps:
- Paint the main body of the bulb watermelon pink; let dry and add a second coat.
- Paint a thin white band near the base.
- Paint a thicker green band directly under the white band.
- Once dry, dot on black teardrop seeds in a loose, scattered pattern.
- Let dry fully and seal.
7. Lavender Sprig This one reads as “hand-sketched,” so imperfection in the stems actually helps.
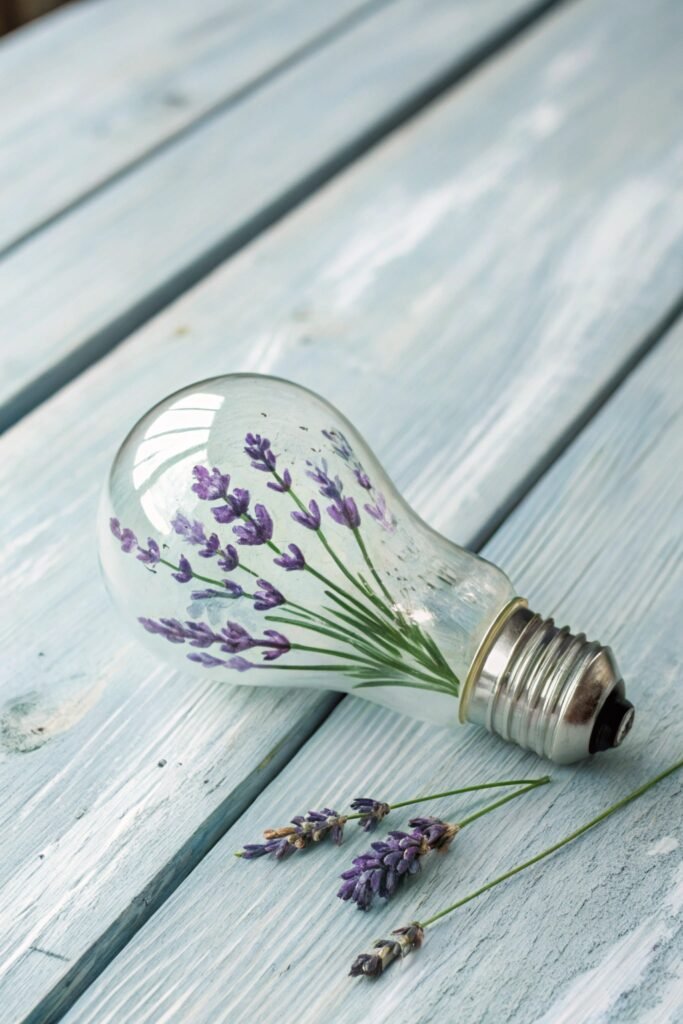
Materials: acrylic paint (pale blue-gray, green, purple), fine brush, palette, optional sealer
Steps:
- Paint a pale blue-gray background over the whole bulb.
- Paint thin green stems curving up and around the glass.
- Cluster small purple dabs at the top of each stem for lavender blooms.
- Layer a few darker purple dabs on top for depth.
- Dry and seal, then display upright like a mini vase.
8. Panda Pal Rounded shapes and a symmetrical face come together fast on the curve of the glass.
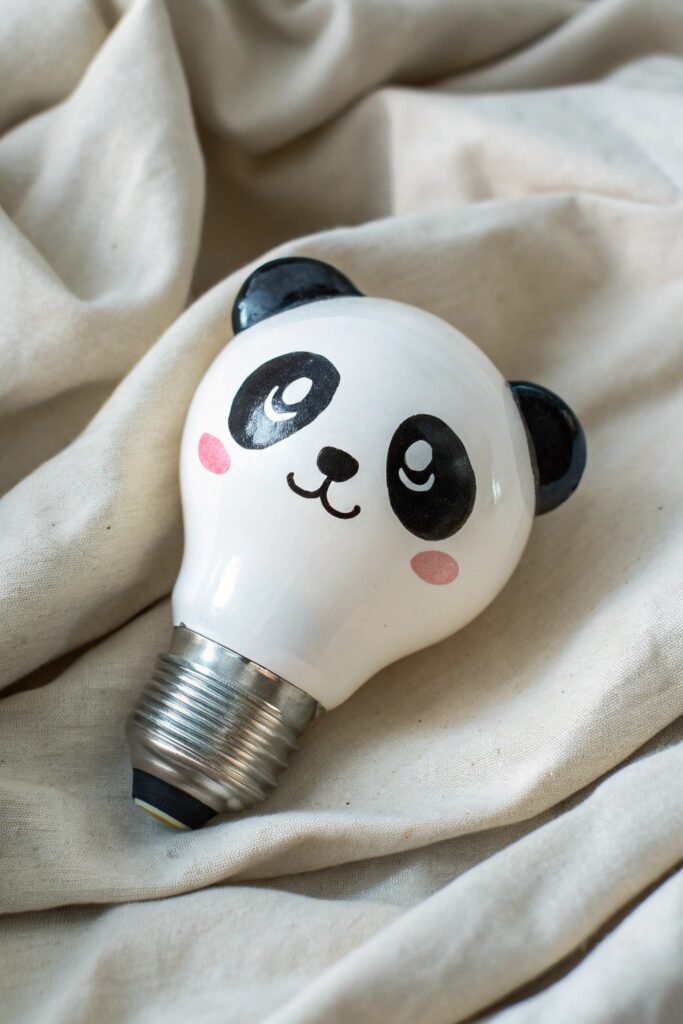
Materials: acrylic paint (white, black, pink), fine brush, palette, optional sealer
Steps:
- Paint the bulb white, using two coats for full coverage.
- Paint rounded black ear shapes near the screw base.
- Paint oval black eye patches that hug the curve of the glass.
- Dot in eyes, add a small nose and mouth, and blush the cheeks with a touch of pink.
- Dry completely and seal.
9. Cobalt China Pattern A fine liner brush helps here, but wobbly lines still read as “hand-painted porcelain” rather than a mistake.
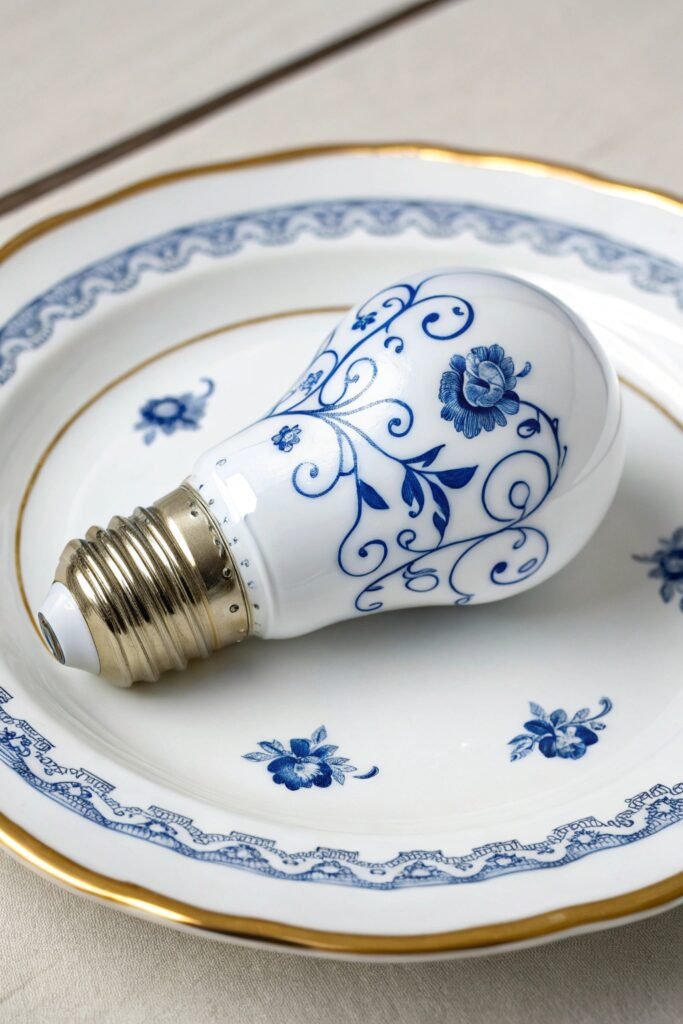
Materials: acrylic paint (white, cobalt blue), fine liner brush, palette, optional sealer
Steps:
- Paint a smooth white base coat and let it dry fully.
- Paint a thin cobalt border line near the top and another near the bottom.
- Add loose floral swirls and curl shapes filling the middle of the bulb.
- Fill any gaps with small dots and short lines for a classic porcelain feel.
- Dry and seal.
10. Garden Ladybug Fast, bright, and about as beginner-proof as bulb painting gets.
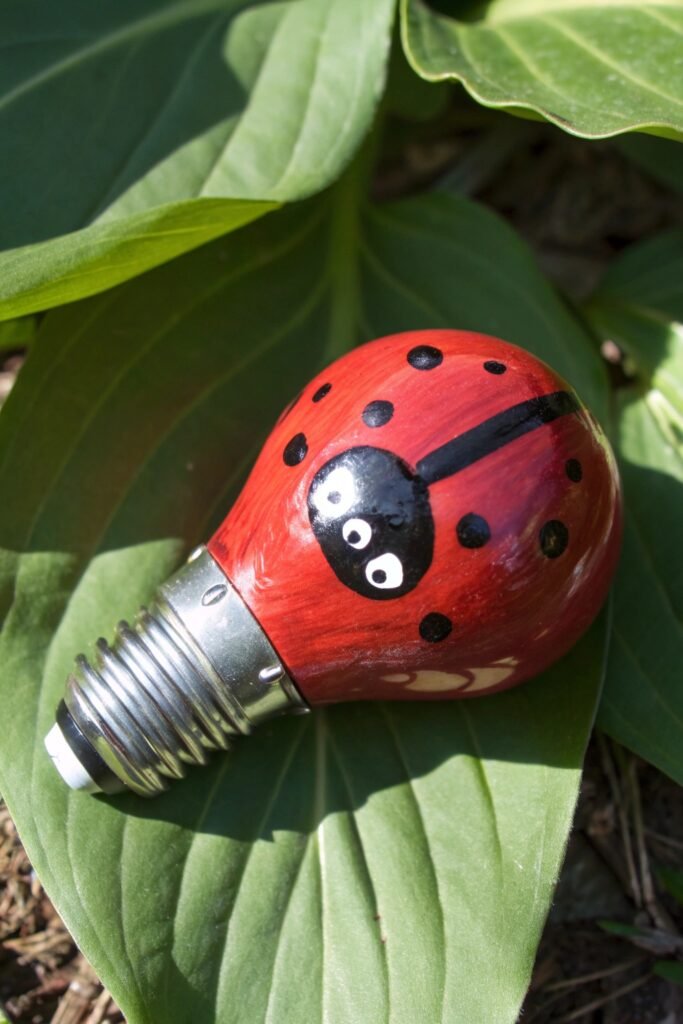
Materials: acrylic paint (red, black, white), fine brush, palette, optional sealer
Steps:
- Paint the main body red, building up two coats for solid color.
- Paint the area near the screw base black for the head.
- Paint a thin black center line running down the body.
- Dot on black spots, spacing them evenly around the curve.
- Add tiny white eye highlights, then dry and seal.
11. Puffy Cloud Sky A small sponge does more work here than a brush, especially for soft cloud edges.

Materials: acrylic paint (sky blue, white, pale gray), small sponge piece, palette, optional sealer
Steps:
- Paint the entire bulb a soft sky-blue base coat.
- Lightly sketch where you’d like the cloud shapes to sit.
- Dab white paint onto those areas with a sponge or brush for soft, uneven puffs.
- Add pale gray-blue shadow under part of each cloud for gentle depth.
- Dry completely and seal.
12. Peppermint Twist Keeping the stripe width consistent matters more than keeping the spiral perfectly even.
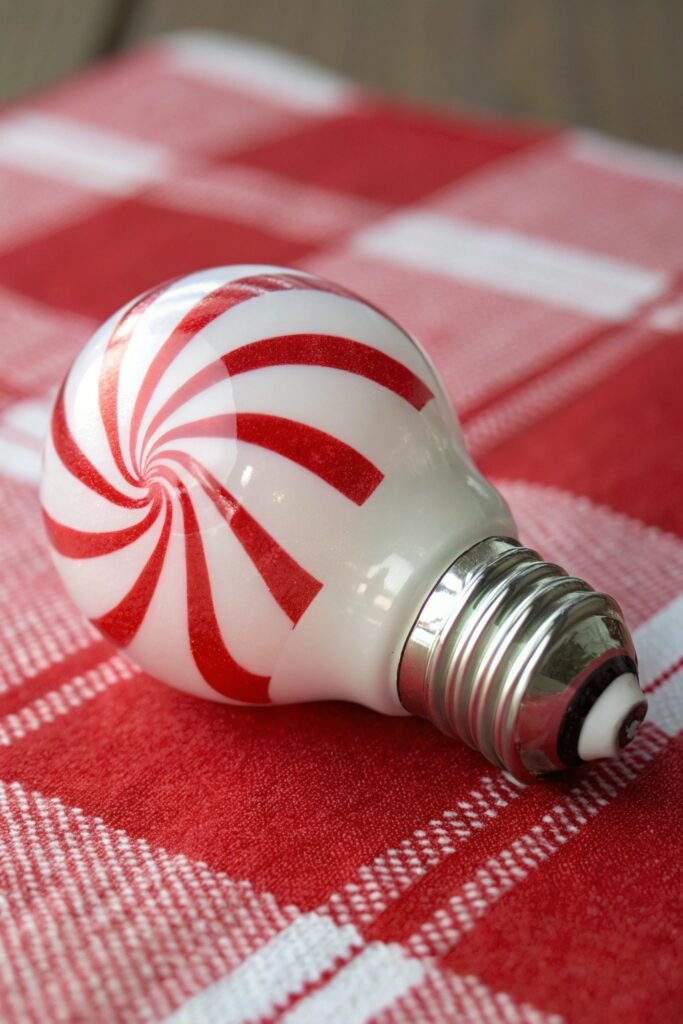
Materials: acrylic paint (white, red, dark red), fine brush, pencil for guideline, optional sealer
Steps:
- Paint the bulb white as a bright base.
- Lightly draw a spiral guideline wrapping from top to bottom.
- Paint red stripes along the spiral, keeping the width roughly consistent.
- Add a thin dark red edge along one side of each stripe for a glossy candy look.
- Dry fully and seal.
13. Rolling Tide Leaving the base coat a little streaky actually helps sell the water texture.
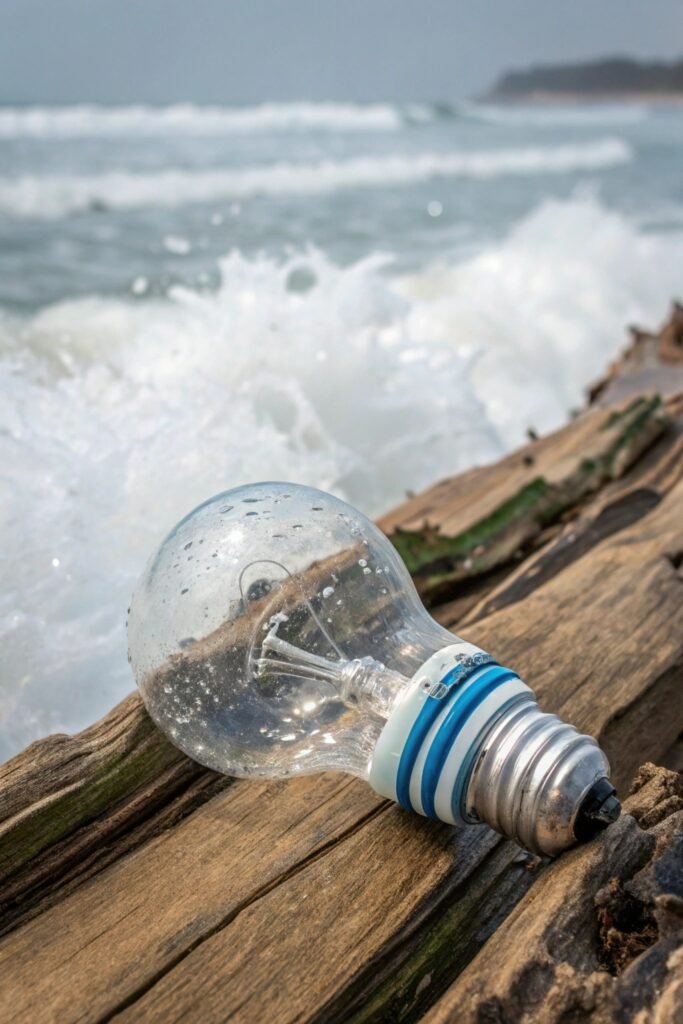
Materials: acrylic paint (light blue, deep blue, white), fine liner brush, palette, optional sealer
Steps:
- Paint a light blue base coat, leaving it slightly streaky on purpose.
- Add two or three deeper blue wave bands wrapping around the bulb.
- Blend the top edge of each wave band while the paint is still a little wet.
- Paint thin white foam lines and small splash marks along the wave crests.
- Dry fully and seal.
14. Backyard Sunflower Petal shapes don’t need to be symmetrical to read as a sunflower.
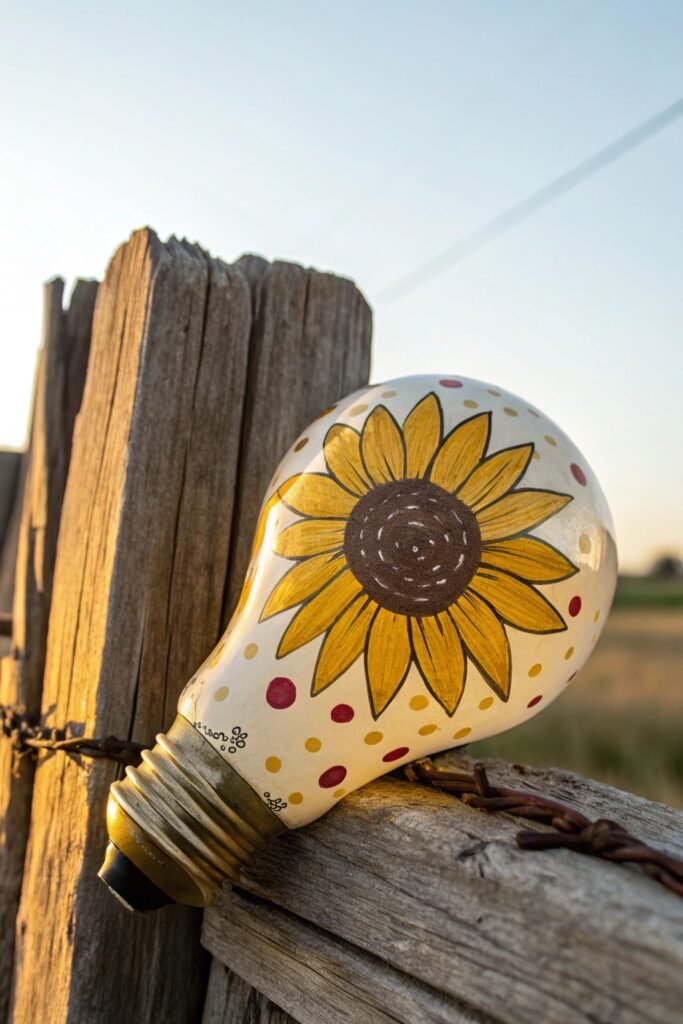
Materials: acrylic paint (cream or pale blue, brown, yellow), fine brush, optional dotting tool, optional sealer
Steps:
- Paint a pale cream or light blue background.
- Mark a circle in the center of the bulb and paint it brown.
- Paint yellow petals fanning outward from the center, curving with the glass.
- Dot extra brown into the center for texture and add a few small white highlights on petal tips.
- Dry fully and seal.
15. Confetti Pop Fun to make as a matched set since the colors are so easy to swap.
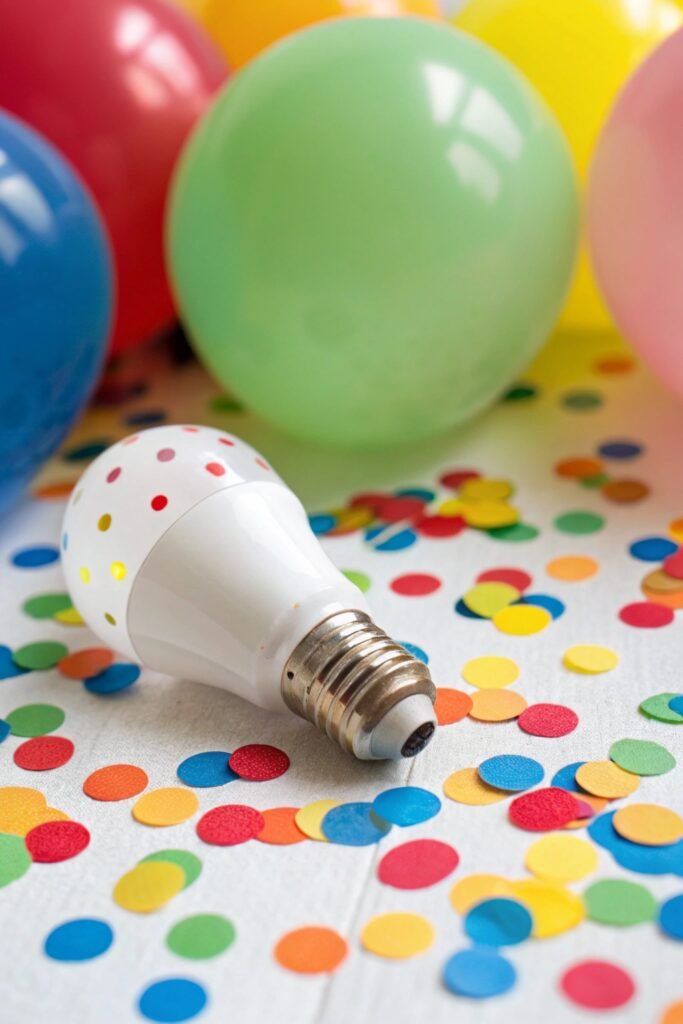
Materials: acrylic paint (base color plus 3–5 bright colors), fine brush or cotton swabs, optional sealer
Steps:
- Paint a simple base color, like white or pale peach, and let it dry.
- Place large dots in your chosen colors around the bulb, rotating as you go.
- Add medium and tiny dots in between the larger ones.
- Once dry, layer a few dots on top of others for a stacked, dimensional look.
- Dry completely and seal.
16. Citrus Slice The pith lines are the whole trick here — once those are in, the wedges paint themselves.
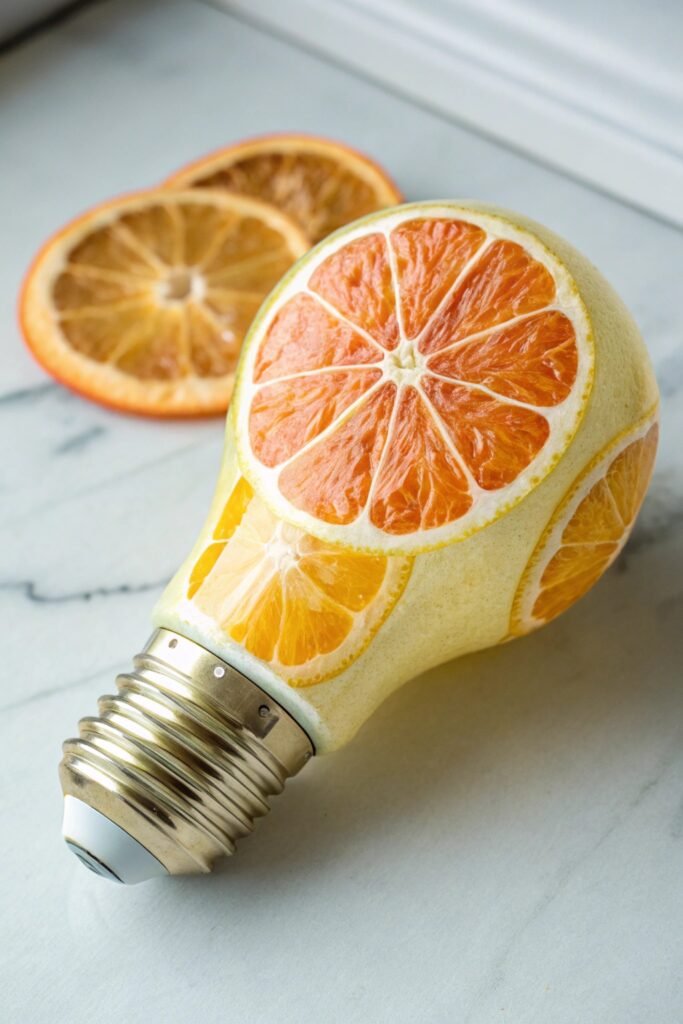
Materials: acrylic paint (pale yellow-orange, white, deeper orange), fine brush, optional sealer
Steps:
- Paint the bulb a pale yellow-orange base coat.
- Lightly mark a center point and add thin white pith lines radiating outward.
- Fill each wedge between the lines with slightly varied orange tones.
- Paint a thin peel-colored band near the base of the bulb.
- Dry fully and seal.
17. Little Owl Short feather strokes fanning outward from the eyes give it texture without any fine detail work.
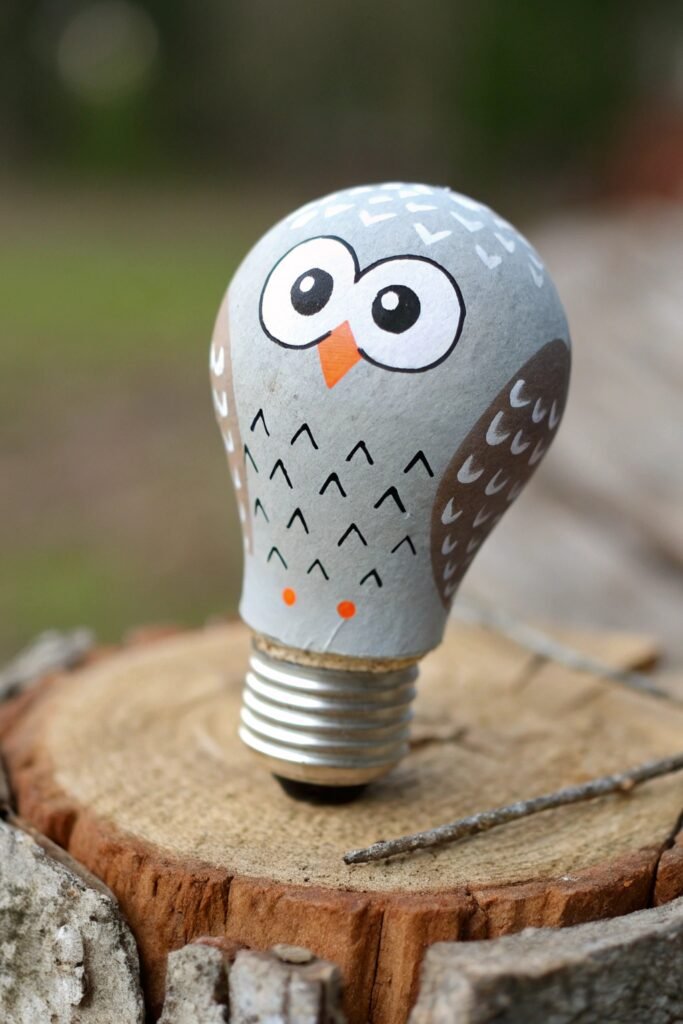
Materials: acrylic paint (brown or gray, white, black, orange), fine brush, optional sealer
Steps:
- Paint the bulb a brown or gray base coat.
- Paint two large white eye circles near the top of the bulb.
- Add black pupils and a small orange triangle beak between the eyes.
- Add short feather strokes fanning outward from the eyes around the rest of the bulb.
- Dry completely and seal.
18. Galaxy Swirl Flicking paint while the base is still wet is what gives this one its texture, so don’t let it dry first.
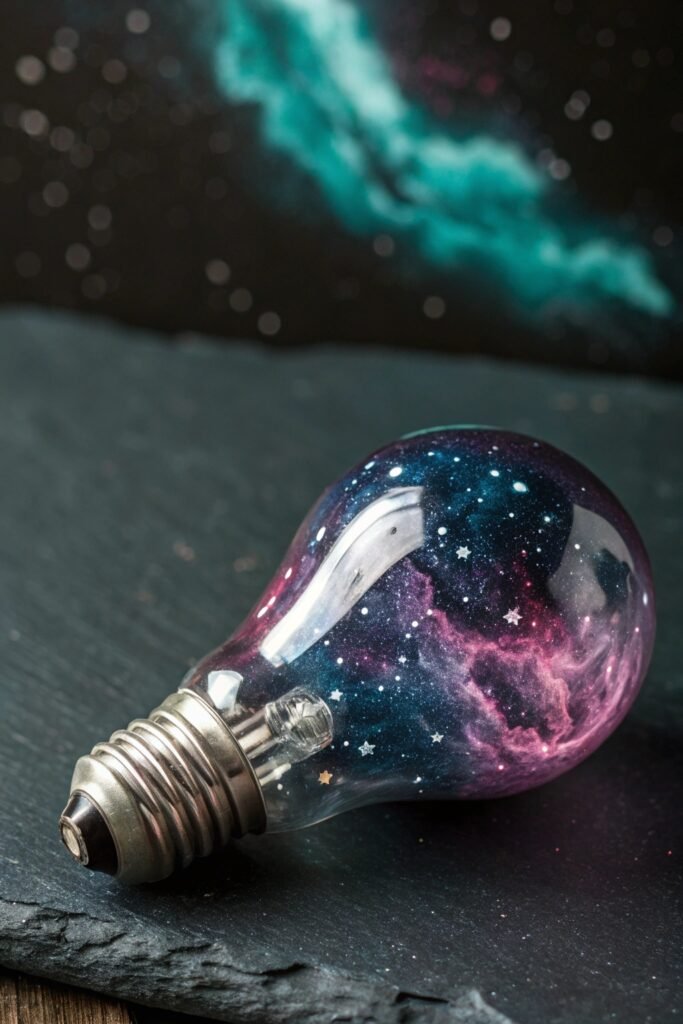
Materials: acrylic paint (deep purple, navy, black, white, pink or teal), fine brush, optional sealer
Steps:
- Blend deep purple, navy, and a touch of black in loose, overlapping patches over the whole bulb.
- While still slightly wet, flick or dot white paint across the surface for stars.
- Add a few soft pink or teal highlights for nebula color.
- Let dry completely.
- Seal for a glossy, deep-space finish.
19. Snowman Head A five-minute holiday piece that still looks intentional.
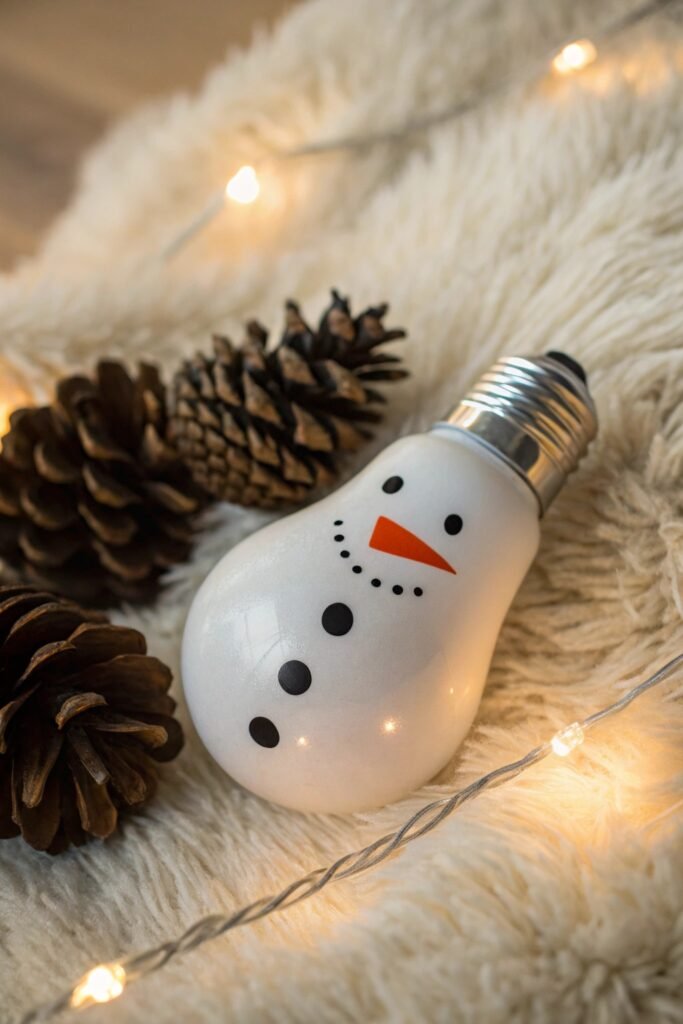
Materials: acrylic paint (white, orange, black), fine brush, optional sealer
Steps:
- Paint the bulb white, using two coats for solid coverage.
- Paint a small orange triangle nose in the upper half of the bulb.
- Dot on two black eyes above the nose and a curved black line for the mouth.
- Add a trail of small black dot “buttons” down the lower half of the bulb.
- Dry fully and seal.
Displaying Your Finished Bulbs
A single painted bulb is cute; a small cluster is a whole aesthetic. Group three or four in a shallow bowl, line them up on a windowsill where light catches the curve, or drop one into an egg cup or shot glass as a tiny stand. Because none of these designs rely on the bulb actually lighting up, you’re free to treat the shape purely as sculpture — which is really the whole appeal of turning something dead into something decorative.