Amigurumi, which is really just a fancy word for crocheted stuffed toys, has this great quality where even a slightly lopsided version still turns out charming. Nobody’s judging whether your bunny’s ears match perfectly. Here are 12 toy ideas that stick to the basics, single crochet, simple shaping, and a bit of stuffing, so you don’t need years of experience to end up with something worth giving away or keeping for yourself.
A Few Notes Before You Start
Most amigurumi work up in a smaller hook than you’d expect for the yarn weight you’re using, which keeps the stitches tight enough that stuffing doesn’t peek through the gaps. A 3.5mm or 4mm hook with worsted weight yarn is a solid starting point for any of these. Stuff as you go rather than waiting until the very end, since it’s much easier to pack filling into a small opening than to try shoving it into a piece that’s already mostly closed up.
Safety eyes look great, but if the toy’s going to a baby or a toddler, embroidering the eyes on with thread instead is the safer call, since safety eyes can still be pulled out with enough determined tugging. And save a long tail whenever you finish a small piece like an ear or a limb, since you’ll need it for sewing everything together at the end.
1. Chubby Bunny
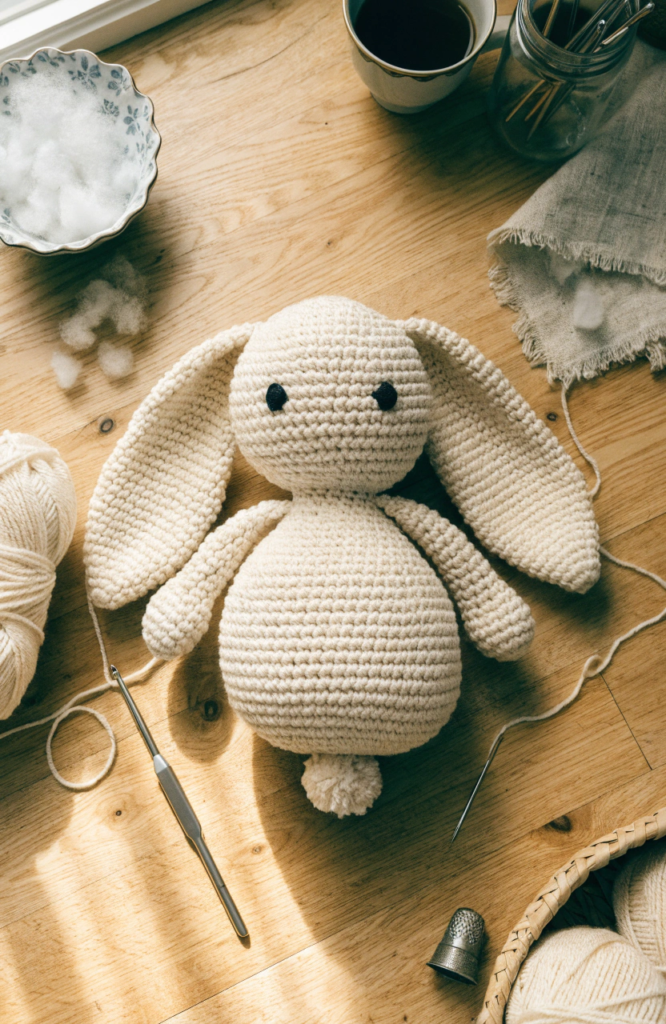
Round body, long floppy ears, and a tiny pom-pom tail. This one’s a great starting project since the shaping is mostly just basic increases and decreases.
Materials: worsted weight yarn, 3.5mm hook, fiberfill stuffing, safety eyes or embroidery thread, tapestry needle
Steps:
- Start with a small ring of stitches and increase every round until the body reaches your desired width, then work several rounds even to build up the height.
- Begin decreasing gradually to round the top of the head back in, stuffing firmly as you go before closing the opening.
- Make two long, flat ear pieces by working a small chain and building up a narrow oval shape around it.
- Attach the eyes or embroider them onto the face, then sew the ears onto the top of the head.
- Sew on a small pom-pom or a tightly wound loop of yarn at the back for the tail.
2. Round Owl
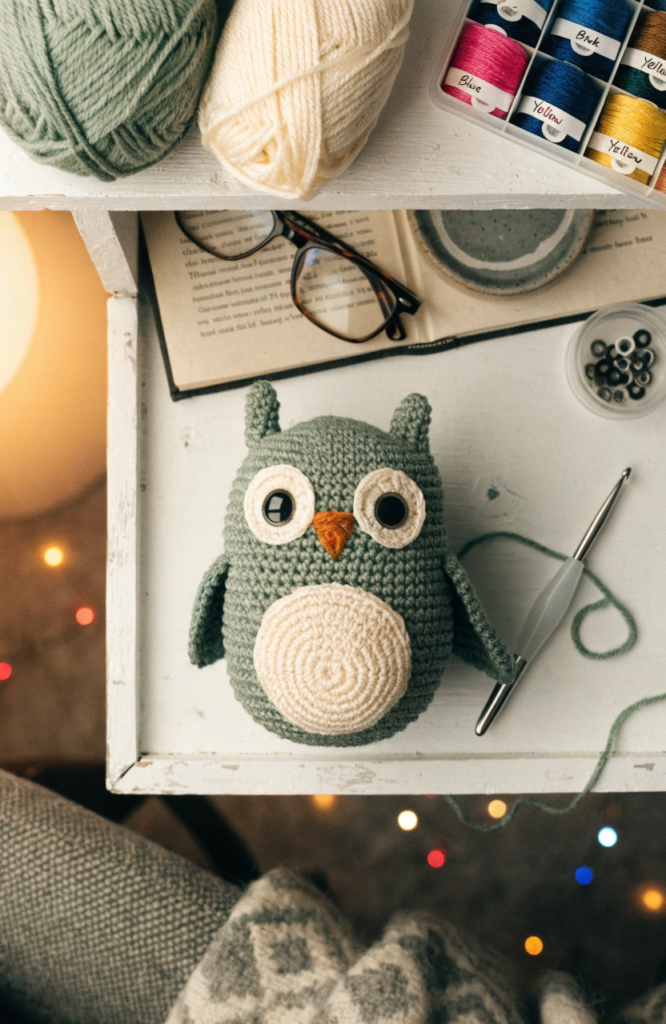
Owls are one of the easiest animals to translate into amigurumi since the whole body is basically one round shape with a few extra details layered on top.
Materials: worsted weight yarn in two colors, 3.5mm hook, fiberfill stuffing, safety eyes, tapestry needle
Steps:
- Work the body as a single rounded shape, increasing to your desired width and then working even rows before starting to decrease back in near the top.
- Stuff firmly as you close the shape, leaving a small flattened bottom so the owl can sit upright.
- Add a contrasting round patch of color to the belly area, either by changing yarn color partway through the body or sewing a separate circle on afterward.
- Attach the eyes toward the top of the body and embroider a small triangle beak between them.
- Add two small pointed ear tufts to the top of the head and two tiny wing shapes to the sides.
3. Tiny Elephant
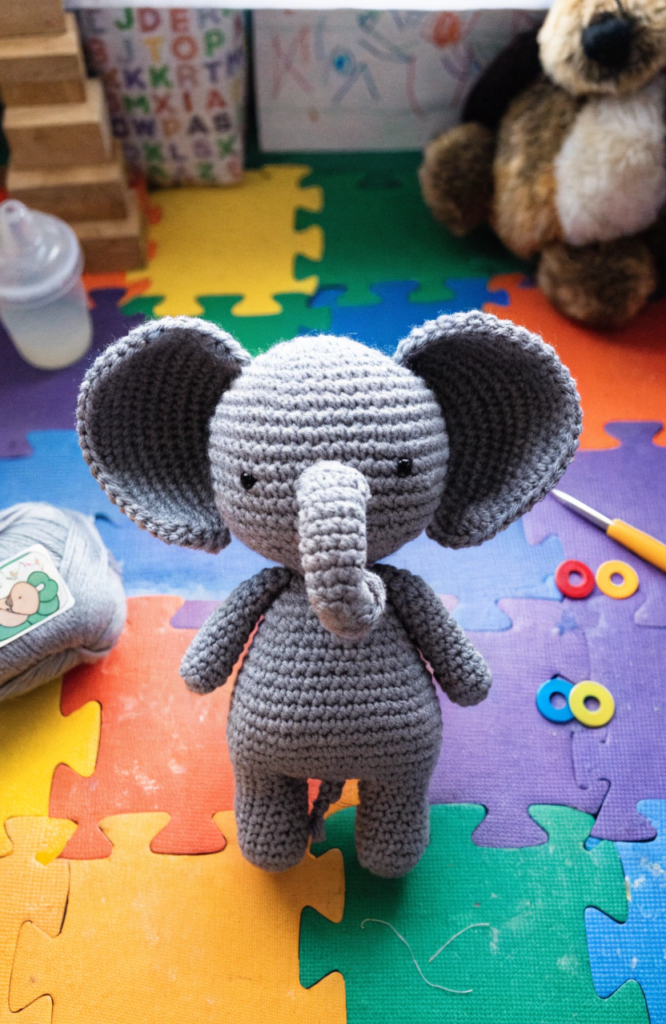
The trunk is the trickiest part here, but it’s really just a small tube shape, so it’s a lot more approachable than it looks.
Materials: worsted weight yarn, 3.5mm hook, fiberfill stuffing, safety eyes, tapestry needle
Steps:
- Work the head and body as one continuous piece, increasing generously for the head and tapering down slightly for the body.
- Stuff as you go and close the bottom once the shape is complete.
- Make four short leg pieces and two large, rounded ear pieces separately, then sew them onto the body.
- Crochet a small tube for the trunk, stuff it lightly, and attach it to the center of the face.
- Add the eyes above the trunk and a tiny tail at the back.
4. Snuggly Fox
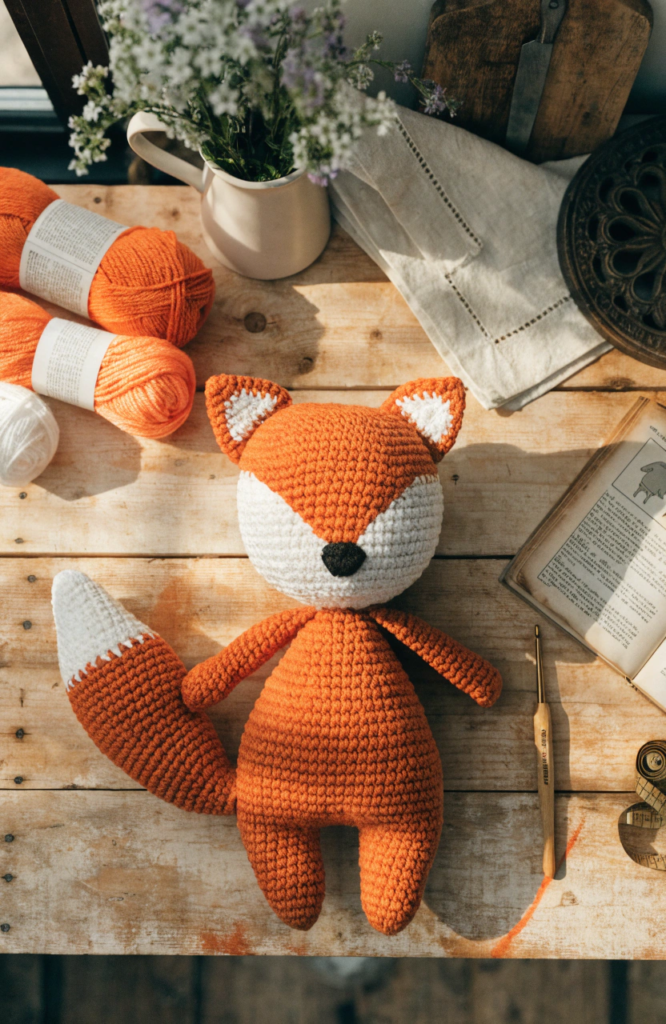
The pointed ears and a two-tone face are what really sell this one as a fox rather than just another round animal.
Materials: worsted weight yarn in orange and white, 3.5mm hook, fiberfill stuffing, safety eyes, tapestry needle
Steps:
- Work the body and head as one piece in orange, increasing and decreasing to create a rounded shape.
- Switch to white partway up the face to create a muzzle patch, then stuff and close the shape.
- Make two pointed ear pieces in orange with a small white triangle sewn onto the inside of each.
- Attach the eyes and embroider a small black nose at the tip of the white muzzle.
- Add a fluffy tail piece, worked as a tapered tube and stuffed lightly, then sewn onto the back.
5. Little Whale
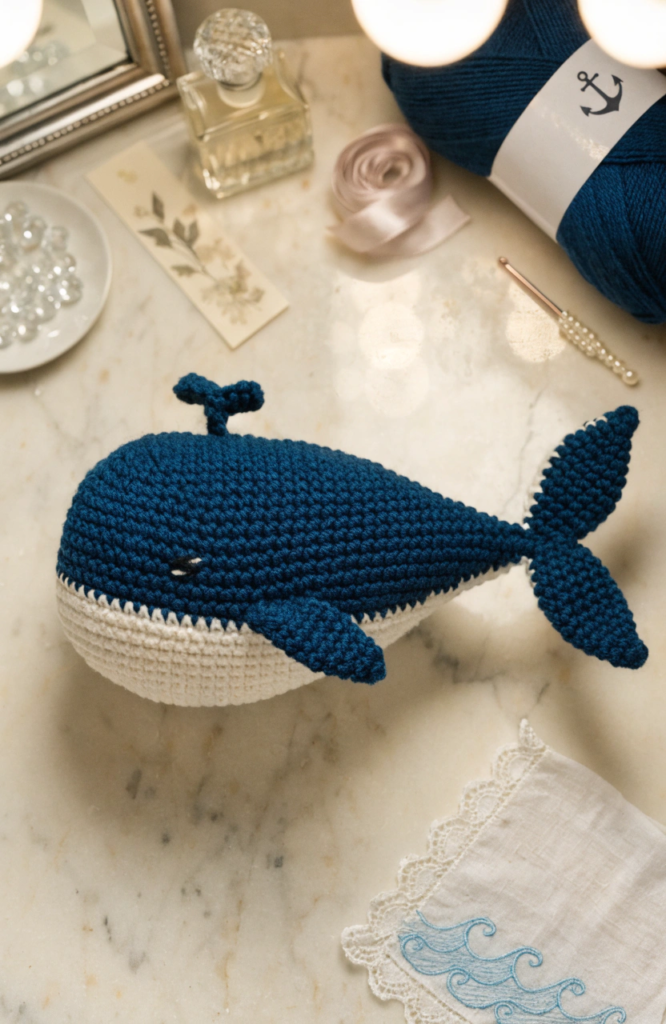
A wide, friendly body shape with a simple tail fin makes this one come together fast, and it’s a good project if you want something a little different from the usual round animal shape.
Materials: worsted weight yarn in blue and white, 3.5mm hook, fiberfill stuffing, safety eyes, tapestry needle
Steps:
- Work the body as an oval rather than a full circle, increasing along two sides to stretch the shape out lengthwise.
- Add a white belly patch either by changing colors partway through or sewing a separate oval on afterward.
- Stuff the body firmly and close the opening at one end.
- Make a small flat tail fin shape and sew it onto the narrower end of the body.
- Attach the eyes near the wider end and add a tiny water spout detail on top if you’d like the extra touch.
6. Basic Teddy Bear
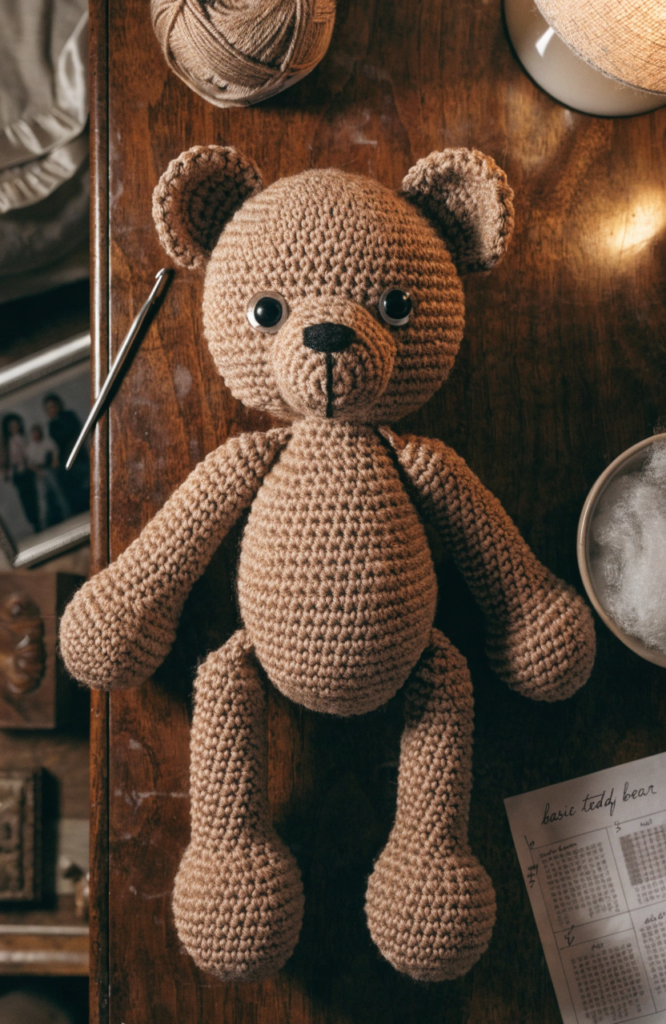
The classic. Round head, round body, four little limbs, and rounded ears. Once you’ve made this one, most other round animals start feeling pretty familiar.
Materials: worsted weight yarn, 3.5mm hook, fiberfill stuffing, safety eyes, tapestry needle
Steps:
- Work the head as a rounded shape, stuffing and closing it before setting it aside.
- Work the body the same way, slightly larger than the head, and stuff and close it as well.
- Make four small limb pieces and two rounded ear pieces, stuffing the limbs lightly so they stay a bit floppy.
- Sew the head onto the body, then attach the limbs and ears.
- Add the eyes and embroider a small nose and mouth onto the face.
7. Sleepy Sloth
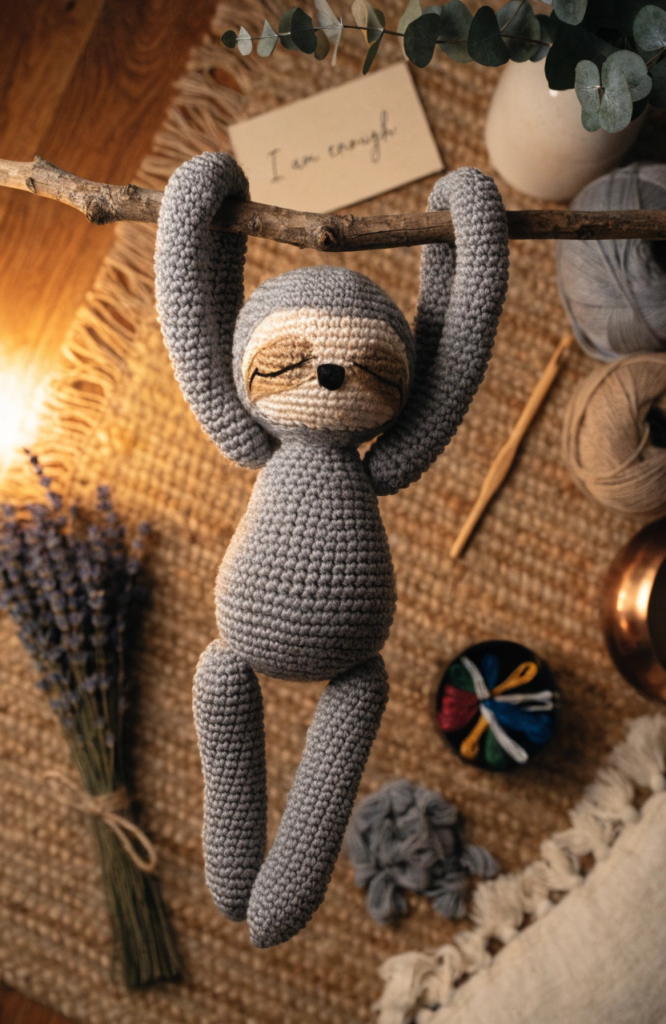
The closed, curved eyes and a slightly hunched posture are what give this one its whole personality, and neither of those things are difficult to pull off.
Materials: worsted weight yarn in gray and tan, 3.5mm hook, fiberfill stuffing, embroidery thread, tapestry needle
Steps:
- Work the head and body as one piece in gray, tapering slightly at the top for the head shape.
- Add a tan patch to the face area either through a color change or a separate piece sewn on afterward.
- Stuff and close the body, then make four long, slightly curved arm and leg pieces.
- Embroider closed, curved eyes instead of using safety eyes, since the sleepy expression is really the whole point of this one.
- Sew the limbs onto the body, positioning the arms so they can wrap around something, like a branch or a stuffed friend.
8. Mini Dinosaur
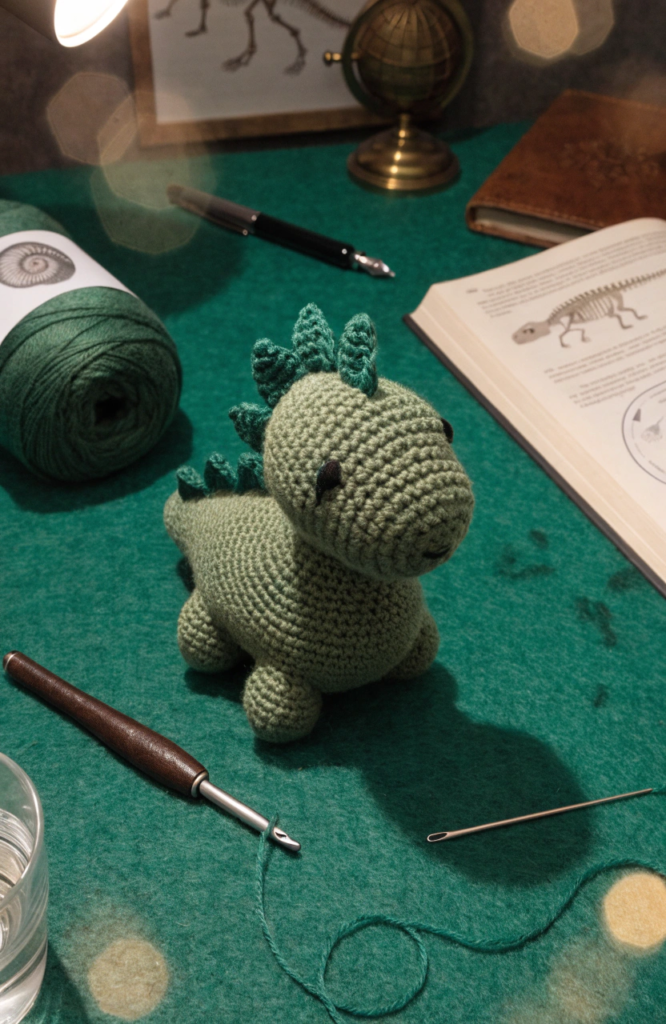
A row of little triangle spikes down the back turns a basic round body into something that reads instantly as a dinosaur.
Materials: worsted weight yarn, 3.5mm hook, fiberfill stuffing, safety eyes, tapestry needle
Steps:
- Work the body as a rounded shape, tapering slightly at one end to suggest a tail.
- Stuff firmly and close the shape once you’ve reached your desired length.
- Make a row of small triangle spike pieces and sew them down the center of the back from head to tail.
- Add four short, stubby legs to the underside so the dinosaur can stand upright.
- Attach the eyes toward the front and embroider a small mouth if you’d like extra detail.
9. Round Hedgehog
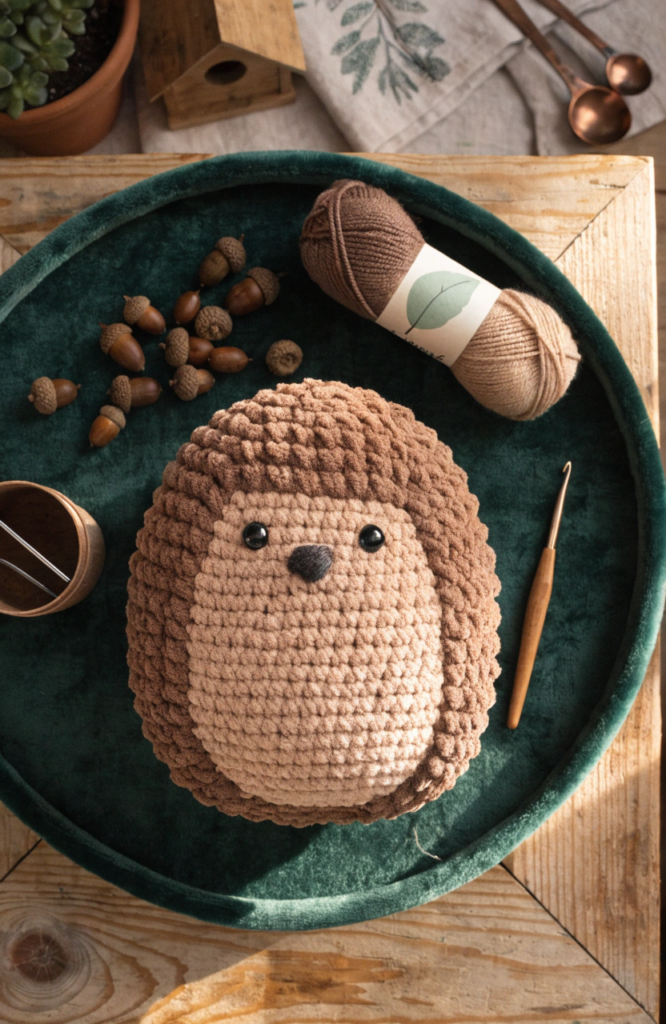
The spiky texture comes from loop stitches or fringe worked across the back, which looks a lot more advanced than it actually is to execute.
Materials: worsted weight yarn in brown and tan, 3.5mm hook, fiberfill stuffing, safety eyes, tapestry needle
Steps:
- Work the body as a rounded dome shape in brown, leaving the bottom flat so it can sit upright.
- Switch to tan for the face and belly section, either through a color change or a separate piece sewn on.
- Stuff firmly and close the bottom.
- Work loop stitches or short strands of yarn across the entire brown section of the back to create the spiky texture.
- Attach the eyes and embroider a tiny nose at the tip of the face.
10. Plush Snail
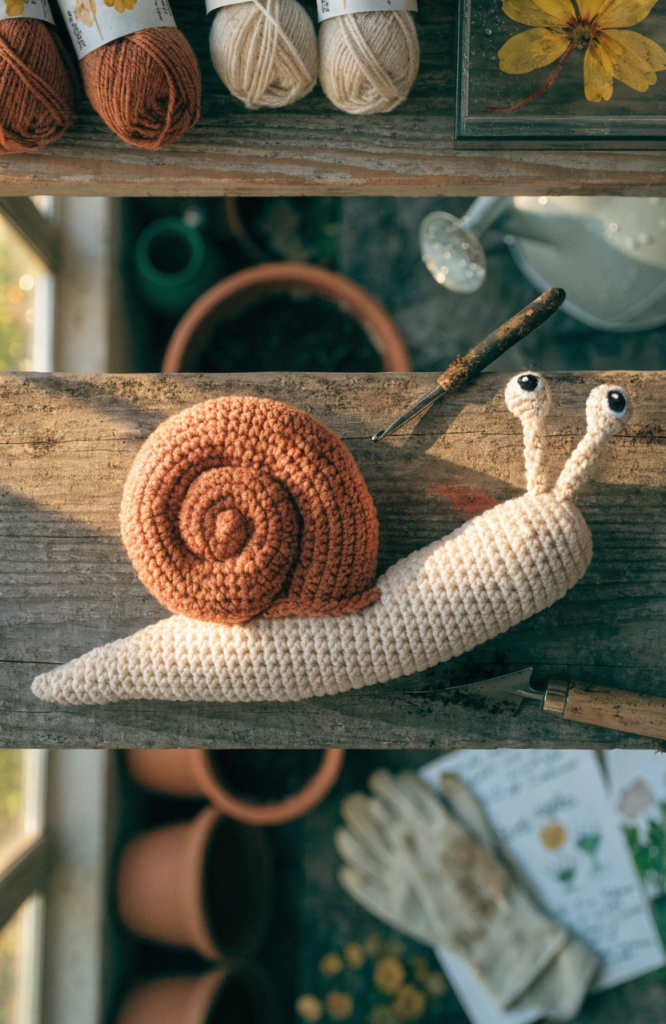
A coiled shell shape sewn onto a simple elongated body makes this one look more detailed than the actual technique required to make it.
Materials: worsted weight yarn in two colors, 3.5mm hook, fiberfill stuffing, safety eyes, tapestry needle
Steps:
- Work the shell as a flat spiral, increasing steadily as you go so it curls naturally into a coil shape.
- Fold the spiral gently and tack a few stitches in place to help it hold a rounded, shell-like form, then stuff it lightly.
- Work the body as a long, tapered tube, stuffing it as you go.
- Sew the shell onto the wider end of the body.
- Attach the eyes on two small stalks made from short crocheted tubes, sewing them onto the narrow end of the body.
11. Baby Penguin
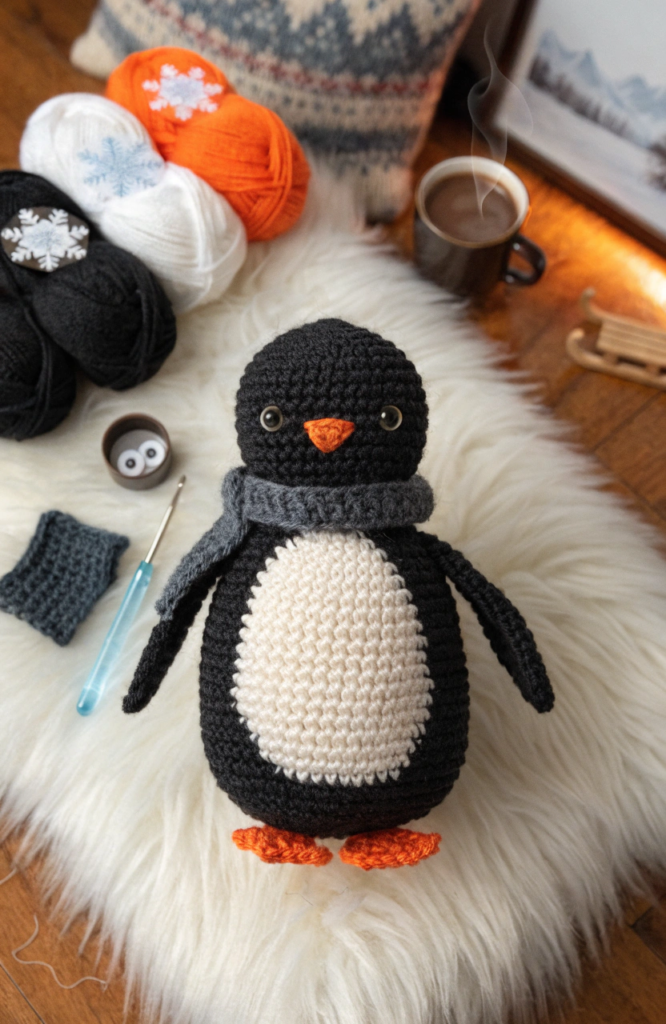
The two-tone body is really the whole design here, and once that’s sorted the rest of the shaping is about as simple as amigurumi gets.
Materials: worsted weight yarn in black and white, 3.5mm hook, fiberfill stuffing, safety eyes, tapestry needle
Steps:
- Work the body as a rounded shape in black, switching to white for an oval belly patch at the front.
- Stuff firmly and close the bottom, keeping it flat enough for the penguin to stand.
- Make two small flipper shapes in black and sew them onto the sides of the body.
- Add two tiny orange feet to the base and a small triangle beak to the face.
- Attach the eyes above the beak and consider adding a little knit scarf if you want to dress it up.
12. Chubby Cat
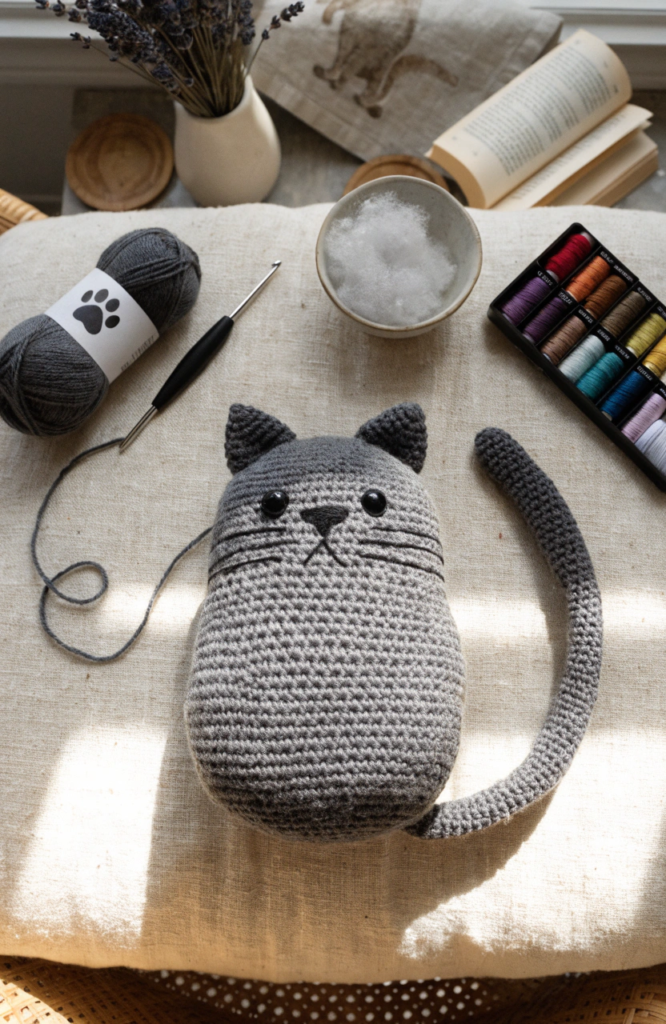
Simple round ears and a couple of embroidered whiskers are all it takes to turn a basic round body into a recognizable cat.
Materials: worsted weight yarn, 3.5mm hook, fiberfill stuffing, safety eyes, embroidery thread, tapestry needle
Steps:
- Work the head and body as one continuous piece, keeping the shaping simple with steady increases and decreases.
- Stuff as you go and close the shape once you’ve reached your desired size.
- Make two small triangle ear pieces and sew them onto the top of the head.
- Attach the eyes and embroider a small nose, mouth, and a few whisker lines using straight stitches.
- Add a long, curved tail piece, stuffed lightly, and sew it onto the back of the body.
Finishing Your Toys
Give every piece a final check before calling it done, tugging gently on the eyes and any small attached pieces to make sure everything’s secure, especially if the toy’s headed to a kid. A light steam from an iron held a few inches away can help relax any stitches that look a little uneven, though skip this step entirely if the toy has safety eyes or any glued details that heat might loosen. And however these turn out on the first try, amigurumi is one of those crafts where the personality kind of shows up on its own, wonky stitches and all.