Dried flower wall art has this quiet, collected-over-time feel to it, like something you’d stumble across in a cottage that’s been lived in for decades. The good news is you don’t need decades, or even a garden. A trip to the grocery store flower section and a few days of patience gets you there. This version presses and frames a simple botanical arrangement, no fancy tools, no floral foam, just flowers, some flat surfaces, and a little bit of waiting.
What You’ll Need
- Fresh flowers and foliage, look for flatter blooms like pansies, ferns, and baby’s breath, they press more easily than thick roses
- Heavy books or a flower press
- Parchment paper or blotting paper
- A frame with glass, or a plain wood panel
- Tweezers
- Craft glue or a glue pen
- Scissors
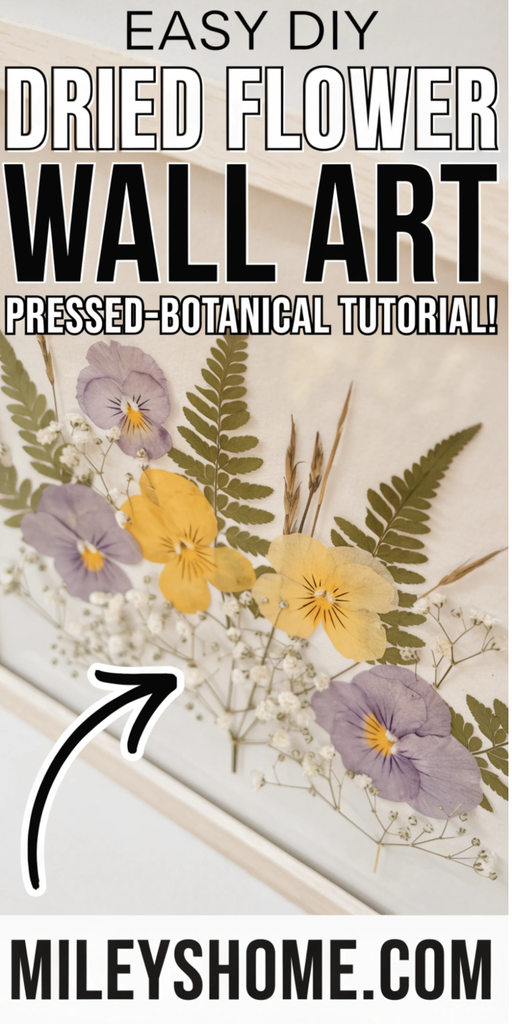
Step 1: Pick Your Flowers
Choose flowers that are on the flatter side to begin with, since anything too thick or bulky just doesn’t press well no matter how long you leave it. Mix in some foliage too, ferns and small leaves fill out an arrangement nicely without stealing focus from the blooms.
Step 2: Sandwich Them for Pressing
Lay each flower flat between two sheets of parchment or blotting paper, spaced out so nothing overlaps. Slide the paper into a heavy book, then stack a few more books on top for extra weight.
Step 3: Wait It Out
Let the flowers press for one to two weeks, checking in occasionally. Rushing this step is the one shortcut that never actually works, flowers pulled out too early just wilt and curl once they’re out in the open air.
Step 4: Plan Your Layout
Once your flowers are fully dried and flat, lay them out on your frame’s backing or wood panel before gluing anything down. Play with the arrangement, a loose cluster in one corner, a trailing line across the bottom, whatever feels balanced to you. Take a quick photo of the layout you like best so you don’t lose it while gluing.
Step 5: Glue Them Down
Using tweezers for control, dab a tiny bit of glue on the back of each piece and press it into place, working from the largest flowers down to the smallest filler pieces. Go slow here, dried petals are delicate and a heavy hand will crack them.
Step 6: Let It Fully Dry
Leave the finished arrangement flat and undisturbed for at least a full day before moving it. Dried flowers are tough once they’re secured, but they’re fragile right up until the glue sets completely.
Step 7: Frame and Hang
Slide the backing into your frame, or if you’re working on an open wood panel, give it a light coat of clear sealant to protect the flowers instead. Hang it somewhere out of direct sunlight, which brings us to the next point.
A Few Tips That Make a Big Difference
- Skip direct sunlight. Dried flowers fade fast in bright light, so an entryway or hallway holds color a lot longer than a sunny window wall.
- Work in one session. Once you start gluing, try to finish the whole layout in one sitting, since dried pieces shift easily and it’s hard to match the original plan exactly later.
- Save the extras. You’ll almost always press a few more flowers than you end up using, keep them for a smaller second piece or a card down the line.
A Few Fun Twists to Try
- Resin coated version — pour a thin layer of clear resin over the arrangement for a glossy, protected finish that holds up even in slightly sunnier spots.
- Wildflower wreath shape — arrange the pressed pieces in a circular wreath layout instead of a loose cluster.
- Multi-frame set — split one big arrangement across three small matching frames hung in a row.
- Colorful backing — swap the usual white or cream backing paper for a deep terracotta or sage tone to make the dried colors pop more.
Keeping It Looking Good
Dust the glass or sealed surface gently with a soft cloth now and then, since dried flowers themselves are too fragile to wipe directly. If a piece does eventually fade after a year or two out in the light, that’s honestly just part of the charm, and it’s a good excuse to press a fresh batch and switch things up.