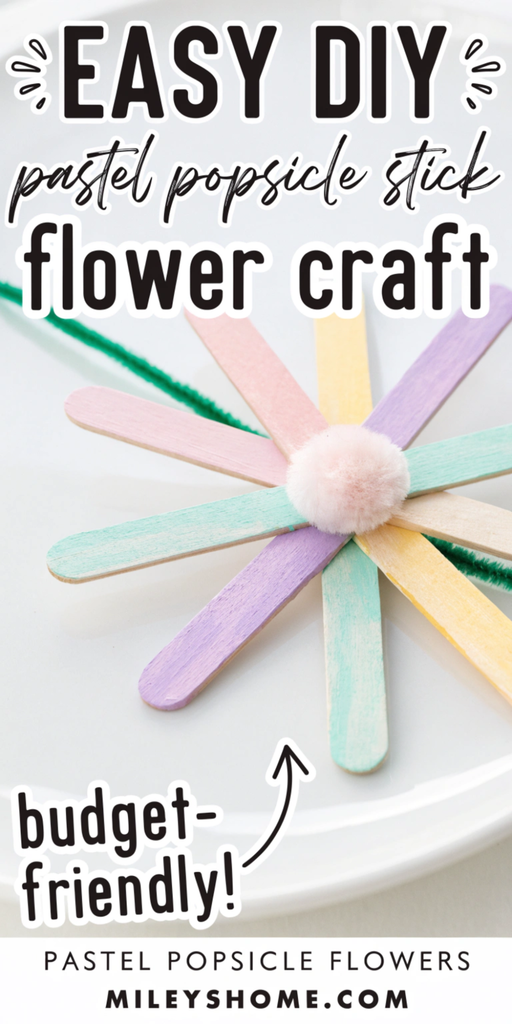
Popsicle sticks might be the most underrated craft supply out there. They’re cheap, they come in a bag of a hundred, and with a coat of soft pastel paint they turn into flowers that look way more put together than something built from wooden sticks has any right to. This one’s simple enough for a kid to help with start to finish, and pretty enough that the finished flowers can hang on a wall, sit in a jar, or get strung into a garland.
What You’ll Need
- Popsicle sticks or craft sticks, about 8 per flower
- Acrylic paint in a few pastel shades
- Paintbrush
- Hot glue gun and glue sticks
- A button or a pom-pom for the flower center
- Thin wooden dowel or a green pipe cleaner for the stem
- Scissors
Step 1: Paint the Sticks
Lay your popsicle sticks out and paint each one a soft pastel shade, pink, lavender, mint, butter yellow, whatever fits your color scheme. Let them dry fully, then flip and paint the backs too if you want the flower to look finished from both sides.
Step 2: Trim the Petal Shapes
Once dry, round off both ends of each stick with scissors or a light sanding, or angle them into a soft point if you want a slightly different petal shape. This step is optional, but it softens the look a lot compared to leaving the sticks perfectly rectangular.
Step 3: Arrange the Petals
Lay 6 to 8 sticks out in a sunburst pattern, all meeting at a center point, evenly spaced like spokes on a wheel. Take a second to check the spacing looks even before you start gluing anything down.
Step 4: Glue the Petals Together
Working one at a time, dab a small dot of hot glue where each stick overlaps its neighbor near the center, holding for a few seconds until it sets. Once all the sticks are joined, you should be able to lift the whole flower shape as one connected piece.
Step 5: Add the Center
Glue a button, a pom-pom, or a rolled paper rosette right over the center point where all the sticks meet. This covers up the glued overlap and gives the flower a proper finished focal point.
Step 6: Attach a Stem
Glue a thin dowel or a pipe cleaner to the back of the flower, running it down from the center. If you’re using a pipe cleaner, wrap it a couple of times around the base petal for extra hold before letting the glue set.
Step 7: Let Everything Set
Give the whole flower a few minutes to fully set before handling it much. Popsicle stick flowers are sturdy once dry, but a fresh glue joint can shift if you move it around too soon.
A Few Tips That Make a Big Difference
- Stagger your pastels. Alternating two or three shades around the same flower looks a lot more interesting than one flat color.
- Sand before you paint. A quick pass with light sandpaper helps the paint go on smoother and stops it from looking streaky.
- Make a few extra. Popsicle stick flowers are quick enough that it’s worth making a small bunch instead of just one.
A Few Fun Twists to Try
- Ombre petals — paint each stick a slightly lighter or darker shade of the same color for a gradient effect across the flower.
- Layered daisy — glue a smaller second layer of sticks on top of the first, offset slightly, for a fuller, more layered bloom.
- Magnet flowers — skip the stem and glue a small magnet to the back instead for a cute fridge decoration.
- Garland string — make a handful of smaller flowers and string them together along twine for a bunting-style garland.
Displaying and Storing
A cluster of these in a small jar or vase makes a sweet no-water bouquet that never wilts, which is honestly half the appeal. If you’re storing extras between projects or seasons, a shoebox with a little tissue paper between layers keeps the petals from chipping or rubbing against each other. And since the whole thing costs next to nothing to make, it’s an easy one to keep restocking in new color combinations whenever the mood strikes.