There’s a reason so many crocheters end up with at least one blanket in progress at all times. It’s the project you can pick up for ten minutes or ten hours, it doesn’t need to fit anyone in particular, and even a slightly wobbly row still looks cozy once it’s part of a bigger piece. If you’ve been wanting to start one but weren’t sure where to begin, here are 13 approaches that don’t require fancy stitches or a pattern you need to keep rereading every five minutes.
A Few Notes Before You Start
A worsted weight yarn with a hook somewhere around 5mm or 6mm is a safe bet for most of these, since it works up at a good pace without taking forever to finish a full-size blanket. Wash your yarn’s label before you buy a big batch of it, some fibers pill a lot with wear and others don’t, and that matters more on something you’ll actually curl up under.
Blankets are also incredibly forgiving when it comes to sizing, so don’t stress too much about hitting an exact measurement, just keep going until it looks and feels big enough. And if you’re newer to crochet, picking a project with fewer color changes for your first attempt will save you a lot of frustration with weaving in ends later.
1. Classic Granny Square Blanket
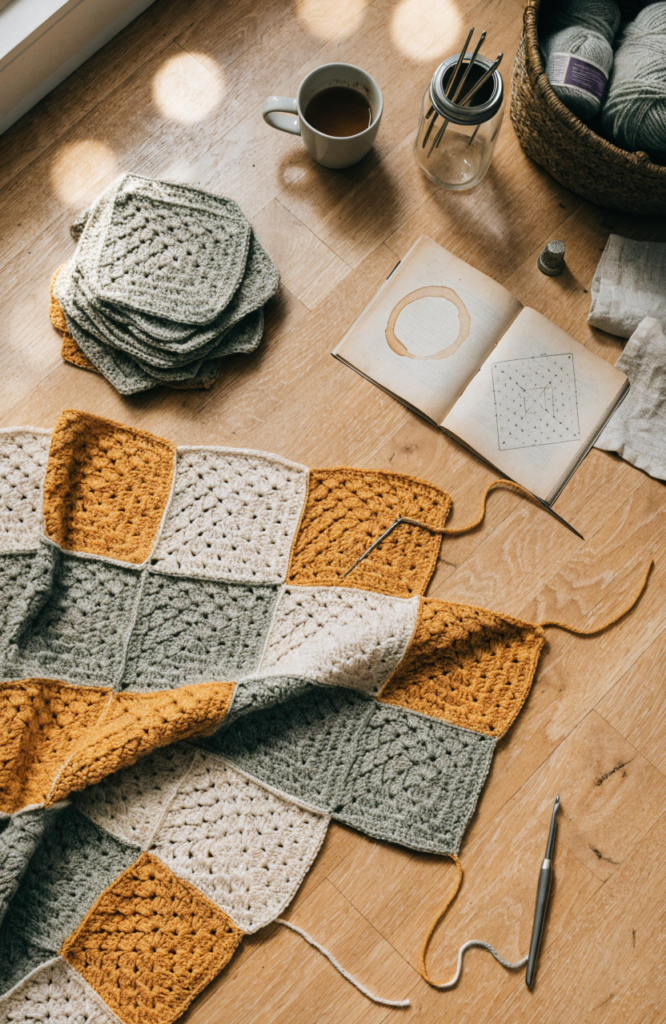
This is the one almost everyone starts with, and honestly, there’s no shame in that. You make a bunch of small squares, then join them together at the end, which means the whole project stays manageable instead of one giant piece you’re carrying around.
Materials: worsted weight yarn in several colors, 5mm hook, tapestry needle
Steps:
- Work up one granny square using your favorite basic pattern, changing colors round by round if you’d like a multicolor look.
- Make as many squares as you need to reach your desired blanket size, keeping the tension consistent from square to square.
- Lay all your squares out on the floor first so you can plan the color arrangement before sewing anything together.
- Join the squares either by sewing them with a tapestry needle or by single crocheting them together in rows.
- Add a simple border around the whole blanket once it’s assembled to clean up the edges.
2. Corner-to-Corner Rainbow Blanket
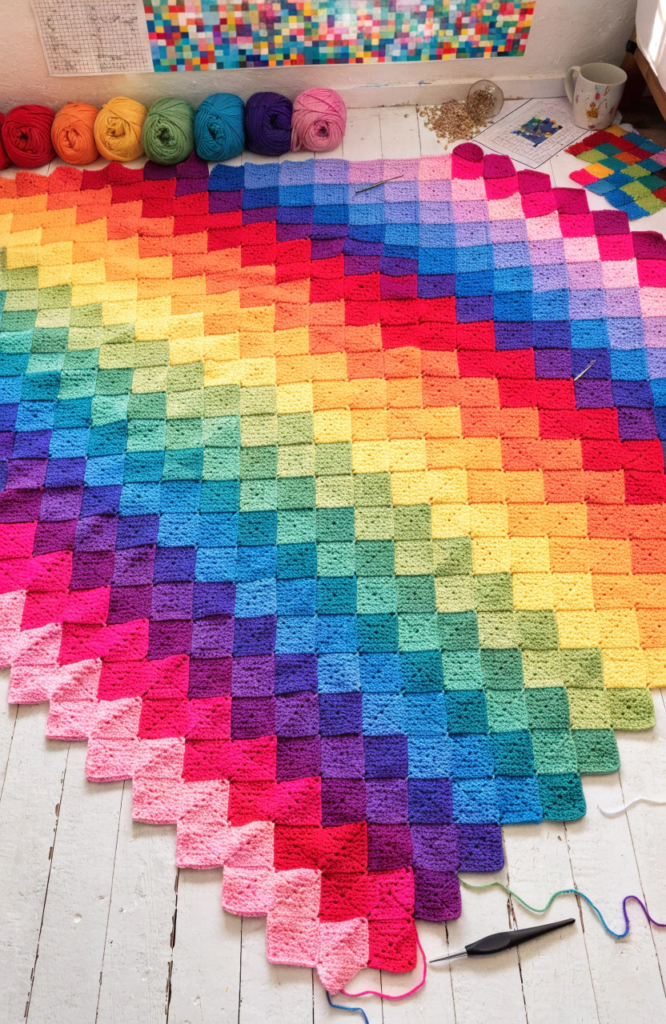
Corner to corner crochet, usually just called C2C, builds the blanket diagonally using little blocks instead of straight rows, and it’s a great technique once you want to try a pixel-style design like stripes or a simple picture.
Materials: worsted weight yarn in rainbow colors, 5mm hook, tapestry needle
Steps:
- Start in one corner and work a small block of stitches, this becomes your first tiny triangle.
- Add a new block onto that one, then keep adding blocks diagonally, growing the blanket outward one corner at a time.
- Once you’ve reached the width you want, start decreasing blocks from the opposite corner to bring the shape back down to a point.
- Change colors at whatever intervals give you the stripe pattern you’re going for.
- Weave in all your ends once the shape is complete, then add a border if you’d like a cleaner edge.
3. Ripple Chevron Blanket
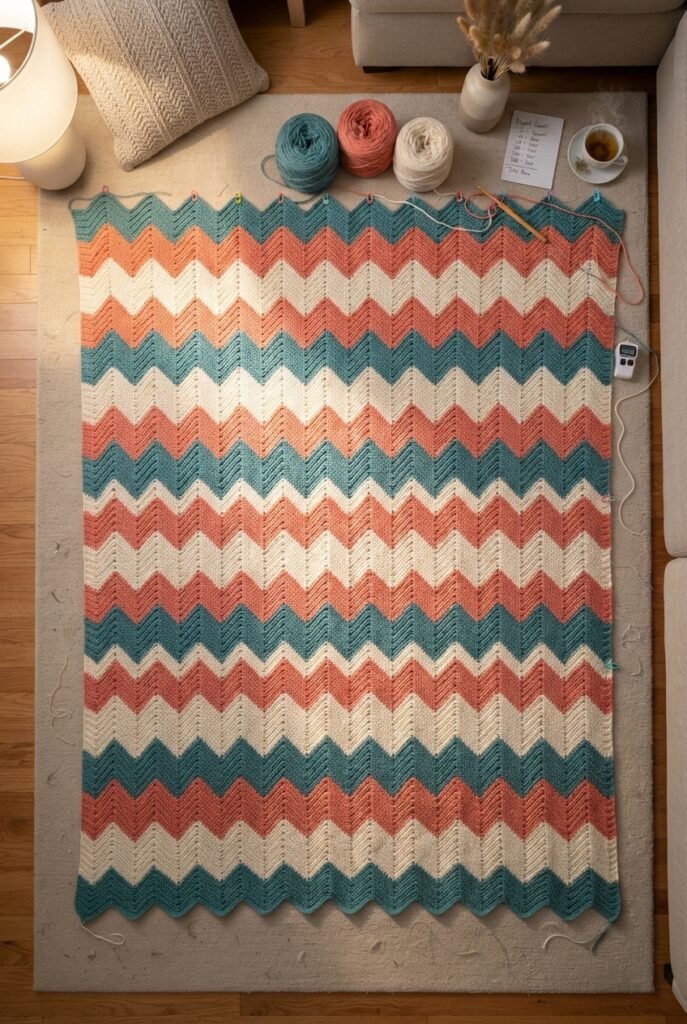
The zigzag look comes entirely from where you increase and decrease along each row, which sounds tricky but ends up being pretty repetitive once you get the rhythm down.
Materials: worsted weight yarn in 3 to 4 colors, 5mm hook, tapestry needle
Steps:
- Chain a length that’s a multiple matching your chosen ripple pattern’s repeat.
- Work your first row, increasing at the peaks of the zigzag and decreasing at the valleys as the pattern directs.
- Repeat that same row structure for every following row, keeping your increase and decrease points lined up directly above the ones from the row before.
- Change yarn colors every few rows for a striped ripple effect, or stick with one color for a more subtle texture.
- Finish with a simple border once you’ve reached your desired length.
4. Moss Stitch Throw
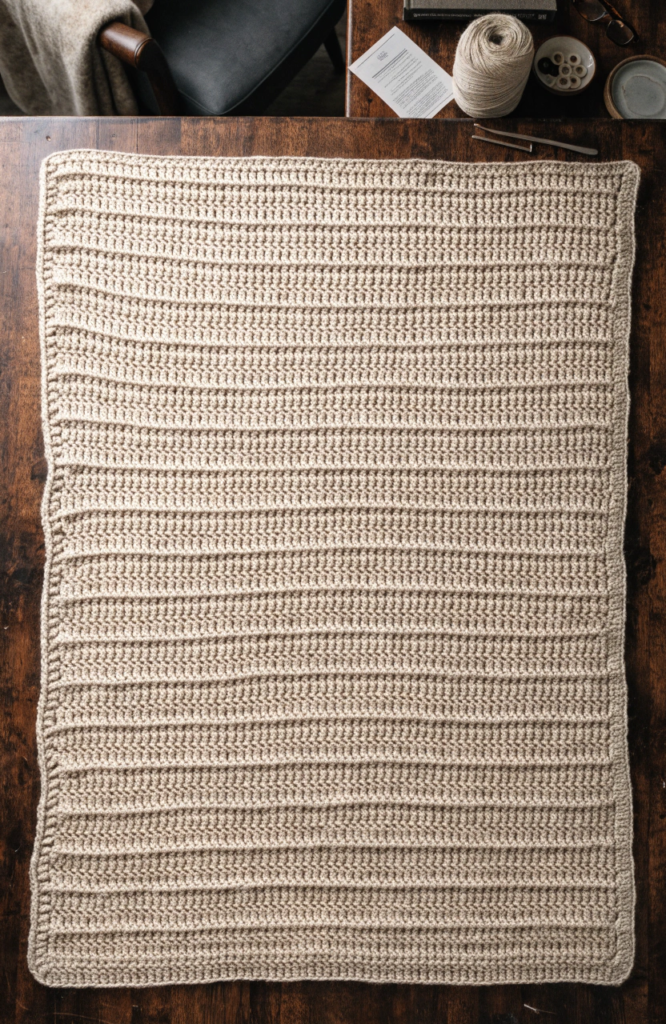
This one’s about as beginner friendly as blankets get. It alternates single crochet and chain stitches, and the texture that comes out of it looks a lot more complicated than it actually is to make.
Materials: worsted weight yarn, 5mm hook, tapestry needle
Steps:
- Chain a length in an odd number for your blanket’s width.
- Work your first row alternating one single crochet, one chain, all the way across.
- On each following row, single crochet into the chain spaces from the row before, and chain over the single crochet stitches, keeping that same alternating rhythm going.
- Keep repeating that row until the blanket reaches the length you want.
- Add a simple single crochet border around the whole piece to finish it off cleanly.
5. Waffle Stitch Blanket
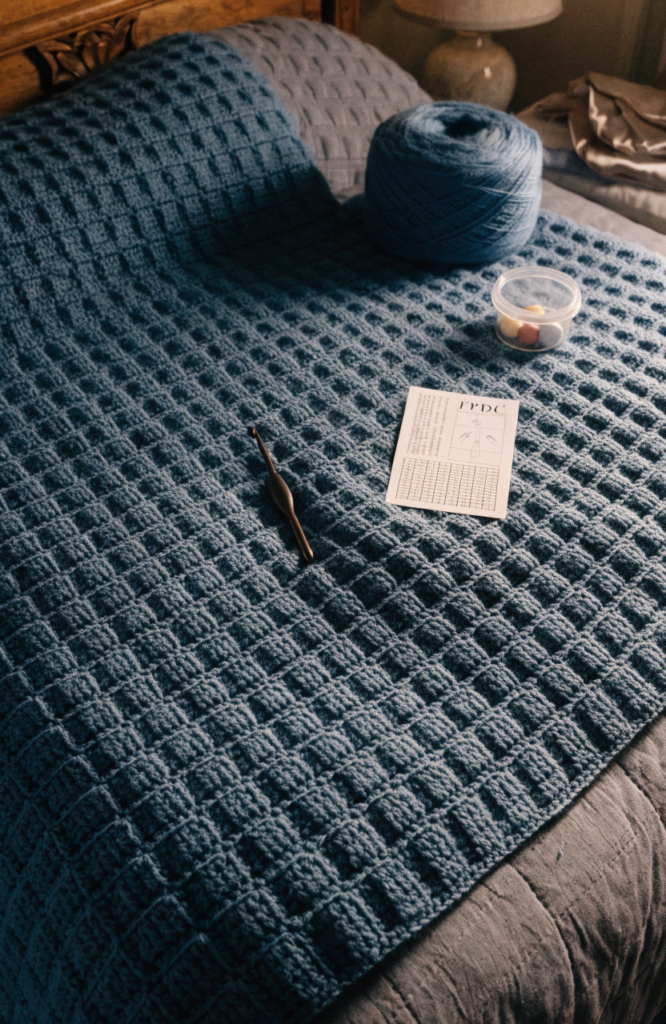
The raised grid texture on this one makes it look far more advanced than it actually is, since it’s really just double crochet and front post double crochet stitches working together.
Materials: worsted weight yarn, 5mm hook, tapestry needle
Steps:
- Chain your foundation and work a base row of double crochet stitches across.
- On the next row, alternate between a regular double crochet and a front post double crochet worked around the stitch two rows below, following whatever spacing creates the grid pattern.
- Keep alternating that pattern row by row, letting the raised stitches stack up to build the waffle texture.
- Stick with a single solid color for this one, since the texture is really the star and busy colors tend to hide it.
- Finish with a border once you’ve reached your desired size.
6. Basketweave Blanket
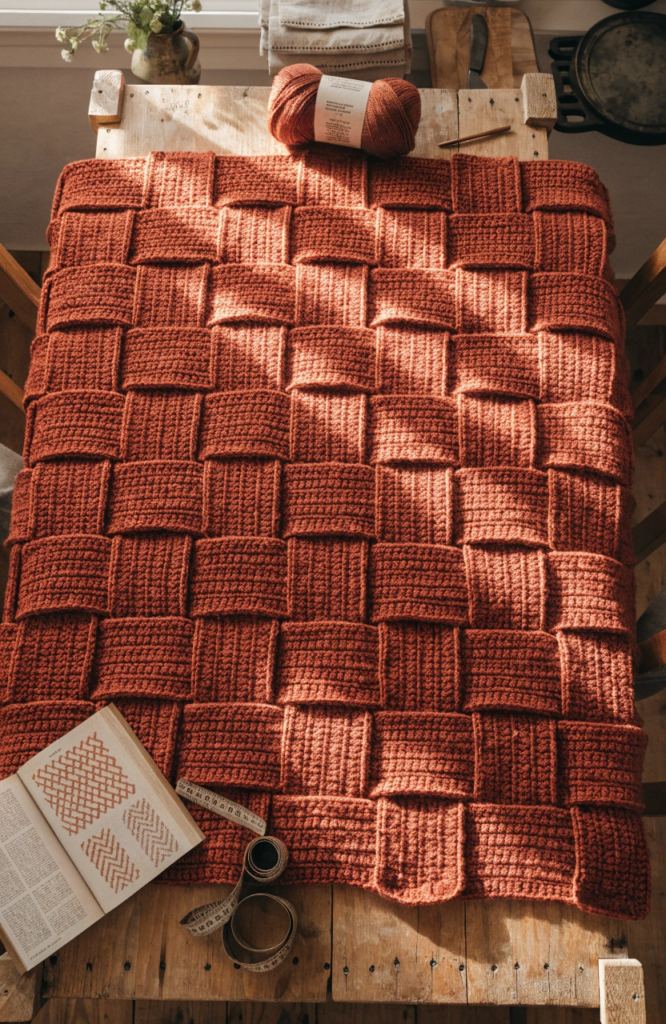
Blocks of stitches worked in alternating directions create a woven look that’s satisfying to watch build up as you go.
Materials: worsted weight yarn, 5mm hook, tapestry needle
Steps:
- Chain a length divisible by your chosen block size, usually somewhere around four or five stitches per block.
- Work several rows of double crochet across the first set of blocks, then switch to front post double crochet for the next set, alternating back and forth across the row.
- On the following set of rows, flip which blocks get regular stitches and which get front post stitches, creating the basketweave illusion.
- Keep alternating the block pattern as you work up the blanket.
- Add a border once finished, since the raised texture can make the natural edges a little uneven otherwise.
7. Shell Stitch Scallop Blanket
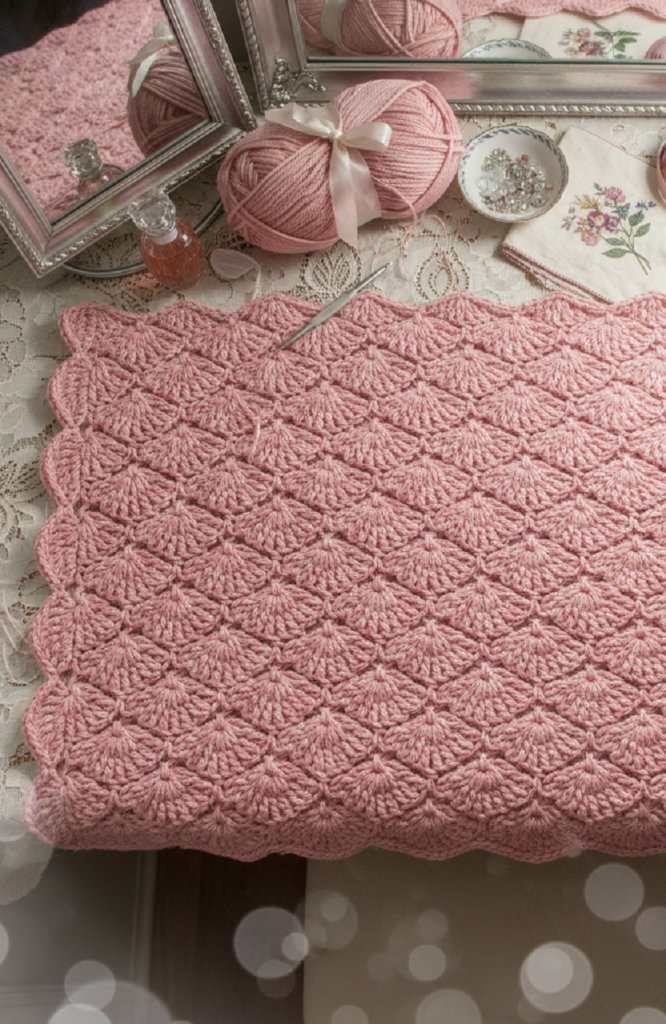
Groups of stitches worked into a single point create that scalloped, feminine look along both the surface and the bottom edge.
Materials: worsted weight yarn, 5mm hook, tapestry needle
Steps:
- Chain a length in a multiple that matches your shell pattern’s repeat.
- Work your first row, grouping several double crochet stitches into single spaced-out points across the row to form the shells.
- On each following row, work your shells into the gaps between the shells from the row before, offsetting the pattern slightly.
- Continue that offset shell pattern until the blanket reaches your desired length.
- The bottom edge will naturally scallop from the shell pattern, so you can leave it as is or add a simple trim along the top edge only.
8. Bobble Stitch Blanket
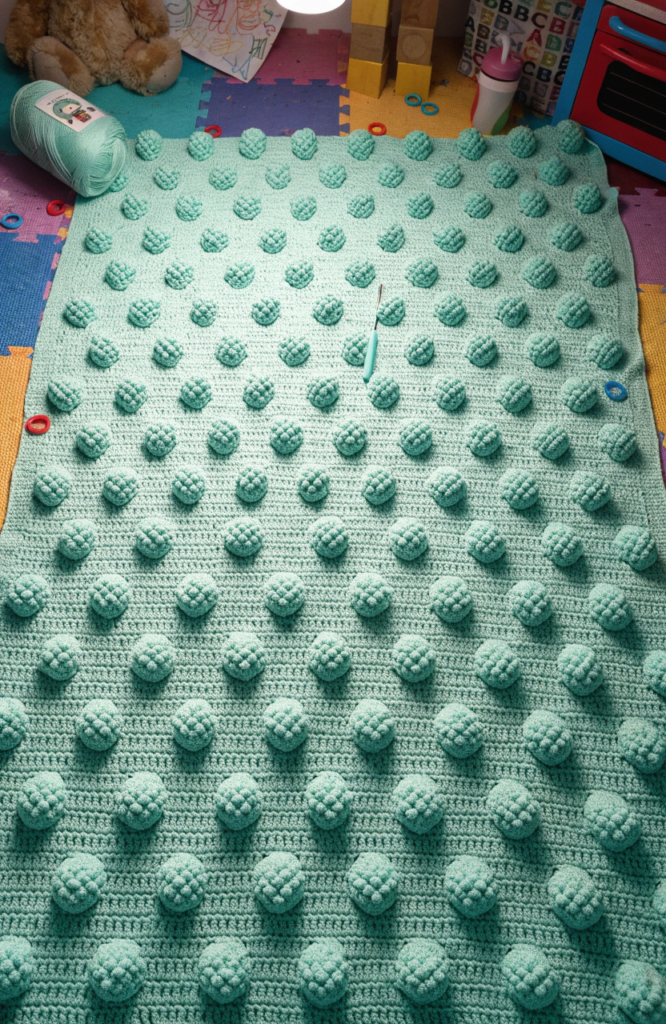
Little raised bumps scattered across the surface give this one great texture, and it’s a nice project if you want something a bit more textured without dealing with color changes.
Materials: worsted weight yarn, 5mm hook, tapestry needle
Steps:
- Chain your foundation and work a plain row of single or double crochet across.
- On your next row, work regular stitches until you reach a spot for a bobble, then work several incomplete stitches into that one spot and pull through all the loops together to create the bump.
- Continue the row, spacing bobbles evenly or following whatever pattern you like.
- Alternate a plain row and a bobble row as you build up the blanket, or scatter bobbles more randomly for a different effect.
- Finish with a simple border once you’ve reached your desired size.
9. Simple Striped Rows Blanket
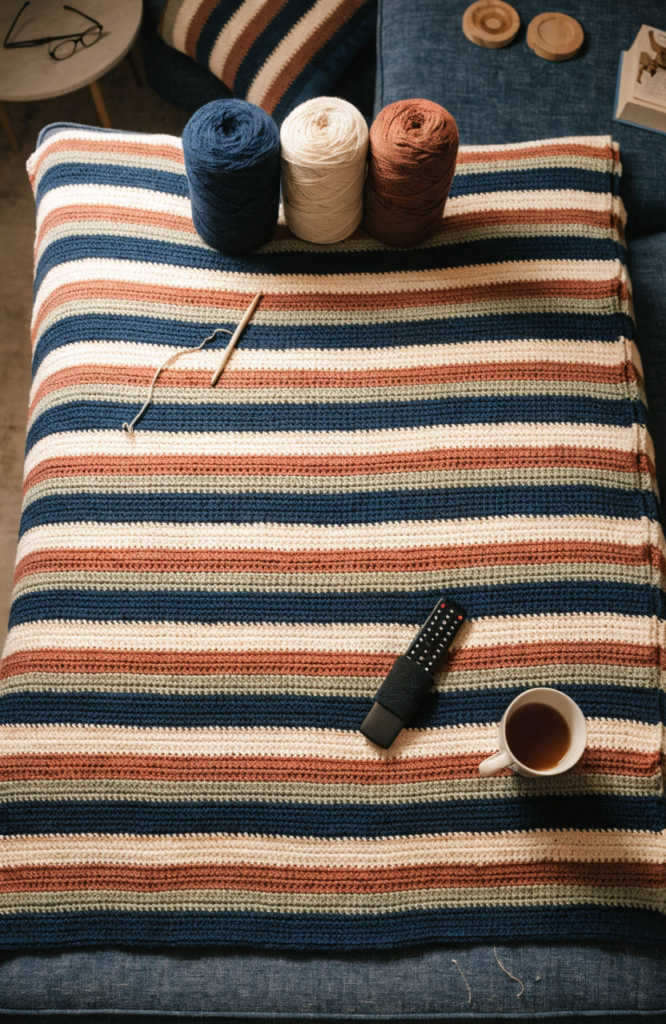
Sometimes the easiest option really is the best one. Straight rows of single or double crochet in changing colors, no fancy stitch pattern needed at all.
Materials: worsted weight yarn in several colors, 5mm hook, tapestry needle
Steps:
- Chain your foundation to whatever width you’d like the blanket to be.
- Work straight rows of single or double crochet, keeping your stitch count consistent from row to row.
- Change colors every few rows, or however often you like, for a striped look.
- Keep going until the blanket reaches your desired length.
- Add a border around the edges to keep everything looking neat and to stop any curling.
10. Mermaid Tail Blanket
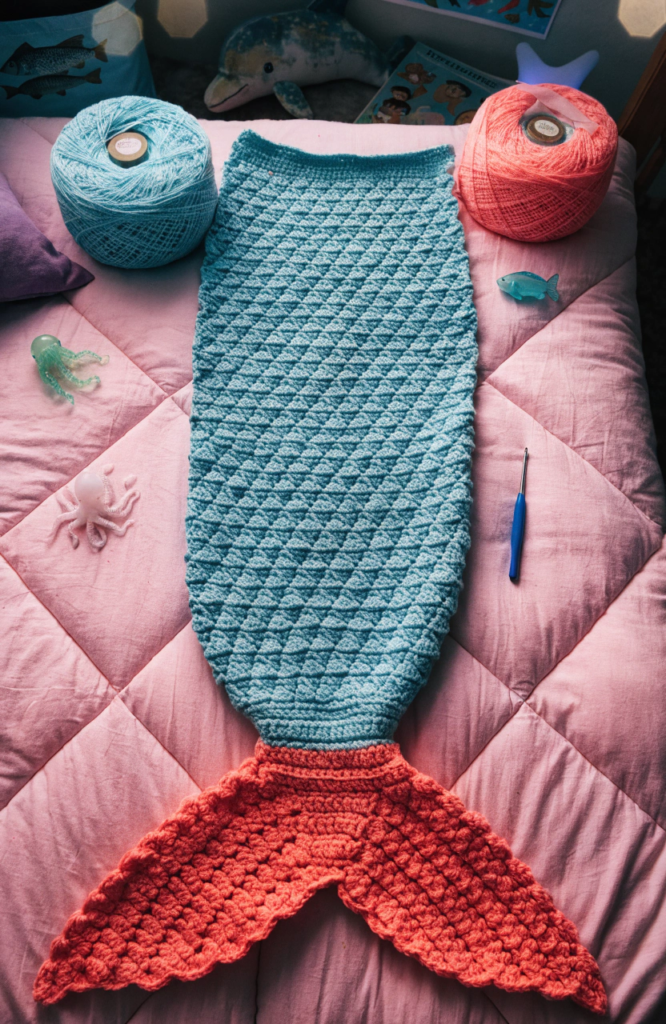
A fun one if you’re crocheting for a kid, since the finished shape actually looks like a mermaid tail once you sew the bottom seam closed.
Materials: worsted weight yarn in your chosen tail color, plus a contrast for the fin, 5mm hook, tapestry needle
Steps:
- Work a large rectangle in your main tail color to whatever size fits the child you’re making it for.
- Fold the rectangle in half lengthwise and sew or crochet the bottom edge and part of the side seam closed, leaving the top open to climb into.
- Work a separate fin shape in your contrast color, using increases to create the wide, curved tail fin silhouette.
- Sew the fin onto the closed bottom end of the main blanket.
- Add simple scale texture with rows of shell stitches or bobbles across the tail if you want extra detail.
11. Plaid Look Blanket
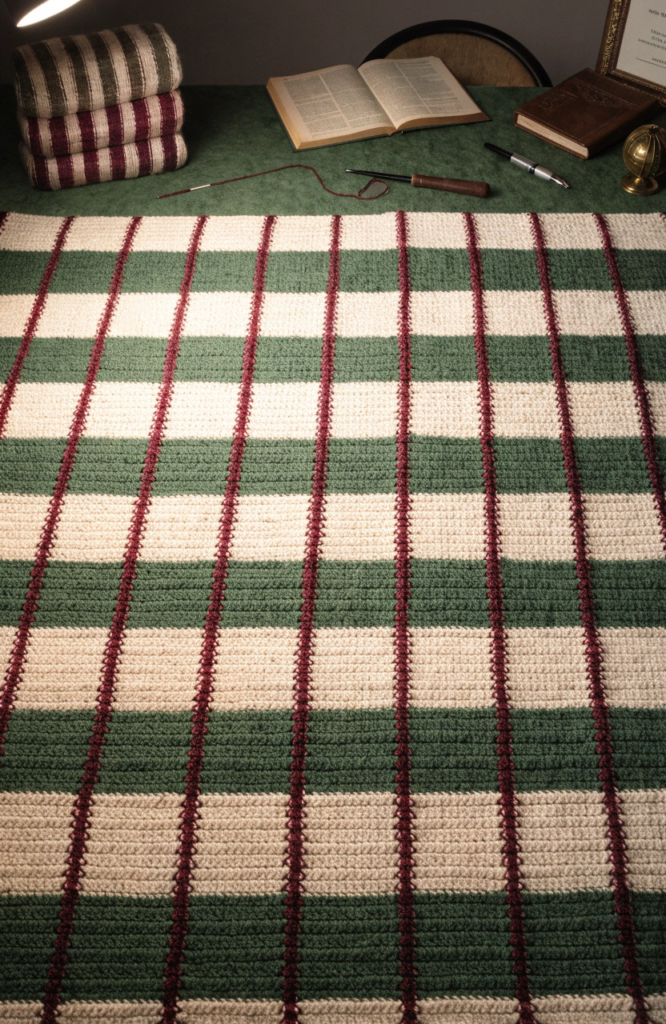
This one uses a plain striped base, then adds contrasting lines worked directly onto the surface afterward, which creates a plaid pattern without ever having to actually crochet a grid.
Materials: worsted weight yarn in 3 to 4 coordinating colors, 5mm hook, tapestry needle
Steps:
- Work a blanket in horizontal stripes using two or three of your chosen colors as the base.
- Once finished, thread a contrasting color onto a tapestry needle and work a line of surface slip stitches vertically down the blanket at even intervals.
- Repeat those vertical lines across the whole blanket, spacing them evenly.
- Add a few horizontal surface lines as well if you want a fuller plaid effect, crossing over the vertical ones.
- Finish with a simple border in one of your main colors.
12. Temperature Blanket
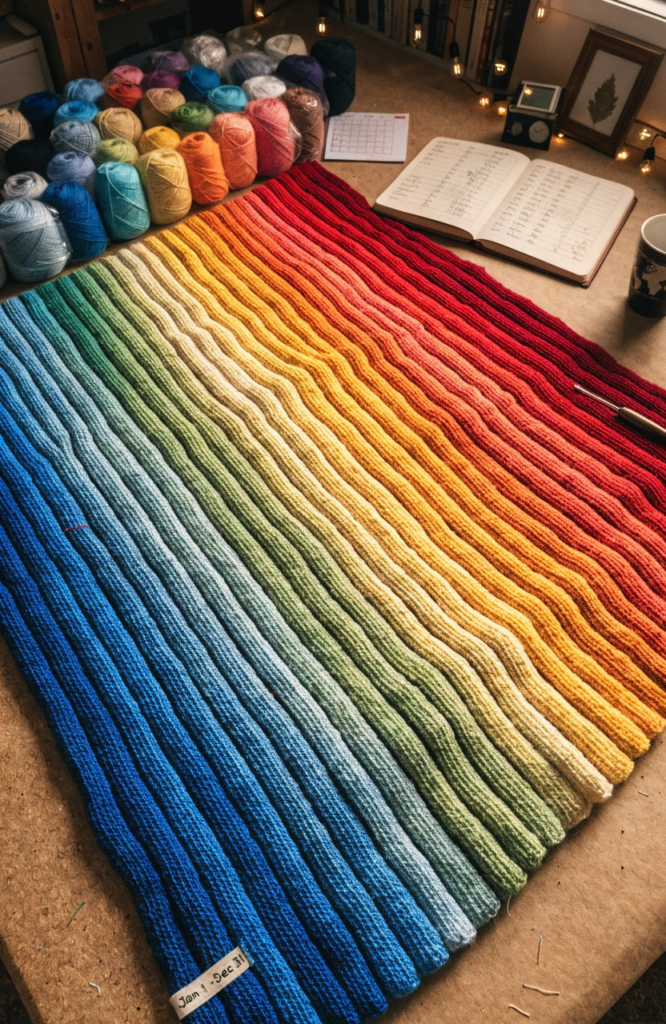
Less about the stitch pattern and more about the story behind it, this one uses a single row or stripe per day over the course of a year, with the color chosen based on that day’s temperature.
Materials: worsted weight yarn in a wide range of colors representing different temperature ranges, 5mm hook, tapestry needle
Steps:
- Set up a simple color key ahead of time, assigning a yarn color to different temperature ranges.
- Check the day’s temperature each day and work one row or one stripe in the matching color.
- Keep a small log of which color you used each day in case you need to double check your key later on.
- Continue daily through your chosen time period, whether that’s a full year or a shorter stretch.
- Add a border once the blanket is complete, and consider stitching a small tag noting the dates it covers.
13. Log Cabin Square Blanket
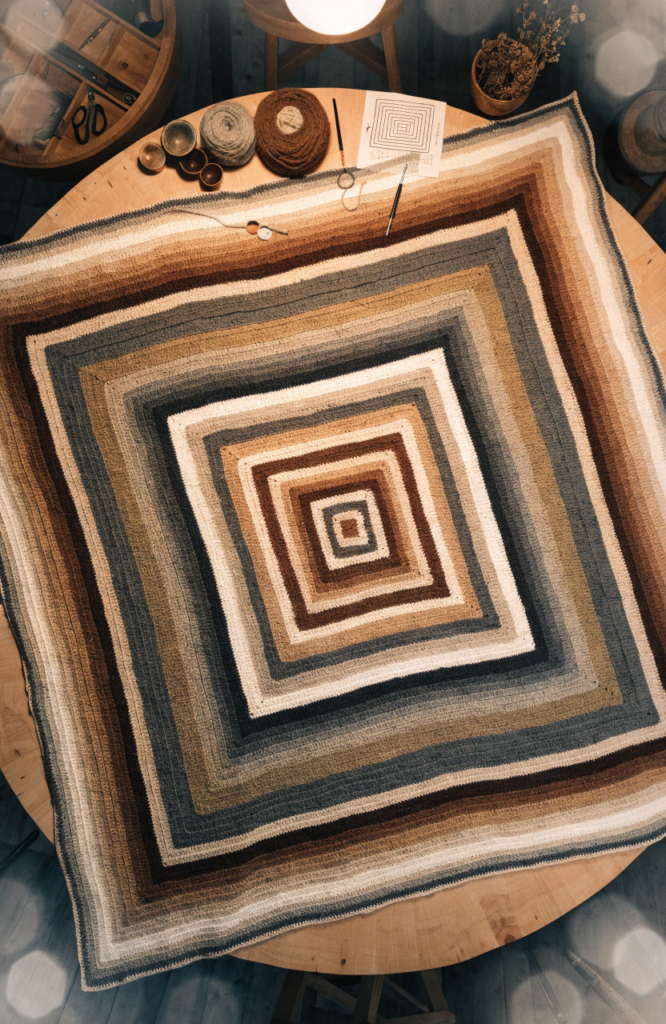
Built from a series of nested squares that spiral outward from a small center, this one gives you a lot of color options without needing to sew separate pieces together at the end.
Materials: worsted weight yarn in several colors, 5mm hook, tapestry needle
Steps:
- Start with a small square in your first color, working just a few rows.
- Switch colors and add a new set of stitches along one side of that first square, keeping the corners square as you go.
- Continue adding new colored strips around the growing square, always working along whichever side comes next in the rotation.
- Keep building outward, changing colors as often or as rarely as you like, until the blanket reaches your desired size.
- Finish with a simple border in your final round to clean up any uneven edges.
Finishing Touches
Blocking your finished blanket, which just means lightly wetting it and pinning it flat to dry, can smooth out uneven tension and make the whole thing lay a lot better once it’s done. Weave in every loose end thoroughly, since a blanket gets a lot more handling and washing than most crochet projects, and a poorly woven end will find its way out eventually. And however long a blanket takes you, whether it’s a weekend or half a year, it’s genuinely one of those projects that feels worth it the first time you actually use it on the couch.