Store-bought kinetic sand is fun right up until you check the price for how little you actually get in the container. The good news is the stuff that makes kinetic sand so satisfying, that slightly damp, moldable texture that still pours like sand, is easy to recreate at home with just a couple of ingredients. Here are 13 different takes on it, from the classic base recipe to a handful of fun variations worth trying once you’ve got the basics down.
A Few General Notes
Play sand from a hardware or craft store works best for these recipes since it’s been washed and sifted, unlike sandbox or outdoor sand which can have debris or bacteria you don’t want to deal with. Add your oil or soap gradually rather than all at once, since it’s much easier to mix in a little more than to fix sand that’s turned greasy.
Kinetic sand should feel slightly damp and hold together when you squeeze it, then crumble apart when you tap it, so that’s the texture you’re aiming for with each batch. Mixing is simple enough for kids to help with directly, though an adult should measure out any oils, powders, or essential oils ahead of time.
And aside from the edible version, none of these are meant to be eaten, so keep close supervision around toddlers or anyone who still tends to put things in their mouth.
1. Classic Two-Ingredient Kinetic Sand
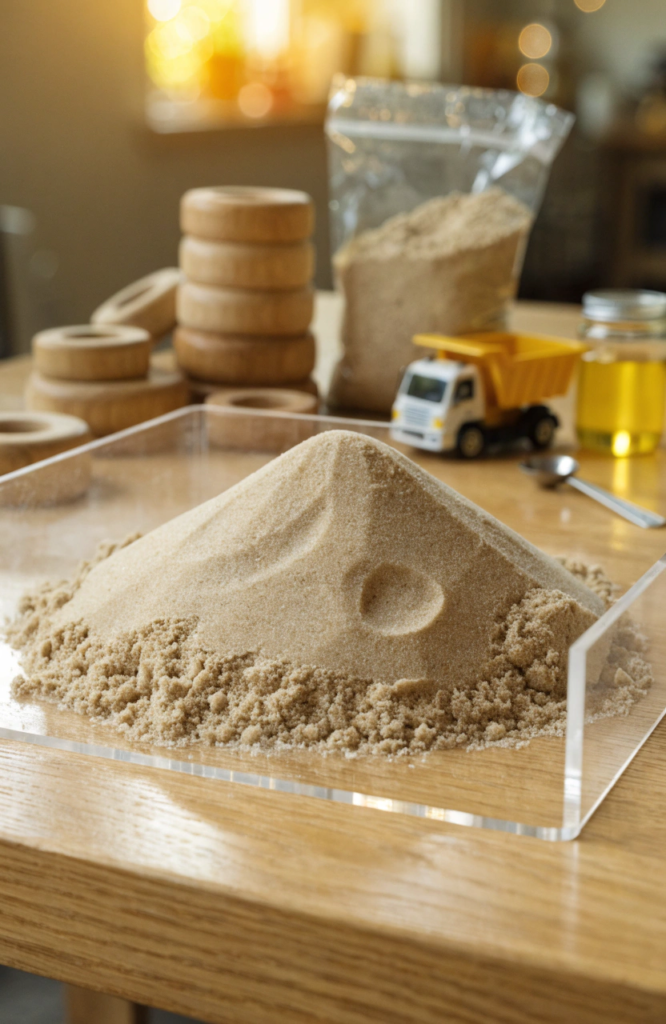
This is the base recipe almost everything else on this list builds off of, and it genuinely only needs two things from your pantry.
Ingredients: 4 cups play sand, 2 tablespoons vegetable oil
Steps:
- Pour the sand into a large mixing bowl or bin.
- Add the oil gradually, mixing with your hands or a spoon as you go.
- Keep working the oil through the sand until it’s evenly distributed with no dry patches.
- Squeeze a handful to test the texture, adding a bit more oil if it still feels loose and grainy.
- Store in an airtight container between uses to keep it from drying out.
2. Cornstarch Moon Sand
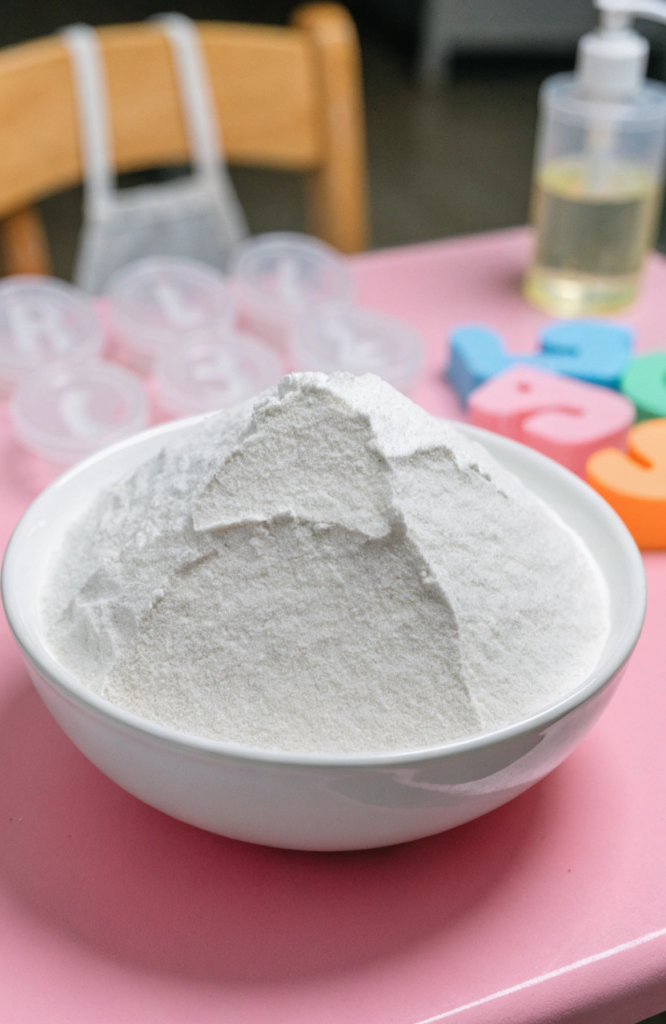
No actual sand involved here, just a flour and cornstarch blend that still gives you that same moldable, packable texture.
Ingredients: 2 cups flour, 1 cup cornstarch, 1/2 cup baby oil
Steps:
- Whisk the flour and cornstarch together in a large bowl.
- Add the baby oil gradually, mixing with your hands as you go.
- Keep working the oil through the dry mix until it clumps together when pressed.
- Test by squeezing a handful, adding a touch more oil if it’s still too powdery.
- Store in a sealed container to keep it from drying out over time.
3. Colored Kinetic Sand
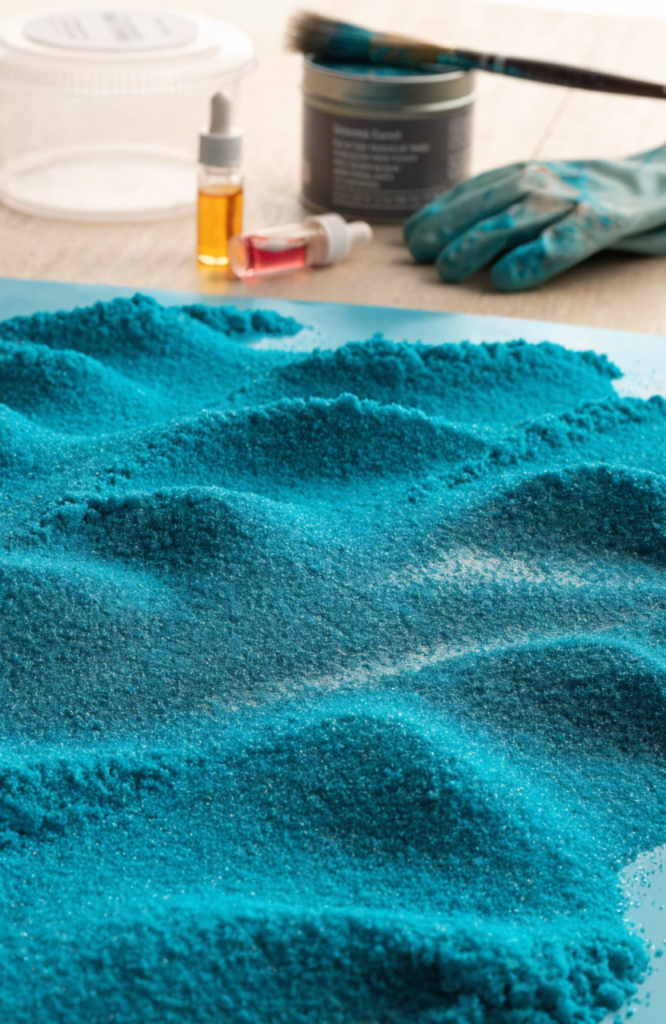
Same base recipe as the classic version, just with a step added at the start to get the color evenly worked through before the oil goes in.
Ingredients: 4 cups play sand, 2 tablespoons vegetable oil, food coloring or powdered tempera paint
Steps:
- Pour the sand into a bowl and add a few drops of food coloring or a spoonful of powdered tempera paint.
- Mix thoroughly, using gloves if you’d rather not stain your hands, until the color is evenly distributed.
- Add the oil gradually, mixing as you go.
- Continue working the oil through until the texture holds together when squeezed.
- Let it sit uncovered for an hour if the color still looks patchy, then mix once more before storing.
4. Glow-in-the-Dark Kinetic Sand
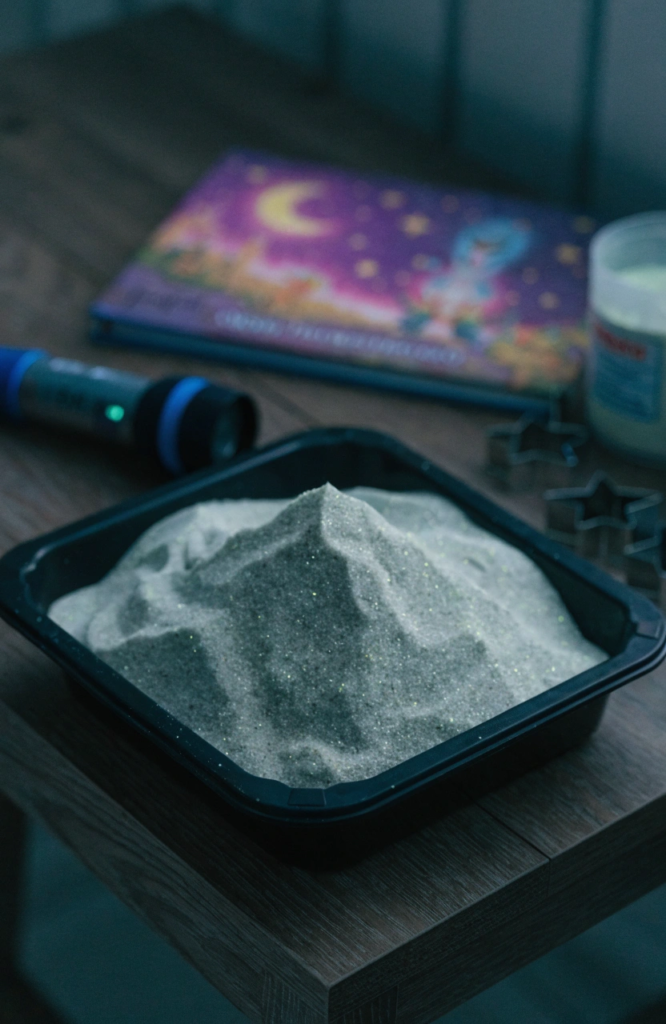
A fun one for nighttime play, using glow powder mixed in before the oil so it’s evenly distributed throughout instead of just sitting on the surface. Look for a powder labeled non-toxic and made for kids’ crafts rather than an industrial-grade version.
Ingredients: 4 cups play sand, 2 tablespoons vegetable oil, 2 tablespoons non-toxic craft-grade glow-in-the-dark powder
Steps:
- Mix the sand and glow powder together thoroughly in a bowl.
- Add the oil gradually, working it through with your hands.
- Keep mixing until the sand holds together and feels evenly coated.
- Charge the sand under a bright light for a few minutes before turning off the lights to see the glow effect.
- Store in a sealed container between uses.
5. Scented Kinetic Sand
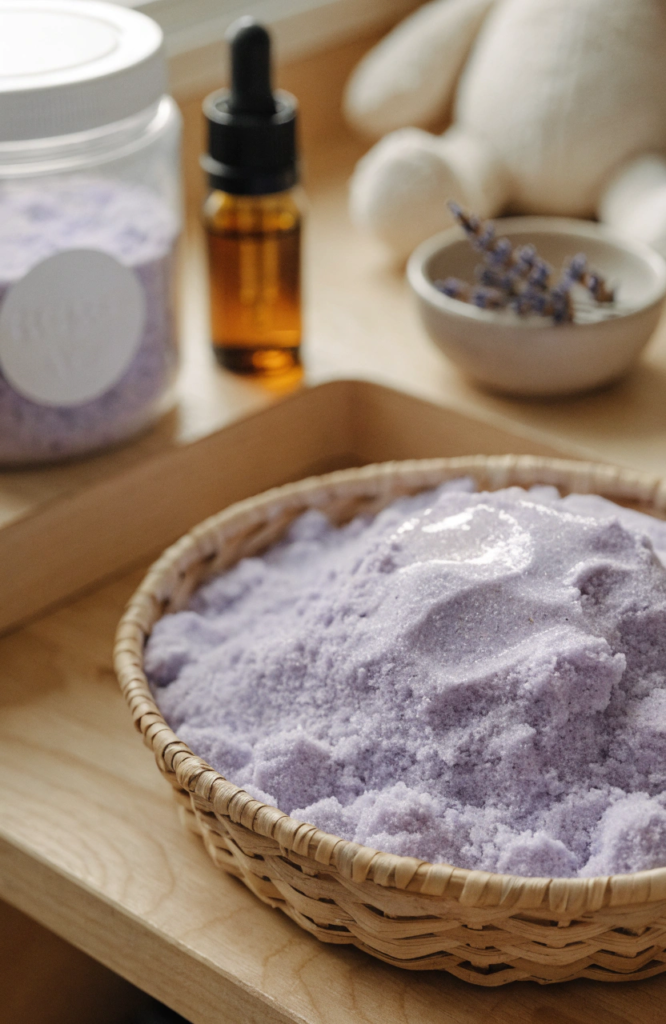
A few drops of essential oil turns this into a genuinely relaxing sensory activity, not just a visual and tactile one. Keep the amount light, since kids’ skin is more sensitive than adult skin, and choose a mild scent like lavender or sweet orange over anything strong.
Ingredients: 4 cups play sand, 2 tablespoons vegetable oil, 3 to 4 drops mild essential oil such as lavender
Steps:
- Pour the sand into a bowl.
- Mix the essential oil into the vegetable oil first so the scent disperses evenly and never touches skin at full strength.
- Add the combined oil mixture to the sand gradually, mixing as you go.
- Continue working it through until the texture holds together well.
- Store in an airtight container to help the scent last longer between uses, and skip this version entirely for any child with known sensitivities or allergies.
6. Glitter Kinetic Sand
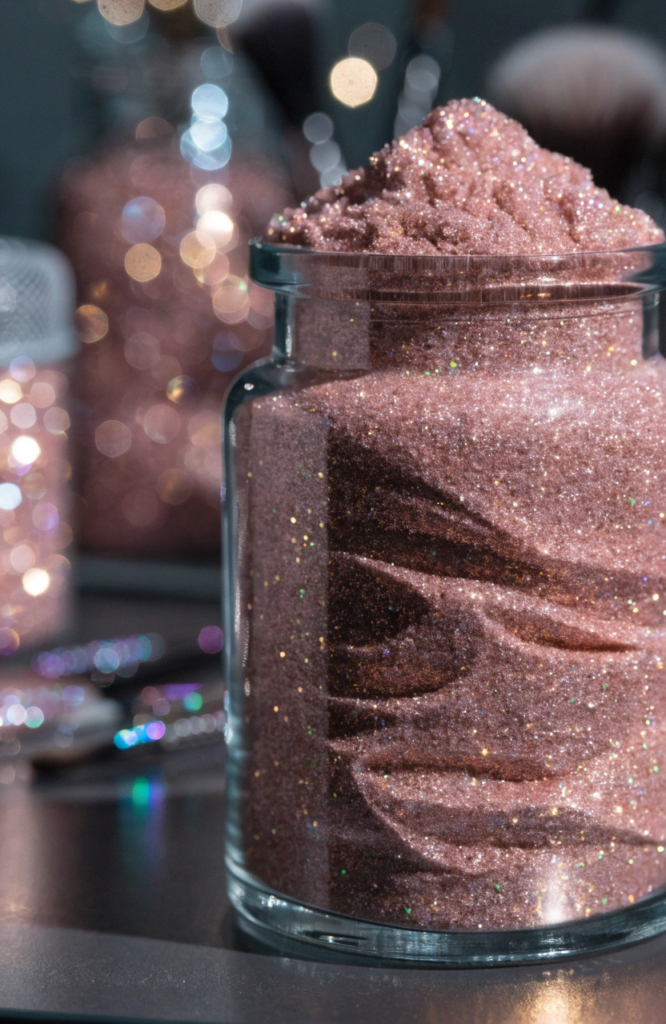
Fine glitter mixed into the base recipe adds a subtle sparkle without changing the texture much at all.
Ingredients: 4 cups play sand, 2 tablespoons vegetable oil, 2 tablespoons fine glitter
Steps:
- Pour the sand into a bowl and mix in the glitter first so it’s evenly scattered.
- Add the oil gradually, mixing with your hands as you go.
- Continue working the oil through until the sand holds together when squeezed.
- Check for any glitter clumps and break them up as you mix.
- Store in a sealed container between uses.
7. Silky Lotion Sand
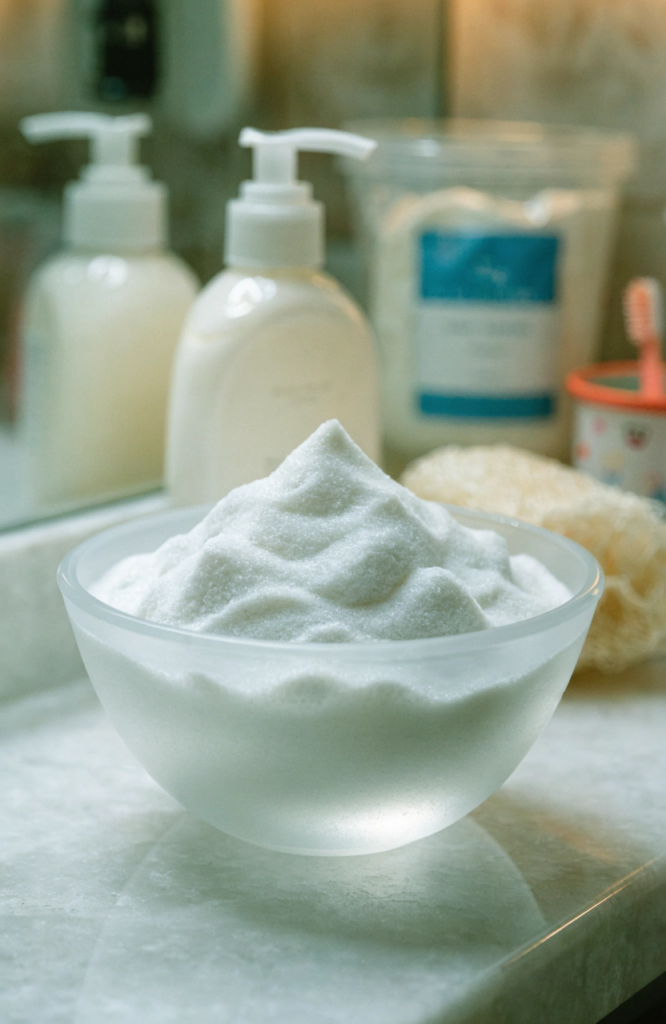
Swapping oil for a thick lotion gives this version an even softer, silkier feel than the standard recipe.
Ingredients: 4 cups play sand, 3 tablespoons thick lotion
Steps:
- Pour the sand into a bowl.
- Add the lotion in small amounts, mixing thoroughly between each addition.
- Keep working the lotion through the sand until it feels soft and holds together when pressed.
- Add a touch more lotion if the texture still feels grainy.
- Store in an airtight container, since lotion-based batches can dry out a bit faster than oil-based ones.
8. Magnetic Kinetic Sand
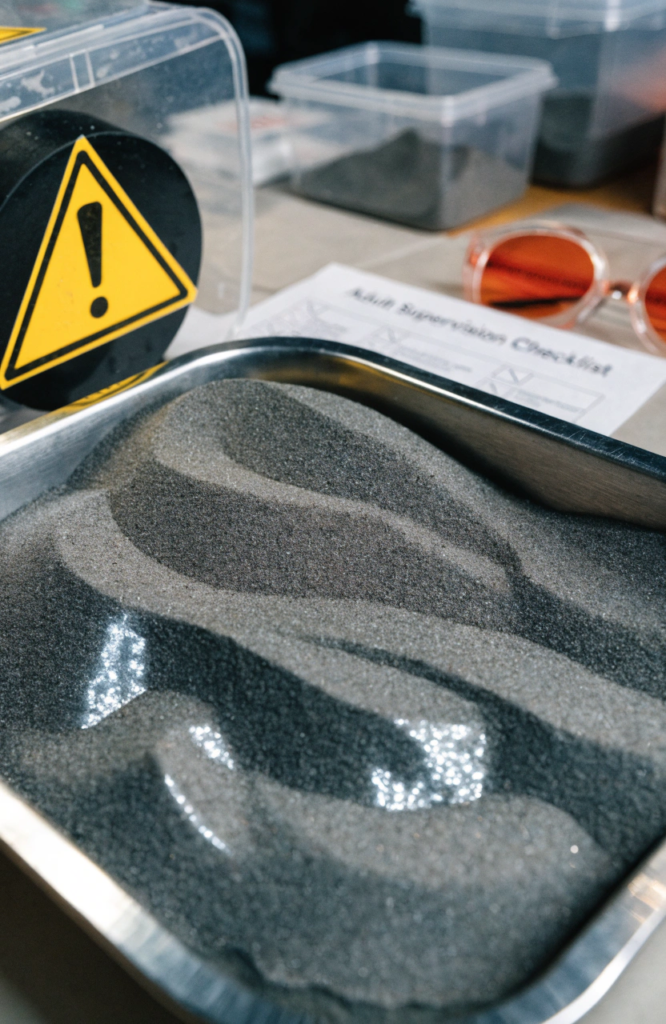
A genuinely different play experience, since this version actually reacts to a strong magnet dragged along the surface. This one works best as an adult-supervised activity for older kids, since strong magnets are a serious swallowing hazard for anyone younger who still mouths toys.
Ingredients: 4 cups play sand, 2 tablespoons vegetable oil, 1/2 cup iron oxide powder, strong magnet for play
Steps:
- Have an adult mix the iron oxide powder into the sand thoroughly, wearing gloves and avoiding stirring up dust, since fine powder shouldn’t be inhaled.
- Add the oil gradually, working it through the mixture as you go.
- Continue mixing until the sand holds together and the iron powder is evenly distributed.
- Let the adult handle the magnet directly, holding it just above or against the surface while the kids watch the sand react, rather than handing the magnet over for independent play.
- Store the sand and the magnet separately in sealed containers, both out of reach of younger children between uses.
9. Beach-Themed Blue Sand
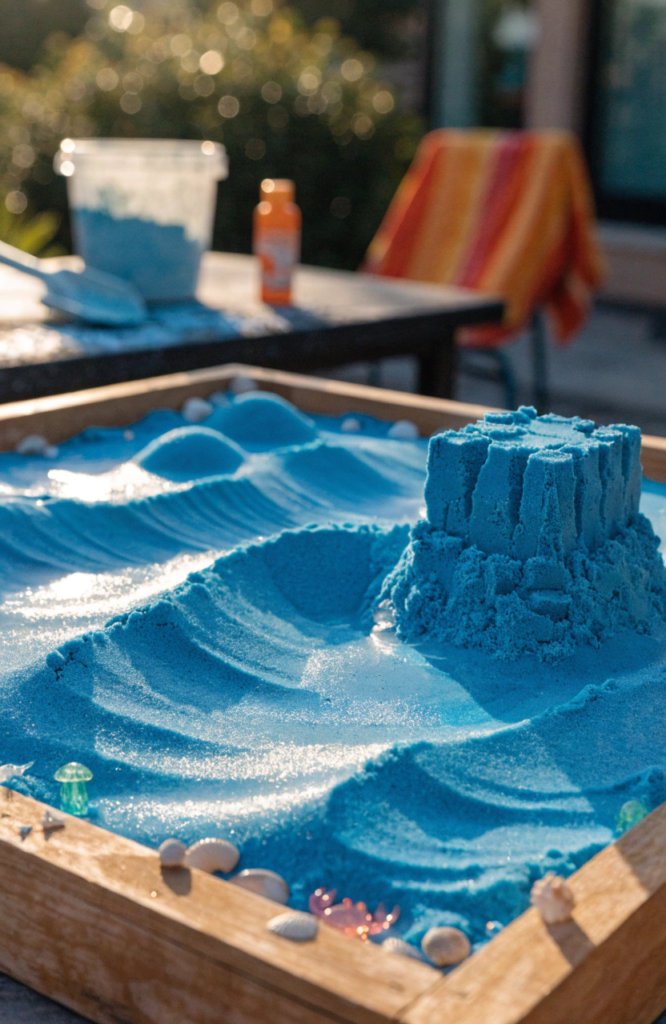
A simple color and mix-in combo that turns a regular batch into a mini beach scene, especially fun paired with small toy shells or sea creatures.
Ingredients: 4 cups play sand, 2 tablespoons vegetable oil, blue food coloring, small seashell or ocean-themed toys
Steps:
- Mix a few drops of blue food coloring into the sand until evenly tinted.
- Add the oil gradually, mixing as you go.
- Continue working it through until the texture holds together well.
- Let the color set for about an hour if it looks streaky, mixing again afterward.
- Add small shells or ocean toys to the finished sand for imaginative play.
10. Edible Kinetic “Sand”
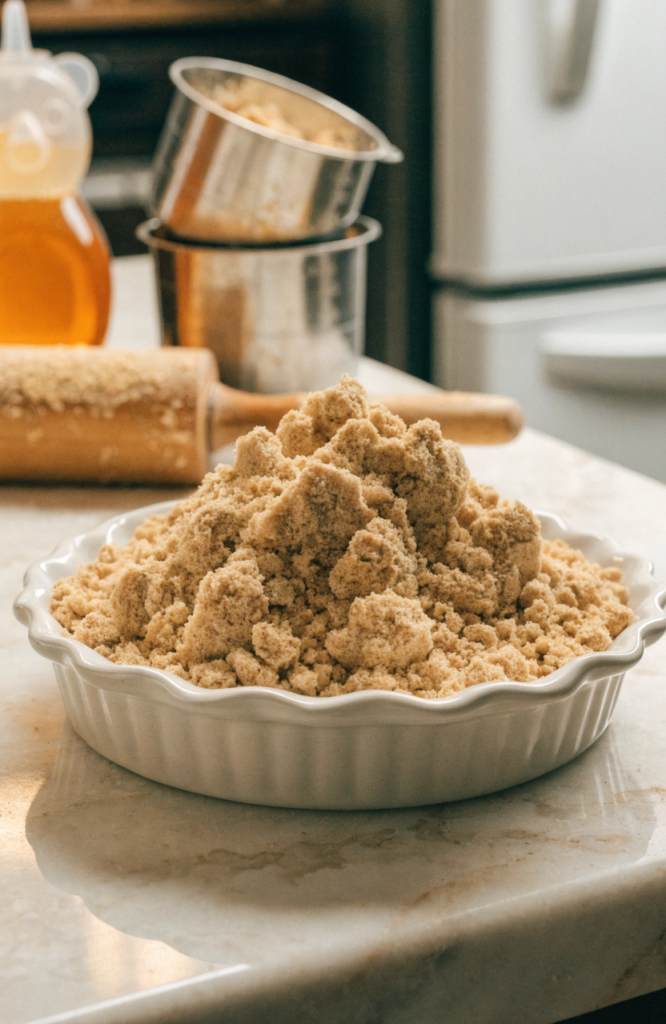
Not real sand at all, but a crushed cereal and butter mixture that mimics the same moldable texture and is genuinely safe for little ones to taste.
Ingredients: 4 cups crushed graham crackers or rice cereal, 1/2 cup melted butter, 2 tablespoons honey
Steps:
- Crush the crackers or cereal into a fine, sand-like texture using a food processor or a rolling pin.
- Stir in the melted butter and honey until evenly combined.
- Let the mixture cool slightly until it’s safe to handle.
- Squeeze a handful to test, adding a touch more melted butter if it’s too dry to hold together.
- Store covered in the fridge and let it sit at room temperature for a few minutes before playing.
11. Foam Kinetic Sand
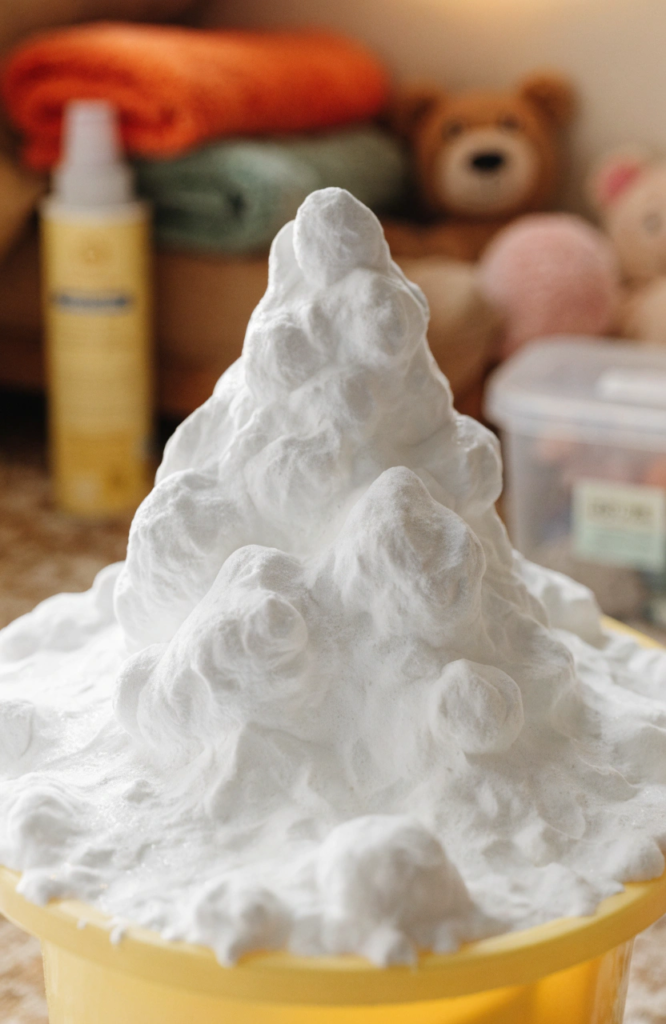
Mixing in shaving cream gives this batch a lighter, fluffier texture than the standard oil-based version.
Ingredients: 4 cups play sand, 1 cup shaving cream, 1 tablespoon vegetable oil
Steps:
- Pour the sand into a large bowl.
- Add the shaving cream and oil together, mixing gently to avoid deflating the foam too much.
- Fold the mixture rather than stirring hard, working it through until evenly combined.
- Test the texture, adding a touch more shaving cream if it feels too dense.
- Store in an airtight container, keeping in mind this version won’t last quite as long as the standard batches.
12. Baby Oil Salt Sand
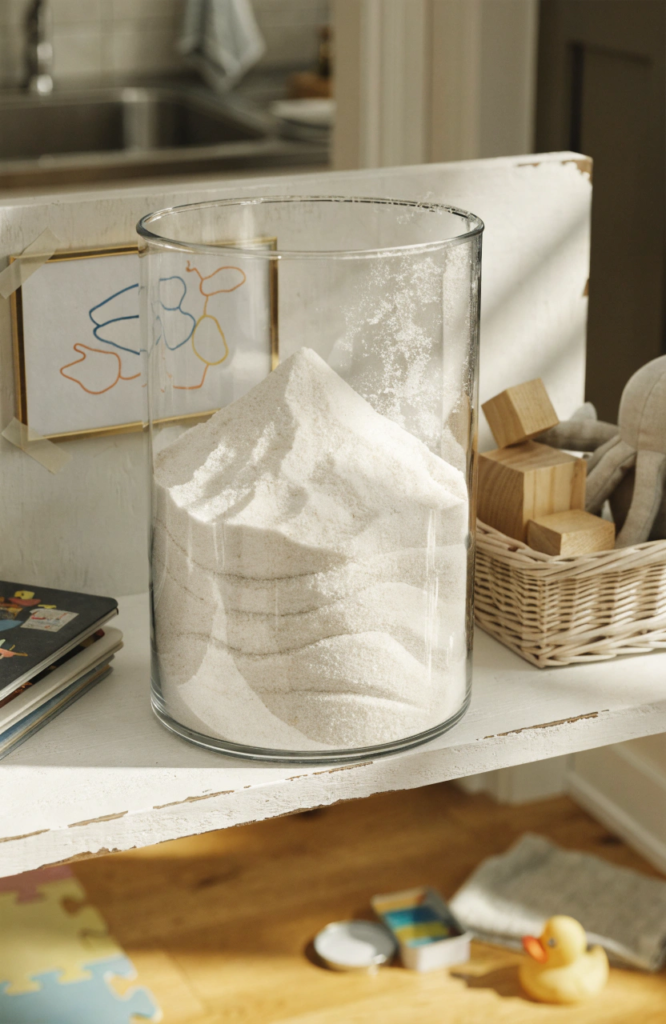
An old-school moon sand method using fine salt instead of play sand, which gives you a slightly different grain and sheen.
Ingredients: 2 cups fine salt, 1 cup cornstarch, 1/2 cup baby oil
Steps:
- Whisk the salt and cornstarch together in a large bowl.
- Add the baby oil gradually, mixing with your hands as you go.
- Continue working the oil through the dry mixture until it clumps together when pressed.
- Test by squeezing a handful, adding more oil a little at a time if needed.
- Store in a sealed container to prevent it from drying out.
13. Pastel Ombre Sand Set
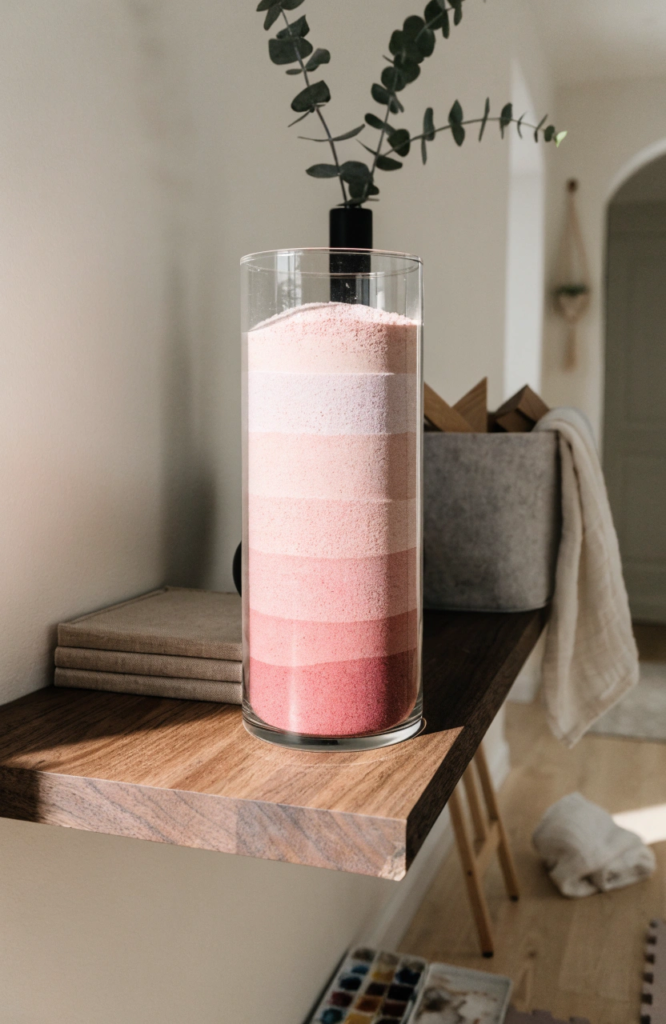
Rather than one single batch, this is really three or four small batches in graduating shades of the same color, meant to be layered or displayed together.
Ingredients: play sand and vegetable oil in the classic ratio, divided into 3 to 4 batches, food coloring in graduating amounts
Steps:
- Prepare several small batches of the classic recipe, keeping them separate.
- Tint each batch with the same color of food coloring, using fewer drops for lighter batches and more for darker ones.
- Mix each batch thoroughly before adding the oil, so the color sets before the texture comes together.
- Add the oil to each batch individually, working it through until it holds together.
- Layer the finished batches in a clear container by shade for a pretty gradient effect, or keep them separate for mixing and blending during play.
Storing Your Kinetic Sand
Always store kinetic sand in an airtight container or a sealed bag, since exposed sand dries out within a day or two and loses that satisfying moldable texture. If a batch does dry out, working in a few more drops of oil usually brings it back to life. Avoid getting any of these wet, since water breaks down the oil coating and turns the whole batch back into regular clumpy sand. Kept properly sealed between uses, most batches will stay playable for months.