Store-bought play dough dries out fast and never smells like anything but that one signature Play-Doh scent, which is exactly why so many parents end up making their own eventually. The good news is homemade dough is genuinely easy, most versions use stuff already in your pantry, and you can tweak the texture, scent, or color however you want.
Here are 13 different versions to try, from the classic stovetop batch to a few edible options for the toddlers who still think everything belongs in their mouth.
A Few General Notes
Cream of tartar is what gives a lot of these recipes their stretch and helps them last longer before crumbling, so it’s worth picking up a small container if you don’t already have one, though most recipes will still work without it in a pinch. Store finished dough in an airtight container or a sealed bag, since exposure to air is what dries these out fastest.
If you’re making a batch for a toddler who still mouths things, stick to one of the edible recipes near the end rather than the standard versions, since regular play dough isn’t meant to be eaten even though it’s technically non-toxic. And always let cooked dough cool completely before handing it to a kid, since it holds heat longer than you’d expect right off the stove.
1. Classic Stovetop Playdough
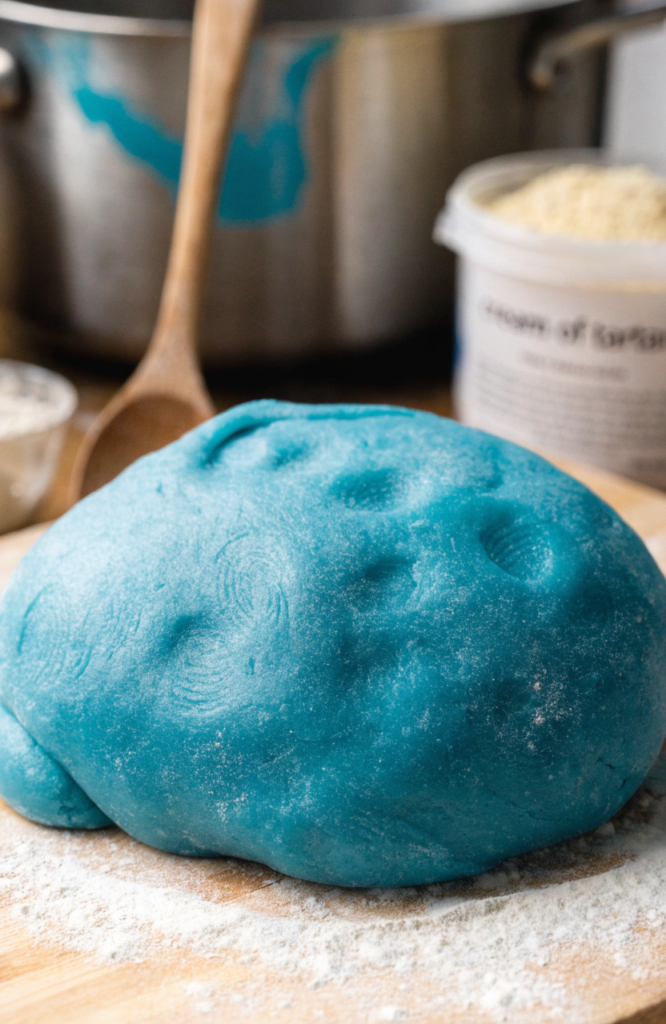
This is the one most people picture when they think of homemade dough, and it holds up better over time than almost any no-cook version.
Ingredients: 2 cups flour, 2 tablespoons vegetable oil, 1/2 cup salt, 2 tablespoons cream of tartar, 2 cups water, food coloring
Steps:
- Combine the flour, salt, and cream of tartar in a large pot, stirring the dry ingredients together first.
- Add the water, oil, and food coloring, stirring until mostly combined.
- Cook over medium heat, stirring constantly, until the mixture thickens and starts pulling away from the sides of the pot.
- Once it forms a solid, doughy mass, remove it from the heat.
- Let it cool slightly, then knead on a floured surface until smooth.
2. No-Cook Cream of Tartar Playdough
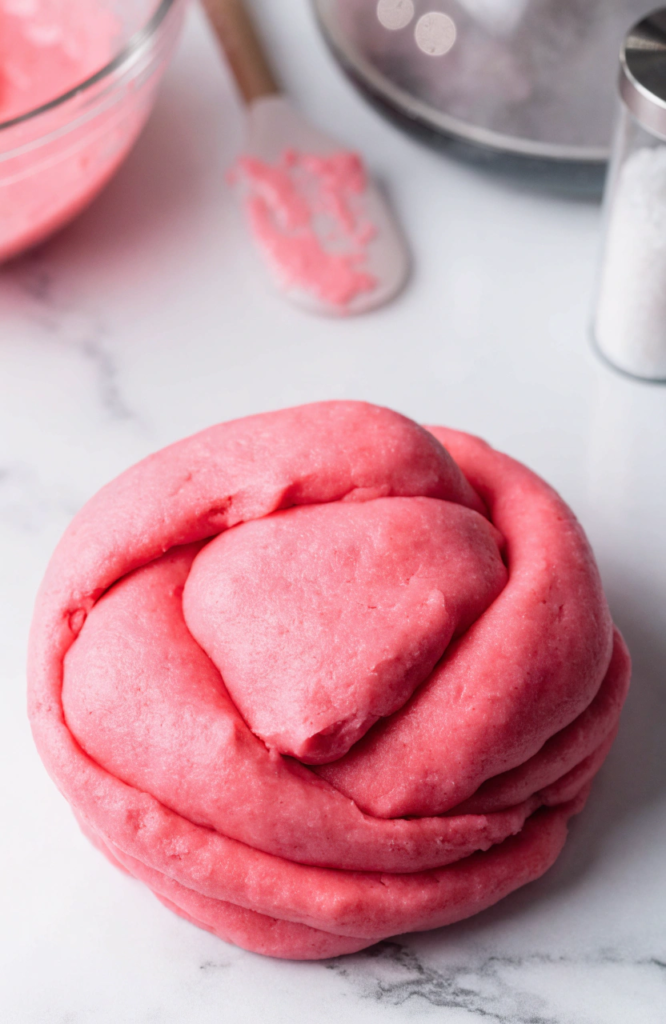
Same great texture as the stovetop version, but you skip the pot entirely, which makes this the one to reach for when you want dough ready in five minutes flat.
Ingredients: 1 cup flour, 1/4 cup salt, 2 tablespoons cream of tartar, 1 tablespoon oil, 3/4 cup boiling water, food coloring
Steps:
- Mix the flour, salt, and cream of tartar together in a bowl.
- Stir the food coloring into the boiling water first, then carefully pour it into the dry ingredients along with the oil.
- Stir with a spoon until it’s too thick to mix further, being careful since the water is still hot.
- Let it cool for a couple of minutes, then turn it out onto a surface and knead by hand.
- Knead until smooth and no longer sticky, adding a light dusting of flour if needed.
3. Salt Playdough for Keepsakes
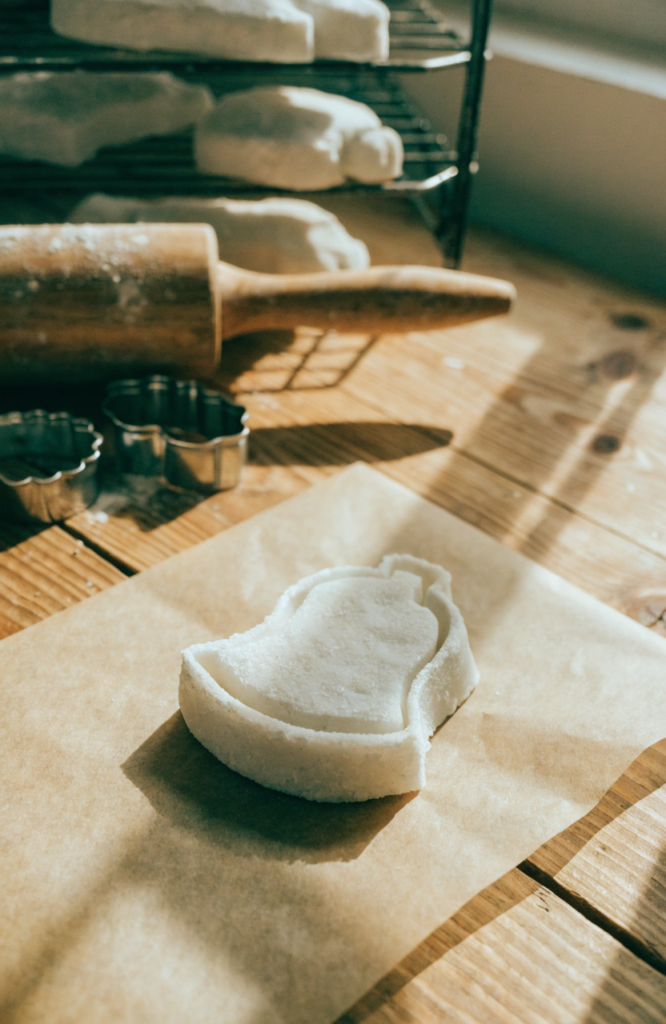
This one isn’t really meant for everyday play since it air-dries hard, but it’s perfect for ornaments, handprints, or little keepsake pieces.
Ingredients: 2 cups flour, 1 cup salt, 1 cup water
Steps:
- Mix the flour and salt together in a bowl.
- Add the water gradually, stirring as you go, until a dough starts to form.
- Turn it out and knead by hand for several minutes until smooth and pliable.
- Roll, shape, or press the dough into whatever design you’re making.
- Let pieces air dry for a couple of days, or bake at a low oven temperature until fully hardened.
4. Conditioner and Cornstarch Playdough
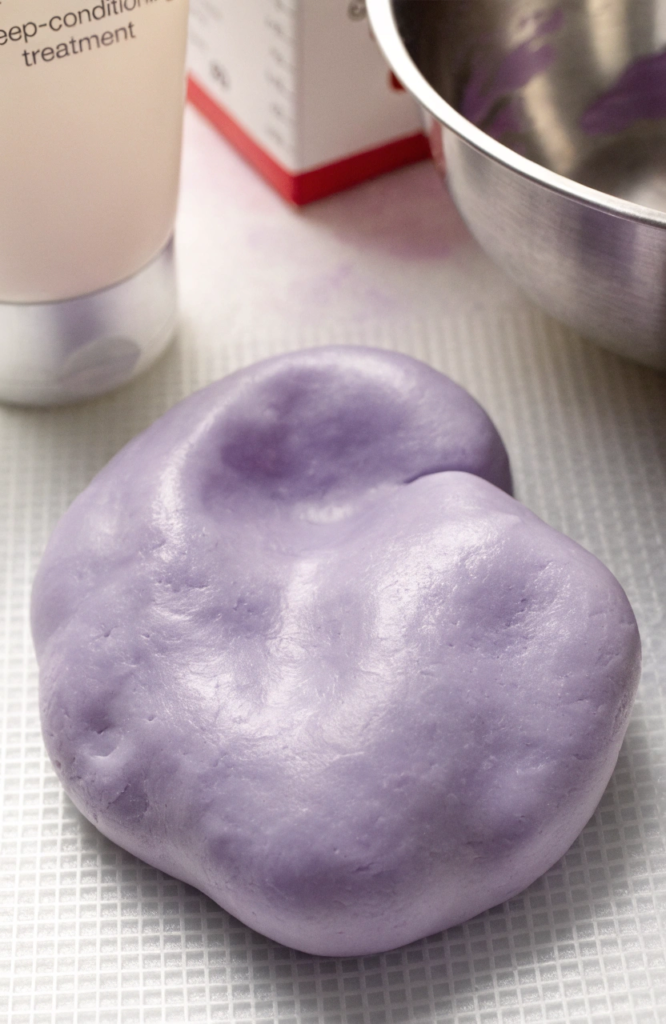
Softer and silkier than flour-based dough, and it leaves hands feeling a little moisturized afterward, which kids find oddly satisfying.
Ingredients: 1 cup cornstarch, 1/2 cup thick hair conditioner, food coloring
Steps:
- Add the cornstarch to a bowl.
- Mix in the conditioner a little at a time, stirring as you go.
- Once it starts to come together, add a few drops of food coloring if you want it tinted.
- Knead by hand, adding a touch more cornstarch if it feels too sticky.
- Continue kneading until smooth and soft, but firm enough to hold a shape.
5. Kool-Aid Scented Playdough
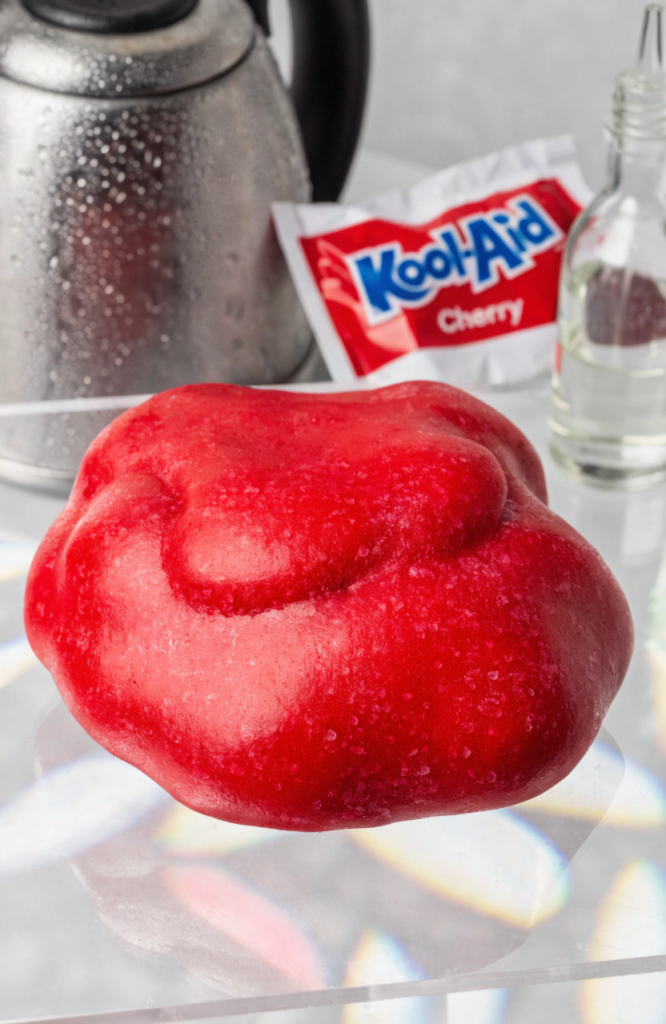
This version uses the classic cream of tartar base but swaps in a packet of unsweetened drink mix, which gives you both color and scent in one step.
Ingredients: 1 cup flour, 1/4 cup salt, 2 tablespoons cream of tartar, 1 tablespoon oil, 1 cup boiling water, 1 packet unsweetened drink mix
Steps:
- Mix the flour, salt, cream of tartar, and drink mix packet together in a bowl.
- Carefully pour in the boiling water along with the oil, stirring as you add it.
- Stir until the mixture is too thick to keep mixing with a spoon.
- Let it cool slightly, then knead by hand until smooth.
- The color and scent from the drink mix should come through fully once kneaded.
6. Baking Soda and Cornstarch Playdough
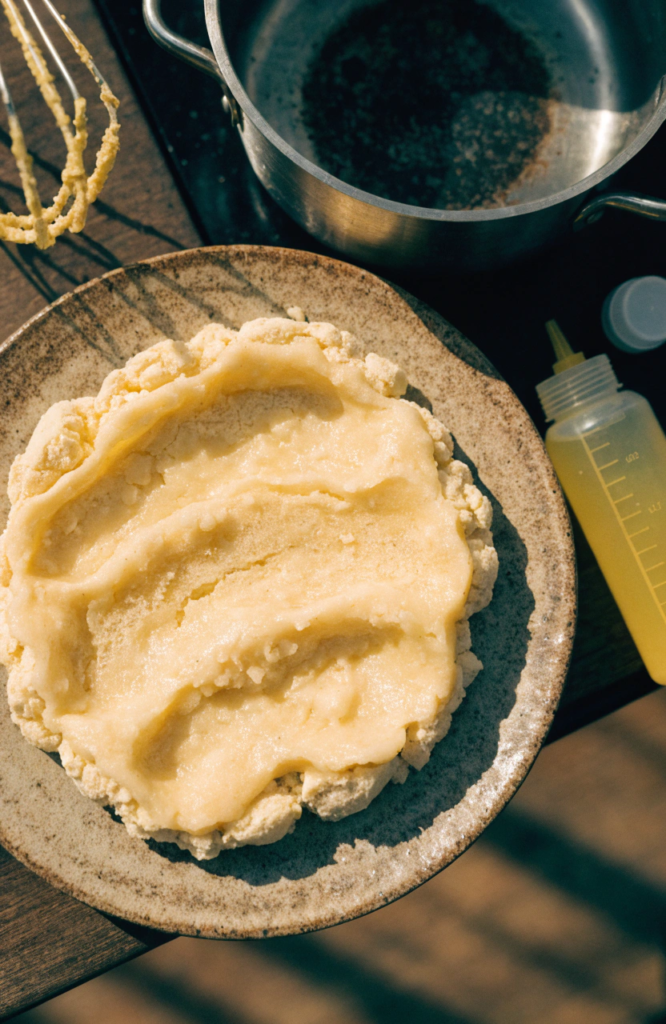
A softer, almost powdery textured dough that’s a nice change of pace from the stretchier flour-based recipes.
Ingredients: 1 cup baking soda, 1/2 cup cornstarch, 3/4 cup water, food coloring
Steps:
- Whisk the baking soda and cornstarch together in a pot.
- Stir in the water and food coloring until fully combined.
- Cook over medium-low heat, stirring constantly, until it thickens into a mashed-potato-like consistency.
- Remove from heat once it pulls together into a dough ball.
- Let it cool, then knead briefly until smooth.
7. Gluten-Free Rice Flour Playdough
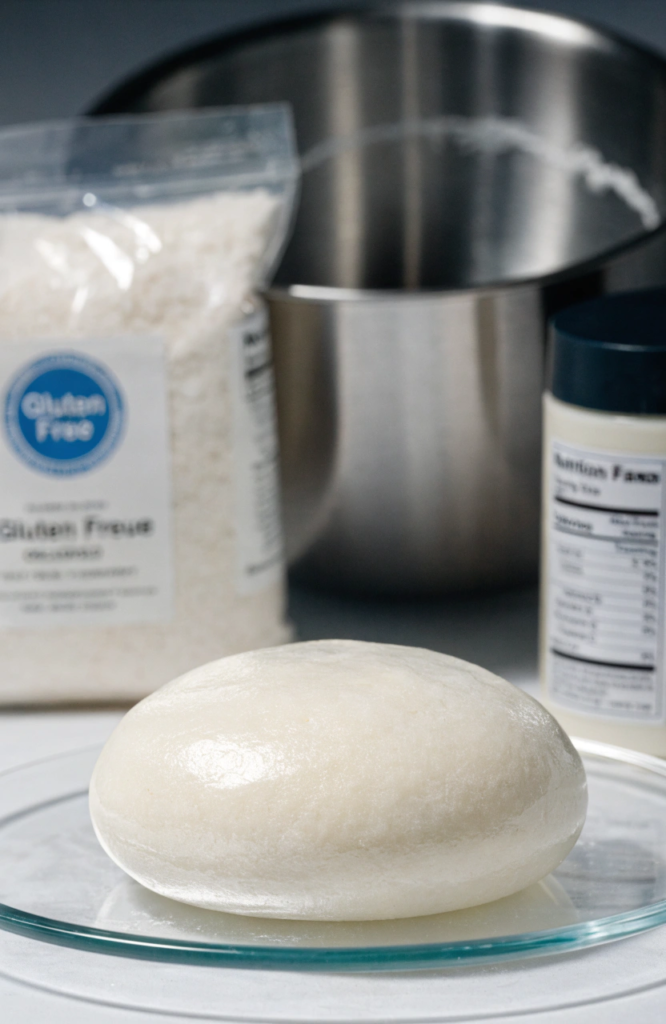
A good swap for anyone avoiding gluten, and the texture ends up just as smooth as a traditional wheat flour batch.
Ingredients: 2 cups rice flour, 1/2 cup salt, 2 tablespoons cream of tartar, 2 tablespoons oil, 2 cups water, food coloring
Steps:
- Combine the rice flour, salt, and cream of tartar in a pot.
- Add the water, oil, and food coloring, stirring to combine.
- Cook over medium heat, stirring constantly, until the mixture thickens and clumps together.
- Remove from heat and let cool slightly.
- Knead on a rice-flour-dusted surface until smooth and no longer tacky.
8. Oat Flour Playdough
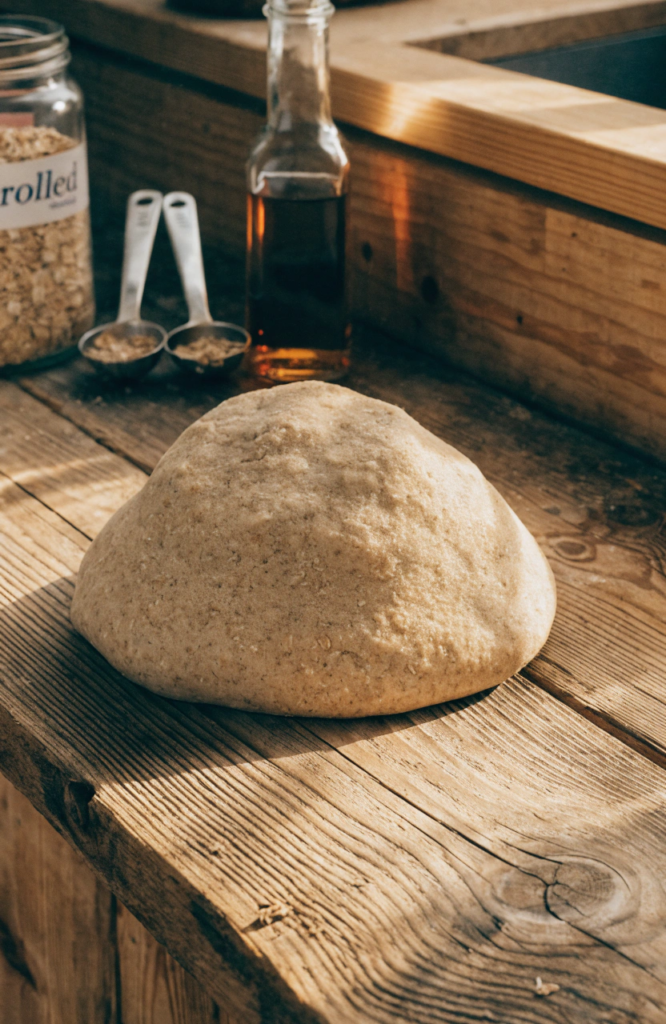
A soft, slightly nutty-smelling dough that works well as an edible-adjacent option, though it’s still best treated as play dough rather than a snack.
Ingredients: 2 cups oat flour, 1/2 cup water, 2 tablespoons oil, food coloring
Steps:
- Add the oat flour to a bowl.
- Stir in the water and oil gradually, mixing as you go.
- Add food coloring and continue mixing until evenly distributed.
- Knead by hand, adding a little more oat flour if the dough feels too wet.
- Knead until it holds together smoothly and doesn’t crumble apart.
9. Cloud Playdough
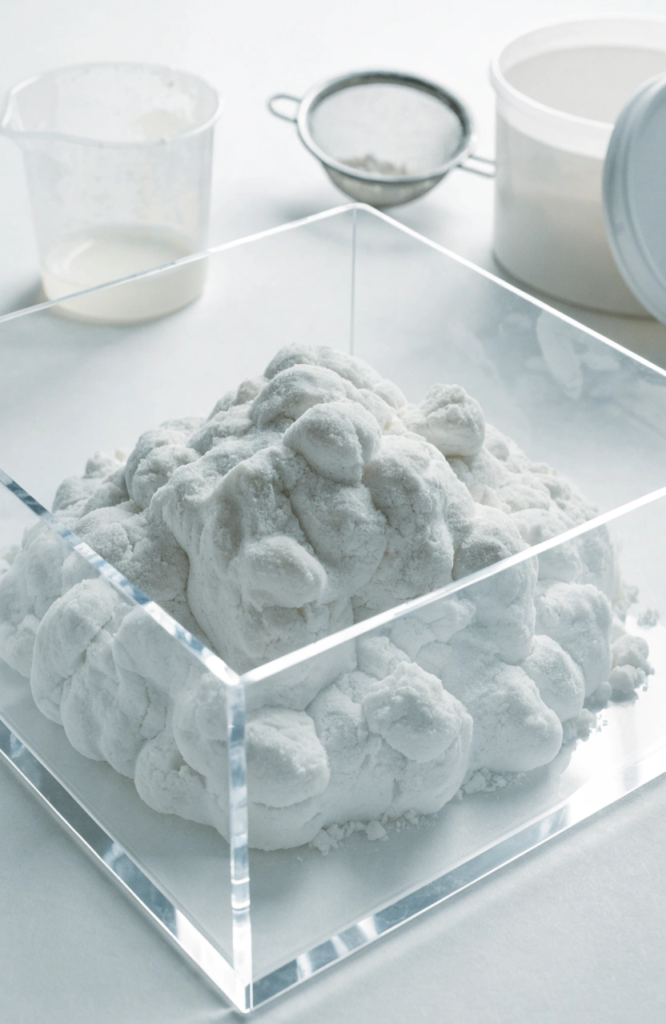
Technically more of a moldable sand than a traditional dough, this one is incredibly satisfying to squish and works great for sensory bins.
Ingredients: 8 cups flour, 1 cup baby oil or vegetable oil
Steps:
- Pour the flour into a large bin or bowl.
- Add the oil gradually, mixing with your hands as you go.
- Keep working the oil through the flour until it reaches a moldable, slightly crumbly texture.
- Squeeze a handful to test. It should hold its shape when packed and crumble apart when disturbed.
- Adjust with a splash more oil if it’s too dry, or a bit more flour if it feels greasy.
10. Chocolate Play Playdough
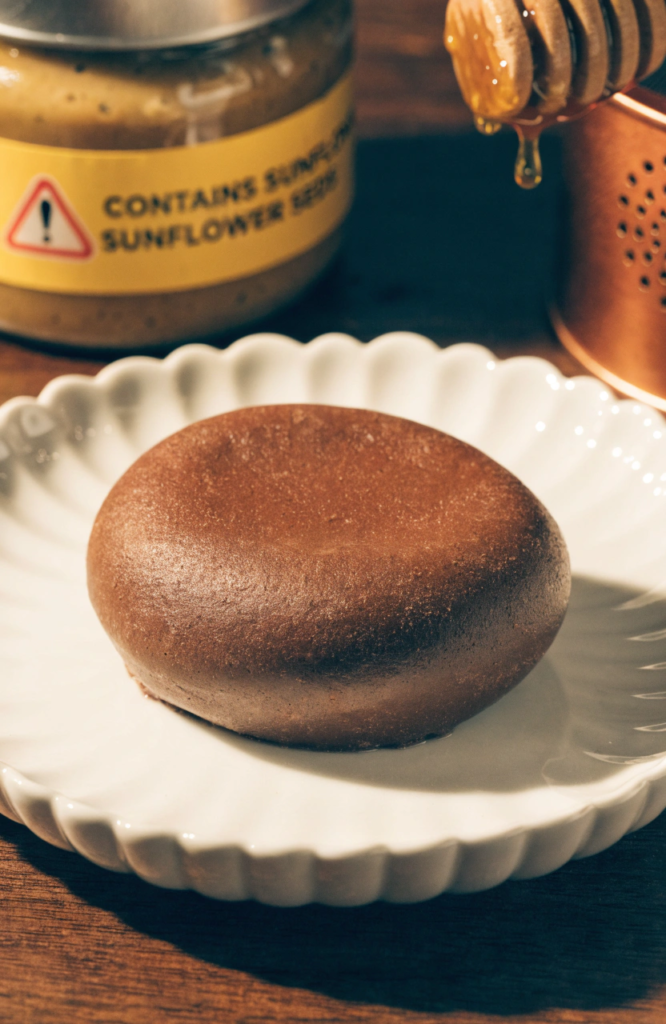
Genuinely safe to eat in small amounts, which makes this one a good pick for toddlers who haven’t quite grasped that play dough usually isn’t food.
Ingredients: 1 cup peanut butter or sunflower seed butter, 1/4 cup honey, 1/4 cup cocoa powder, powdered sugar as needed
Steps:
- Stir the peanut butter and honey together in a bowl until smooth.
- Mix in the cocoa powder until fully combined.
- Add powdered sugar a little at a time, kneading between additions, until the mixture reaches a firm, dough-like consistency.
- Knead by hand until smooth and no longer sticky.
- Store in the fridge between uses, since this dough softens at room temperature.
11. Peanut Butter Edible Playdough
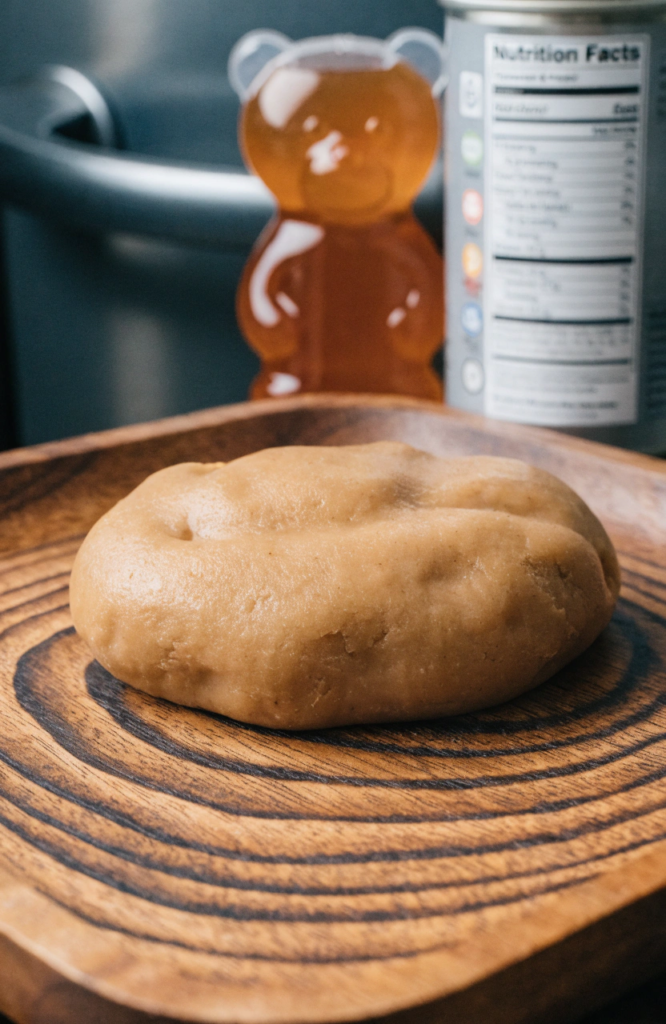
A simple two- or three-ingredient Playdough that toddlers can help make themselves since there’s no cooking or hot water involved.
Ingredients: 1 cup peanut butter, 1/4 cup honey, powdered milk or powdered sugar as needed
Steps:
- Mix the peanut butter and honey together in a bowl until smooth.
- Add powdered milk or powdered sugar a spoonful at a time, stirring between each addition.
- Keep adding until the mixture firms up into a Playdough-like texture.
- Knead by hand briefly to bring it fully together.
- Store in the fridge and let it sit out a few minutes before playing, since it firms up when chilled.
12. Glittery Sensory Playdough
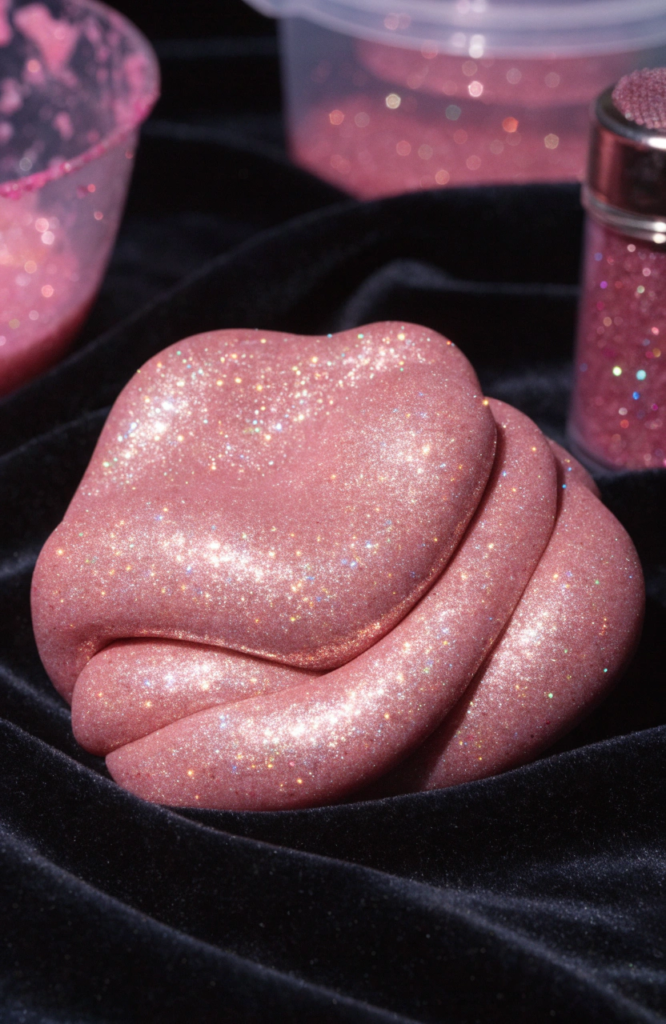
A standard cream of tartar Playdough with a generous amount of fine glitter mixed in, which makes it a favorite for anyone who likes their sensory play with a little sparkle.
Ingredients: 1 cup flour, 1/4 cup salt, 2 tablespoons cream of tartar, 1 tablespoon oil, 3/4 cup boiling water, 2 tablespoons fine glitter
Steps:
- Mix the flour, salt, and cream of tartar together in a bowl.
- Carefully stir in the boiling water and oil until the mixture thickens.
- Let it cool slightly, then knead by hand until smooth.
- Sprinkle the glitter over the Playdough and knead again until it’s evenly distributed throughout.
- Continue kneading until the glitter is fully worked in with no dry patches.
13. Lavender Calming Playdough
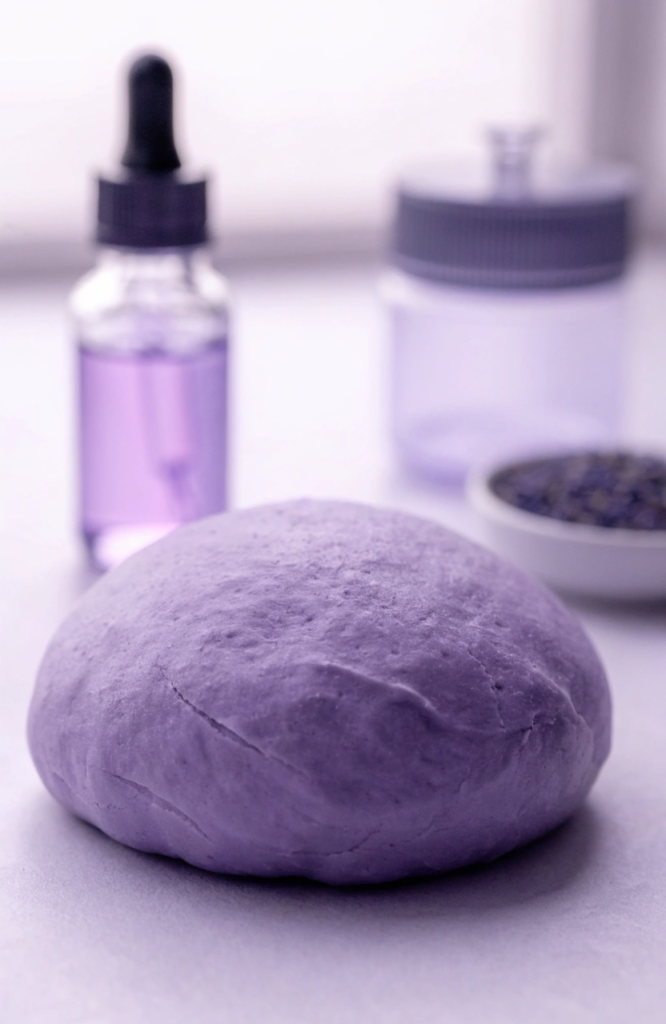
The same reliable base as the classic recipe, but with a few drops of lavender oil worked in for a soothing, calming scent that a lot of parents use as part of a wind-down routine.
Ingredients: 2 cups flour, 1/2 cup salt, 2 tablespoons cream of tartar, 2 tablespoons oil, 2 cups water, a few drops lavender essential oil, purple food coloring
Steps:
- Combine the flour, salt, and cream of tartar in a pot.
- Stir in the water, oil, and purple food coloring.
- Cook over medium heat, stirring constantly, until the mixture thickens into a dough.
- Remove from heat and let cool slightly.
- Knead in the lavender oil a drop or two at a time until the scent is evenly distributed, then continue kneading until smooth.
Storing and Reviving Your Playdough
Keep every batch in an airtight container or a sealed zip-top bag between uses, and press out as much air as you can before sealing. Stored properly, most of these will stay soft for weeks, sometimes longer. If a batch starts feeling dry or crumbly, kneading in a few drops of water or a small dab of oil usually brings it back to a workable texture. And if it’s gone moldy, which can happen with the water-based recipes if they sit out too long between uses, it’s time to just toss that batch and start a fresh one.