Once you know how to make a basic granny square, flowers are honestly the next thing most crocheters gravitate toward, and for good reason. They work up fast, use almost no yarn, and you end up with a little pile of appliques you can sew onto literally anything, a headband, a tote bag, a plain sweater that needed one more detail. Here are 14 patterns that stick to basic stitches, so if you can chain, single crochet, and double crochet, you’ve already got everything you need.
A Few Notes Before You Start
Most of these work up nicely in a worsted weight yarn with a 4mm or 5mm hook, though scaling down to a thinner yarn and smaller hook gives you a daintier flower if that’s what you’re after.
Starting with a magic ring gives you a tighter center than chaining a small ring and joining with a slip stitch, but either method works fine if you’re more comfortable with one over the other. Leave a long tail when you finish off each flower so you’ve got something to sew it onto your project with, rather than weaving it in right away.
And don’t stress about tension being perfectly even on your first attempt, since a slightly wonky flower still looks like a flower once it’s attached to something.
1. Simple 5-Petal Daisy
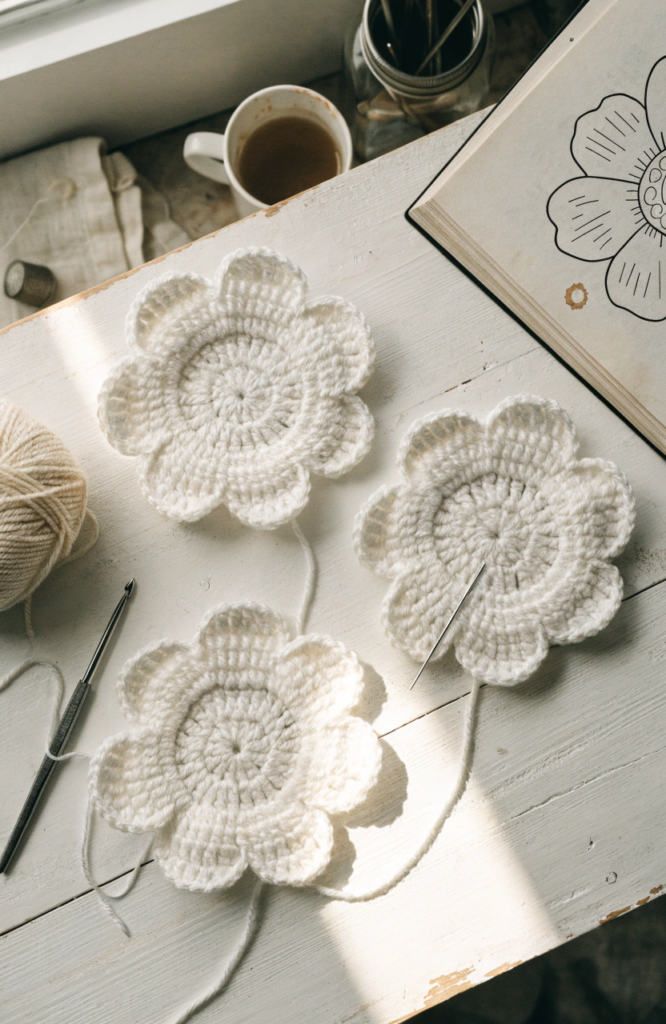
This is the one to start with if you’ve never made a crochet flower before. One ring, five petals, done.
Materials: worsted weight yarn in white and yellow, 4mm hook, tapestry needle
Steps:
- With yellow yarn, form a magic ring, chain one, then work eight single crochet stitches into the ring, join with a slip stitch, and fasten off.
- Join white yarn in any stitch around the yellow center.
- Chain two, then work one half double crochet, three double crochet, and one half double crochet all into that same stitch, which forms your first petal.
- Slip stitch into the next stitch, then repeat the petal pattern in that same stitch.
- Continue around until you’ve made five petals total, then join with a slip stitch and fasten off, leaving a tail for sewing.
2. Puff Stitch Rose
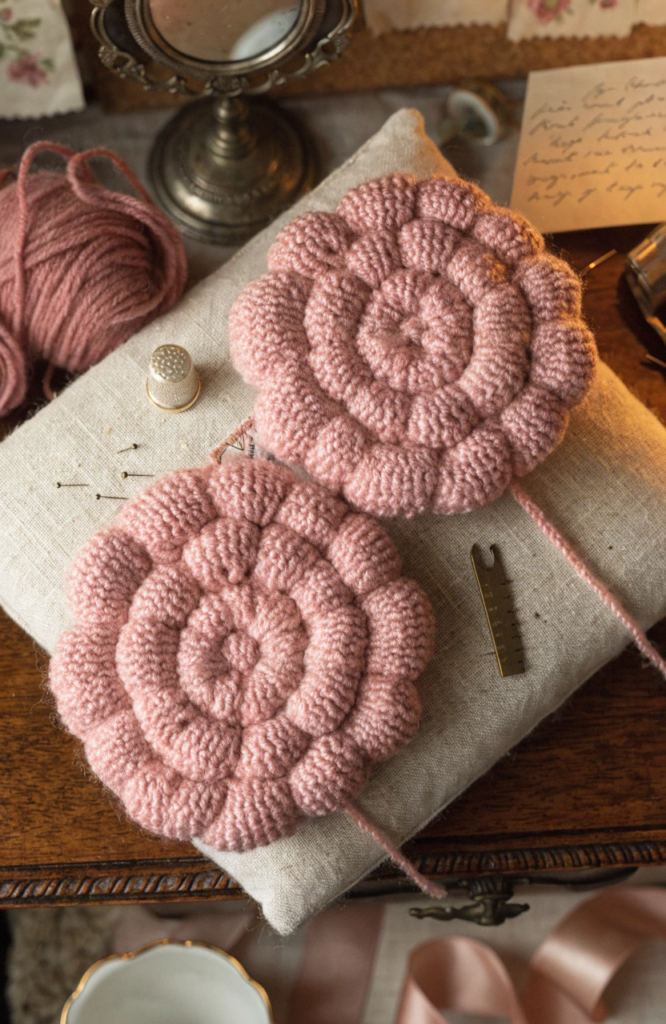
The puff stitches give this one a soft, rounded texture that looks a bit more like a real rose than a flat flower shape.
Materials: worsted weight yarn, 4mm hook, tapestry needle
Steps:
- Chain four and join with a slip stitch into the first chain to form a ring.
- For round one, chain one, then work eight single crochet stitches into the ring, and join with a slip stitch.
- For round two, chain two, then work a puff stitch by pulling up a loop in the same stitch three times, yarn over, and pull through all the loops on the hook, then chain one before moving into the next stitch, repeating this pattern all the way around and joining with a slip stitch.
- For round three, work behind the petals from round two, slip stitch into the base of one petal, chain three, single crochet into the base of the next petal, and repeat around to build a second layer of foundation chains.
- Repeat the puff stitch petal pattern from round two into these new chain spaces, then fasten off, leaving a tail for sewing.
3. Layered Sunflower
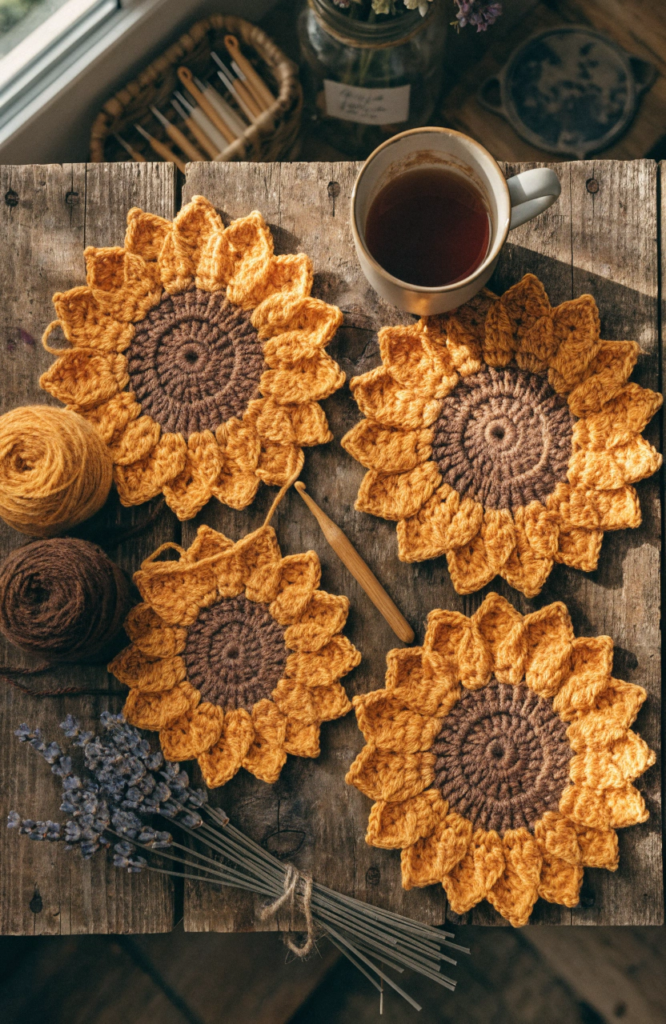
Two layers in contrasting colors give this one a lot of depth for how few rounds it actually takes.
Materials: worsted weight yarn in brown and yellow, 4mm hook, tapestry needle
Steps:
- With brown yarn, form a magic ring, chain one, then work ten single crochet stitches into the ring, join with a slip stitch, and fasten off.
- Join yellow yarn in any stitch around the brown center.
- Chain one, then work one single crochet, one half double crochet, two double crochet, one half double crochet, and one single crochet all into that same stitch, which forms your first petal, then slip stitch into the next stitch.
- Repeat the petal pattern into every other stitch around, making five petals total.
- Fasten off, leaving a tail for sewing, and weave in the brown center’s starting tail.
4. Tiny Forget-Me-Not
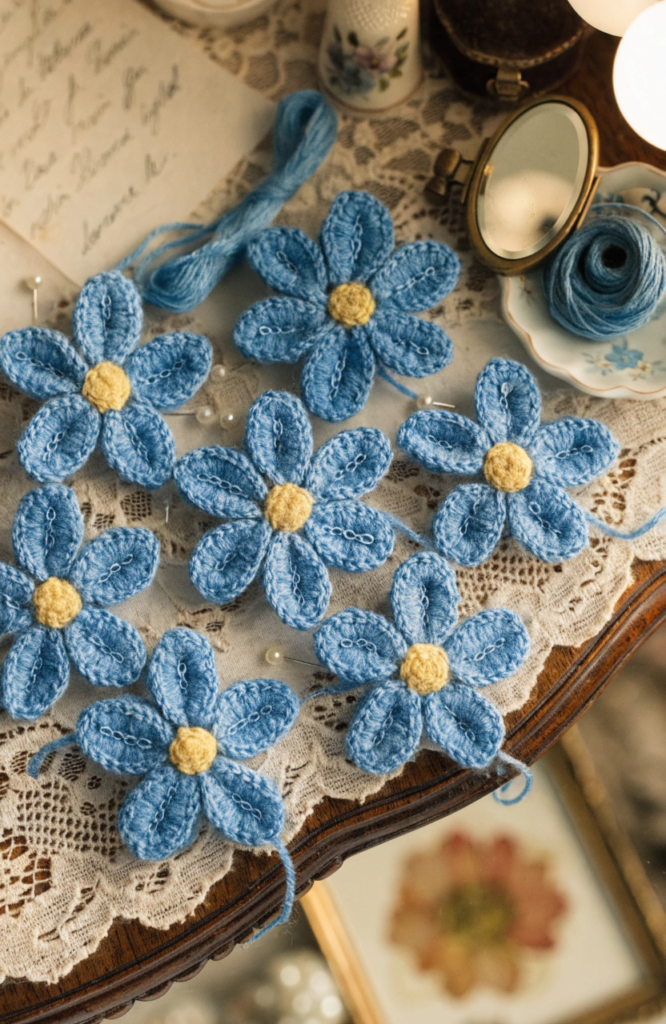
A quick little cluster flower that works well made in batches, since a handful of these scattered across a project reads as a whole field of blooms.
Materials: fingering or sport weight yarn in blue and yellow, 3mm hook, tapestry needle
Steps:
- With yellow yarn, form a magic ring, chain one, then work five single crochet stitches into the ring, join with a slip stitch, and fasten off.
- Join blue yarn in any stitch around the yellow center.
- Chain one, work a single crochet into that same stitch, chain two, then slip stitch back into that same stitch to form a small petal loop.
- Repeat this loop petal in every stitch around, making five tiny loop petals total.
- Fasten off, leaving a short tail for sewing.
5. Classic Popcorn Flower
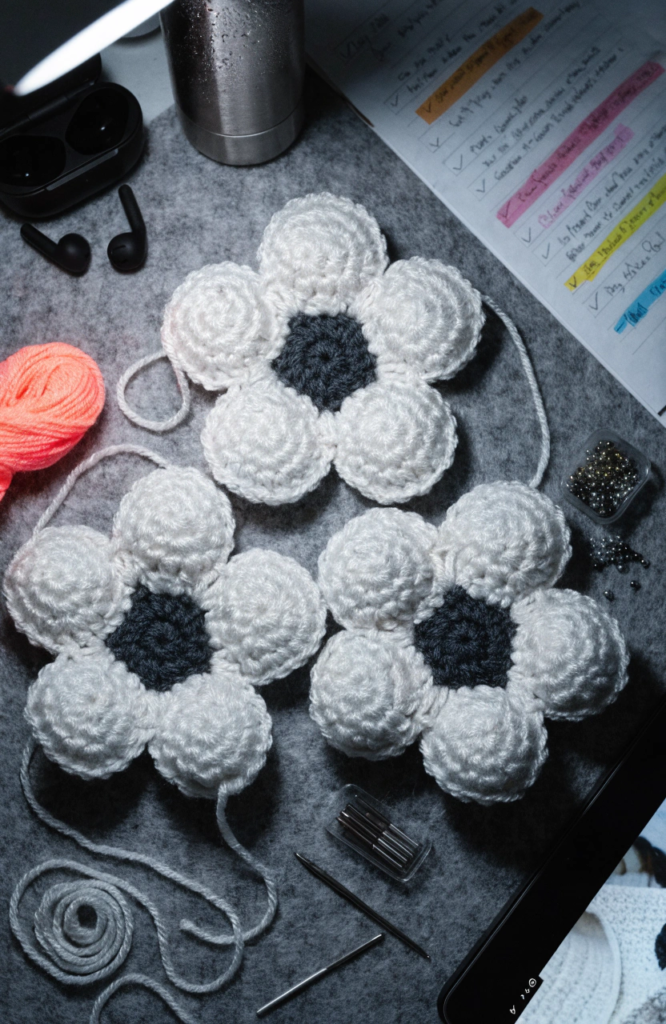
Popcorn stitches give this flower a bold, bobbly texture that stands out nicely against a flatter background fabric.
Materials: worsted weight yarn, 5mm hook, tapestry needle
Steps:
- Form a magic ring, chain three, then work a popcorn stitch by making four double crochet stitches into the ring, dropping the loop from your hook, inserting the hook into the top of the first double crochet, picking the dropped loop back up, and pulling it through.
- Chain three, then work another popcorn stitch into the ring, repeating until you have six popcorn petals total.
- Join with a slip stitch into the top of the very first popcorn stitch.
- Fasten off, leaving a tail for sewing.
- If the center hole looks a little open, pull the starting tail snug before weaving it in.
6. Spiral Rose
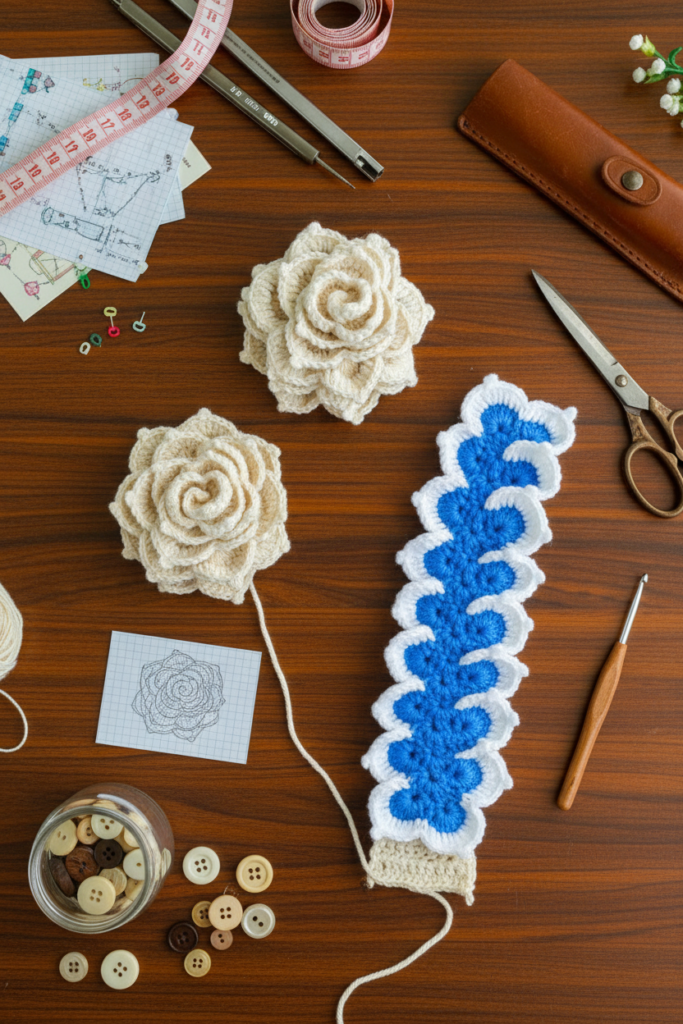
No joining or turning here, just a long strip that you roll up and stitch into place, which makes it one of the more forgiving patterns on this list.
Materials: worsted weight yarn, 4mm hook, tapestry needle, sewing pins
Steps:
- Chain thirty, or longer for a bigger rose.
- Starting in the second chain from the hook, work one single crochet, then two half double crochet, then three double crochet into each remaining chain across, creating a ruffled edge along one side of the strip.
- Fasten off, leaving a long tail.
- Starting at one end, roll the strip tightly, keeping the ruffled edge facing outward and the straight edge at the base.
- Use the tail and a tapestry needle to stitch back and forth through the base layers a few times to hold the spiral together.
7. Picot-Edge Flower
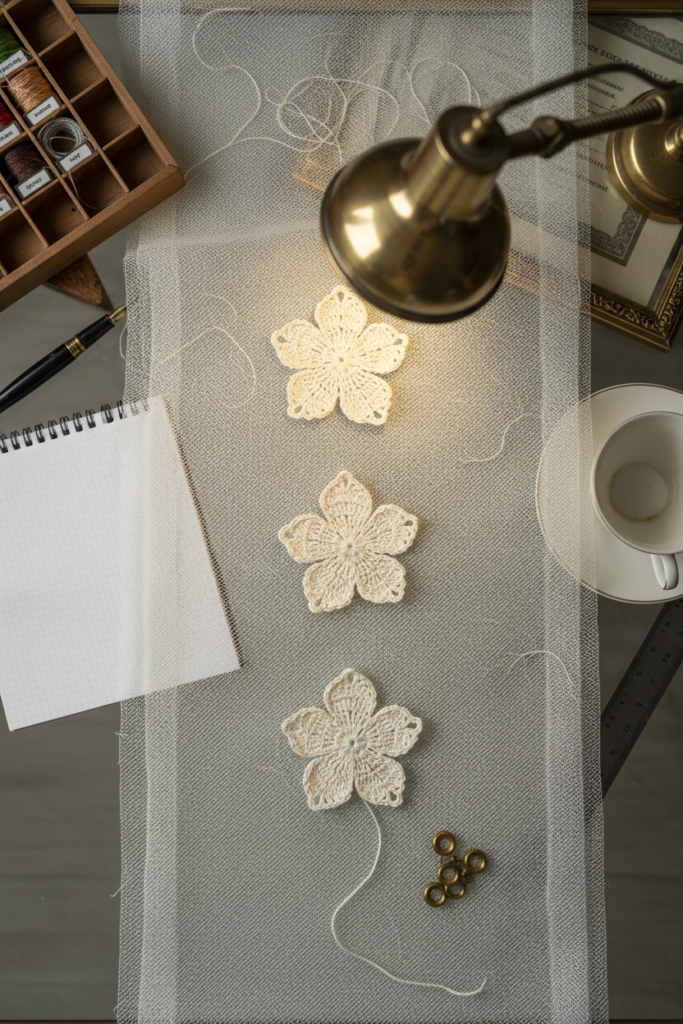
The picot detail on each petal tip adds a delicate, lacy finish without much extra effort.
Materials: worsted or sport weight yarn, 3.5mm hook, tapestry needle
Steps:
- Form a magic ring, chain one, then work ten single crochet stitches into the ring, and join with a slip stitch.
- Chain three, then work two double crochet into that same stitch, which begins your first petal.
- Work a picot by chaining three and then slip stitching into the top of the last double crochet you made, then continue the petal by working two more double crochet into that same base stitch.
- Slip stitch into the next stitch, then repeat the petal and picot pattern around, making five petals total.
- Fasten off, leaving a tail for sewing.
8. Tulip Motif
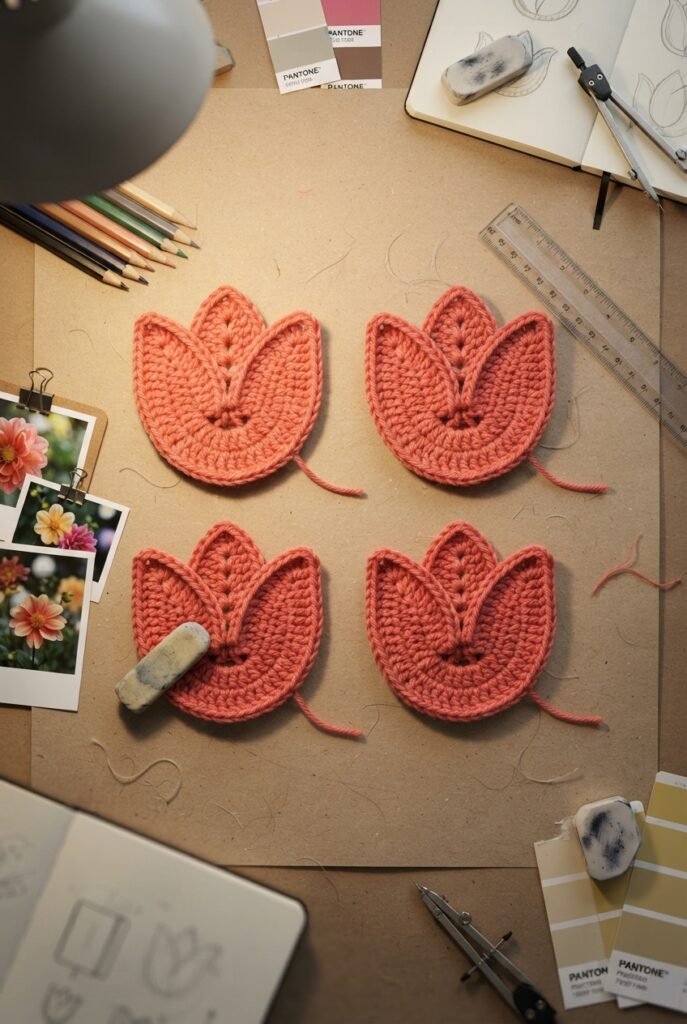
A slightly different silhouette from the round flowers on this list, since the tulip shape comes from working petals only partway around instead of in a full circle.
Materials: worsted weight yarn, 4mm hook, tapestry needle
Steps:
- Chain six and join with a slip stitch into the first chain to form a ring.
- For round one, chain one, then work twelve single crochet stitches into the ring, and join with a slip stitch.
- Working across just six consecutive stitches, chain two, then double crochet into each of the next five stitches, forming the left side of the tulip.
- Turn your work, chain two, then double crochet into each stitch across for the center petal.
- Fasten off, leaving a tail, then repeat the previous two steps on the opposite side of the ring for the tulip’s second petal.
9. Layered Dahlia
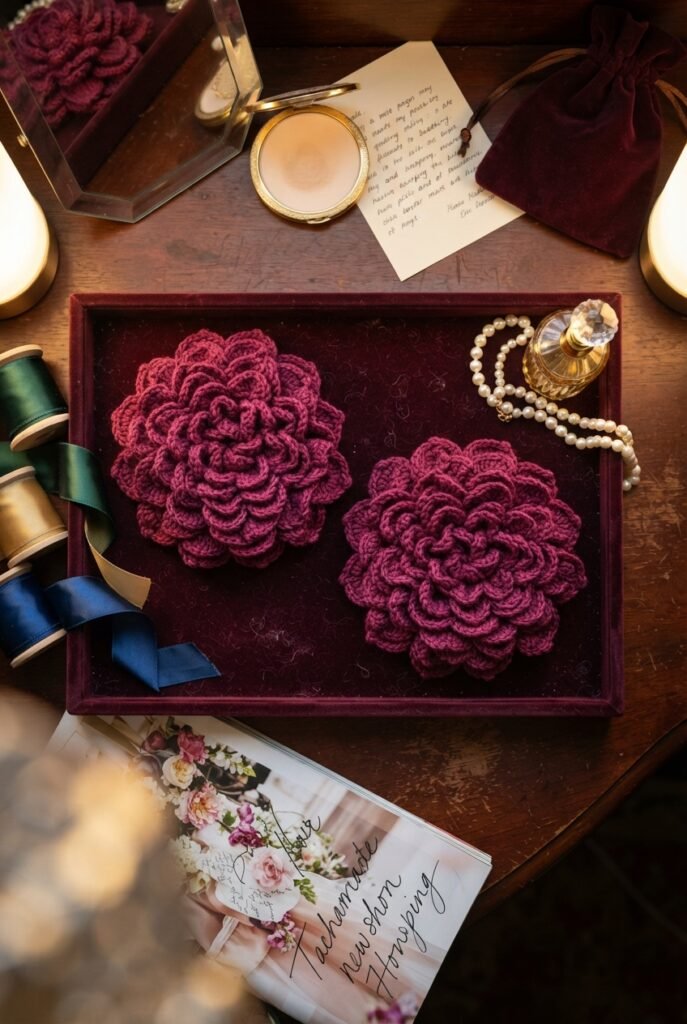
More involved than most on this list, but the payoff is a genuinely full, ruffled flower that looks great as a standalone piece.
Materials: worsted weight yarn, 4mm hook, tapestry needle
Steps:
- Form a magic ring, chain one, then work six single crochet stitches into the ring, and join with a slip stitch.
- For round one, chain one, then work two single crochet stitches into each stitch around, joining with a slip stitch, for twelve stitches total.
- For round two, working into the back loops only, chain two, then work one half double crochet, one double crochet, and one half double crochet into each stitch around to form a ring of small petals, joining with a slip stitch.
- For round three, working into the front loops left over from round two, chain three, then work one half double crochet, two double crochet, one half double crochet, chain three, and slip stitch into that same stitch, repeating around for a second, larger layer of petals.
- Fasten off, leaving a tail for sewing.
10. Simple Poppy
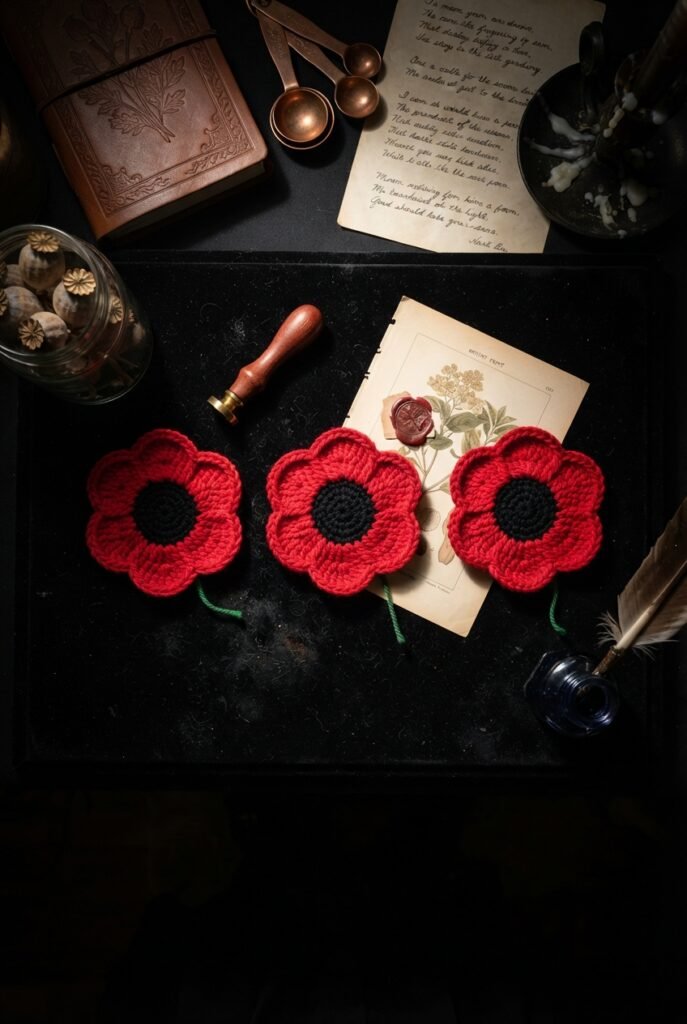
The dark center against bright petals is what really sells this one, so don’t skip the contrasting color in the middle.
Materials: worsted weight yarn in red and black, 4mm hook, tapestry needle
Steps:
- With black yarn, form a magic ring, chain one, then work six single crochet stitches into the ring, join with a slip stitch, and fasten off.
- Join red yarn in any stitch around the black center.
- Chain two, then work one half double crochet, two double crochet, and one half double crochet all into that same stitch, which forms your first petal, then slip stitch into the next stitch.
- Repeat the petal pattern into every stitch around, making six petals total.
- Fasten off, leaving a tail for sewing, then add a few small straight stitches across the black center in a darker thread if you want extra detail.
11. Lazy Daisy Chain Flower
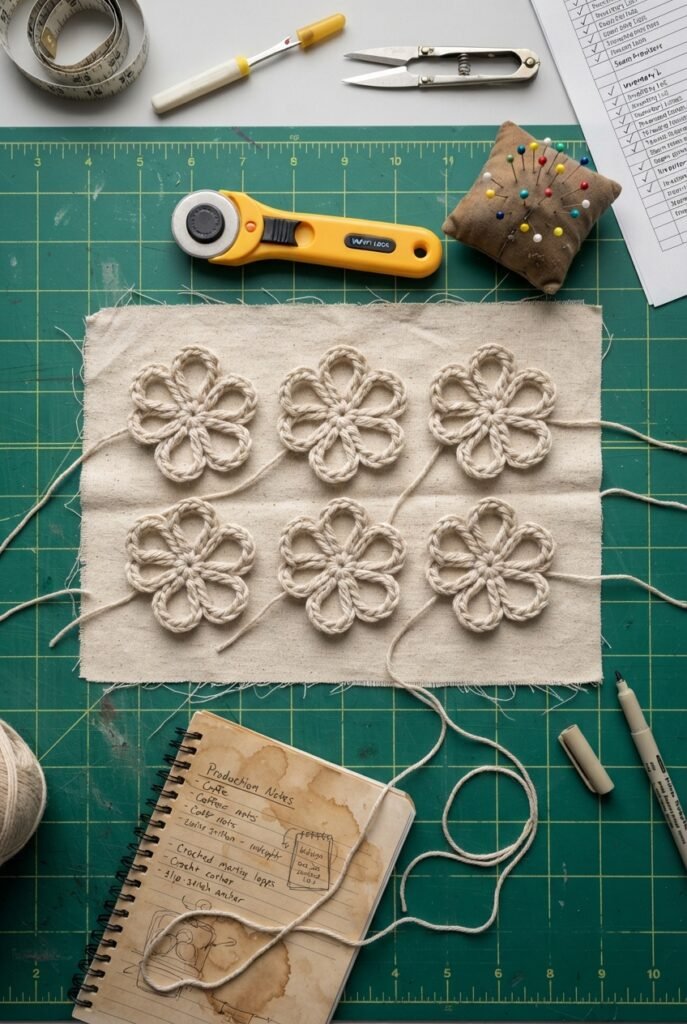
This one skips traditional petal stitches entirely and uses simple chain loops instead, which makes it the fastest pattern on the whole list.
Materials: worsted weight yarn, 4mm hook, tapestry needle
Steps:
- Form a magic ring, chain one, then work five single crochet stitches into the ring, and join with a slip stitch.
- Chain six, then slip stitch back into that same stitch the chain started from, forming a loop petal.
- Slip stitch into the next stitch, then repeat the loop petal in every stitch around, making five loop petals total.
- Join with a slip stitch, then fasten off, leaving a tail.
- If the loops feel floppy, a light spray of fabric stiffener helps them hold their shape once dry.
12. Hyacinth Cluster
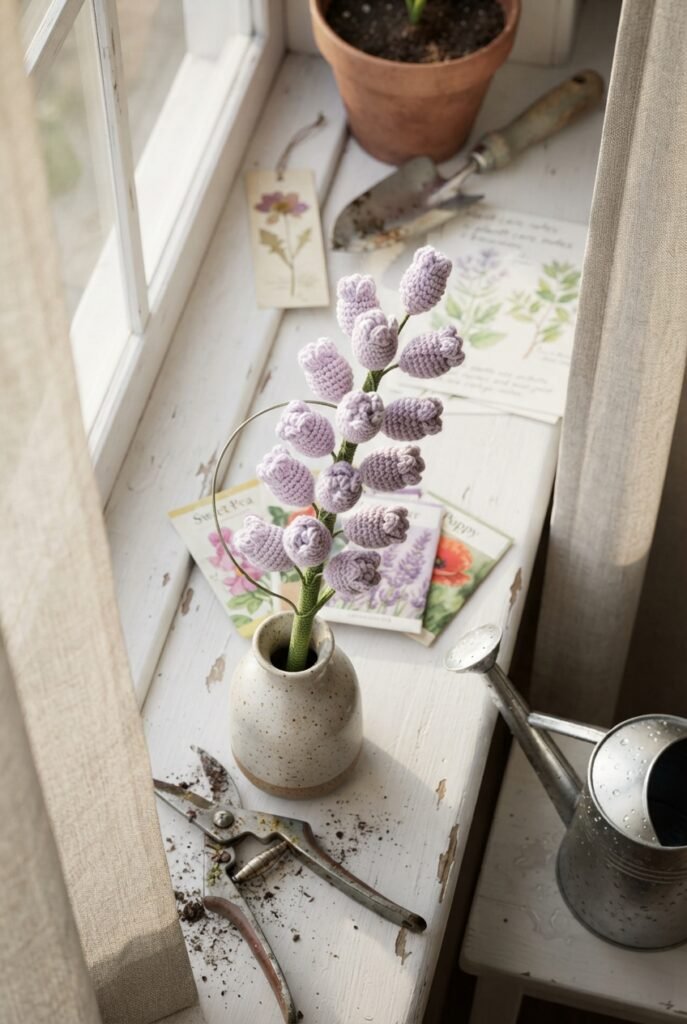
Instead of one flower, this pattern makes a handful of tiny buds meant to be clustered together on a stem, mimicking the way real hyacinths grow in a dense spike.
Materials: sport or fingering weight yarn, 3mm hook, tapestry needle, thin wire or pipe cleaner for the stem
Steps:
- For each bud, chain three and join with a slip stitch into the first chain to form a tiny ring.
- Chain one, then work five single crochet stitches into the ring, join with a slip stitch, and fasten off, leaving a short tail.
- Repeat to make eight to ten tiny buds total.
- Thread each bud’s tail onto a tapestry needle and stitch it onto a length of wire or a pipe cleaner, clustering the buds closely together near the top.
- Bend the wire gently into a natural curved stem shape once all the buds are attached.
13. Buttercup
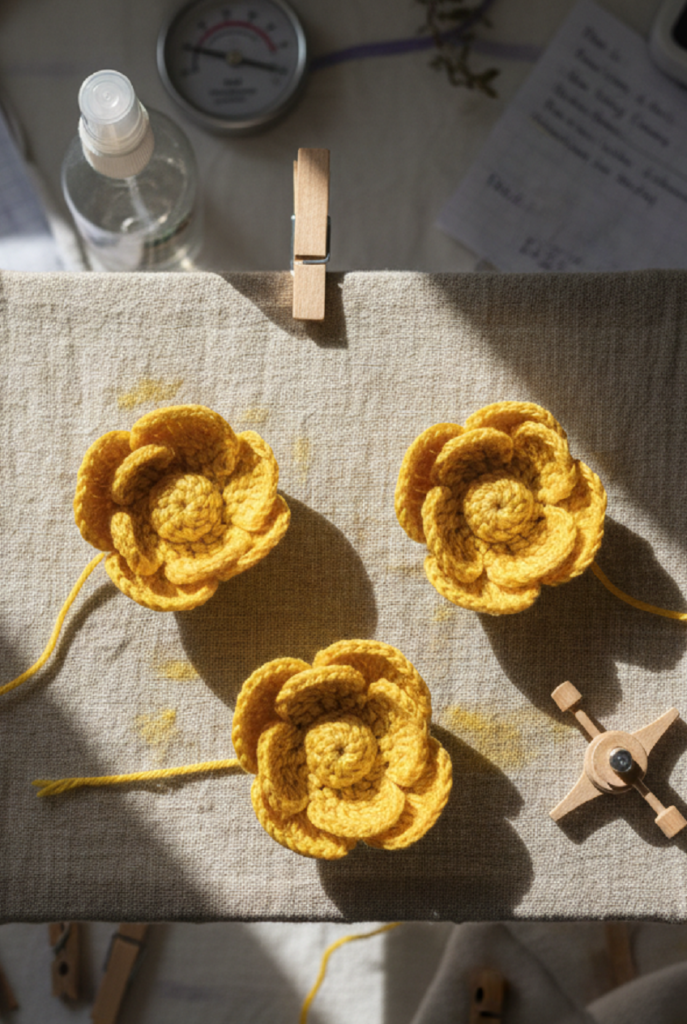
A slightly cupped shape instead of a flat one, achieved just by working the petals a little more tightly than usual.
Materials: worsted weight yarn, 4mm hook, tapestry needle
Steps:
- Form a magic ring, chain one, then work five single crochet stitches into the ring, and join with a slip stitch.
- Chain one, work one single crochet into that same stitch, then four half double crochet into the next stitch, then one single crochet into the following stitch, which forms a slightly cupped petal.
- Slip stitch into the next stitch, then repeat the petal pattern around, making five petals total.
- Join with a slip stitch and fasten off, leaving a tail.
- Gently curl the petal edges inward with your fingers while the yarn is still slightly damp from handling, then let it dry in that shape for a natural cupped look.
14. Cherry Blossom
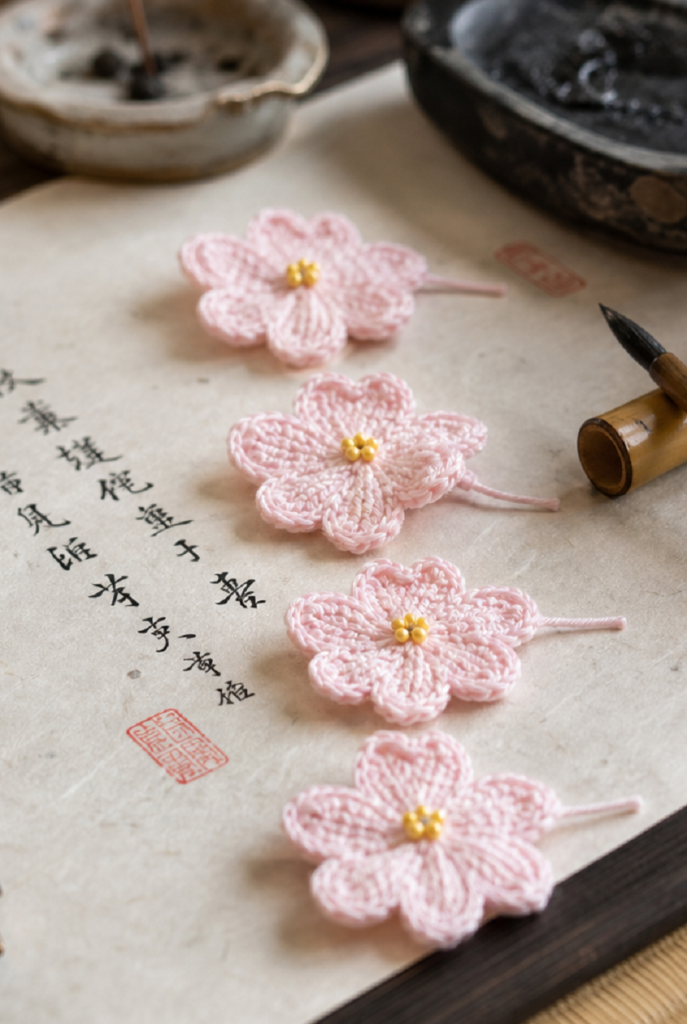
Notched petal tips give this one its signature look, and it’s a nice change of pace from the more rounded petals throughout the rest of this list.
Materials: sport weight yarn in pale pink, 3mm hook, tapestry needle
Steps:
- Form a magic ring, chain one, then work five single crochet stitches into the ring, and join with a slip stitch.
- Chain two, then work one half double crochet into that same stitch, then two double crochet into the next stitch, which begins your first petal.
- Chain one, then slip stitch down into the middle of the two double crochet stitches you just made to create the notch at the petal’s tip, then chain one again before continuing.
- Slip stitch into the next stitch, then repeat the petal and notch pattern around, making five petals total.
- Fasten off, leaving a tail for sewing, then add a tiny yellow French knot or a few straight stitches in the center if you want extra detail.
Finishing and Using Your Flowers
Once a flower’s finished, weave in any loose ends securely before sewing it onto a project, since a little tug during wear can pull a poorly woven end right back out. A dab of fabric glue on the back before sewing gives extra hold if the flower is going somewhere that’ll see a lot of movement, like a bag strap or the front of a hat. And if you end up with a small pile of extras, they store just fine in a jar or box until you find the right project to give them a home on.