There’s something about baby-sized anything that makes a project feel extra worth doing, probably because everything comes out so tiny and soft that it barely feels like work by the time you’re done.
Whether you’re making something for a shower gift or your own kid on the way, here are 15 patterns that stick to simple stitches and quick finishes, so you’re not stuck on one project for weeks while a baby’s growing right on schedule without you.
A Few Safety Notes Worth Reading First
Babies mouth everything, so skip buttons, beads, or any small attached pieces on anything meant for a newborn or young infant, and embroider details on instead wherever you can.
Ties and strings are worth extra caution too, since anything long enough to wrap around a baby’s neck is a real hazard, so keep bonnet ties short, secure them well, and never leave a baby unattended while wearing something with a tie.
If you’re making a blanket for a very young infant, keep in mind that loose blankets aren’t recommended in a crib for babies under about a year old, so treat these more as a stroller or supervised tummy-time blanket rather than something left in a crib overnight. A soft, machine washable yarn is worth the extra cost here too, since baby items get washed constantly and need to hold up to it without turning scratchy.
1. Ribbed Baby Booties
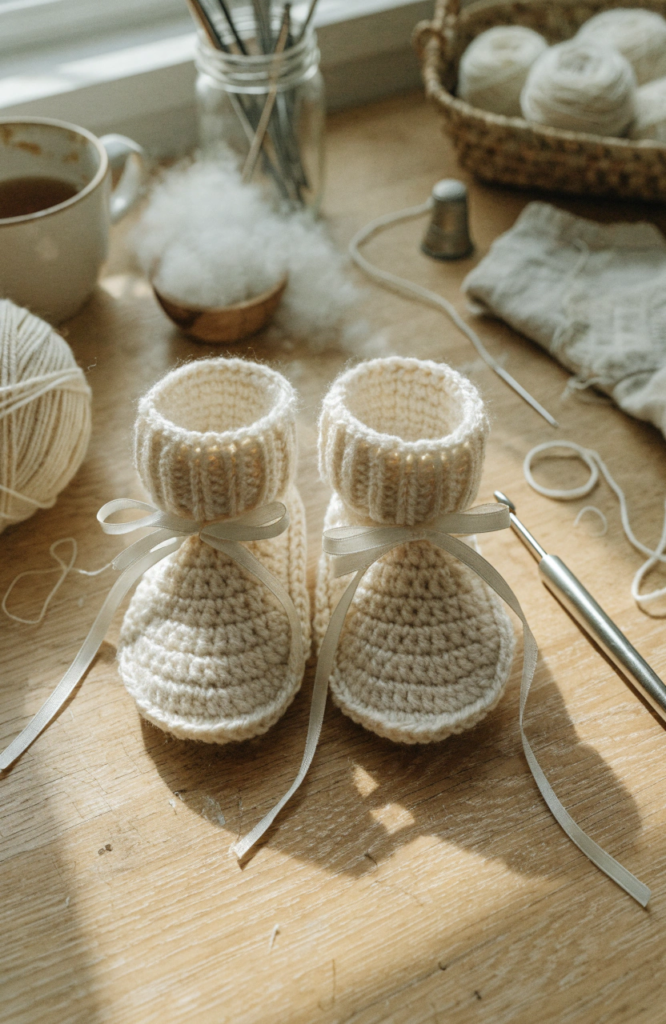
Stretchy ribbing means these actually stay on better than a lot of baby shoes do, which is really the whole battle with anything meant to go on tiny feet.
Materials: soft worsted or sport weight yarn, 4mm hook, small ribbon for ties, tapestry needle
Steps:
- Work the sole as a small flat oval, increasing evenly around the edge to match a newborn or infant foot size.
- Continue working upward in rounds without increasing to build the sides of the bootie.
- Switch to a ribbed stitch pattern for a few rounds near the top so the opening has some stretch to it.
- Decrease slightly to shape the ankle opening, leaving enough room for a foot to slide in easily.
- Add a short ribbon tie around the ankle if you’d like extra security, keeping the tie snug and short rather than long and loose.
2. Simple Baby Beanie
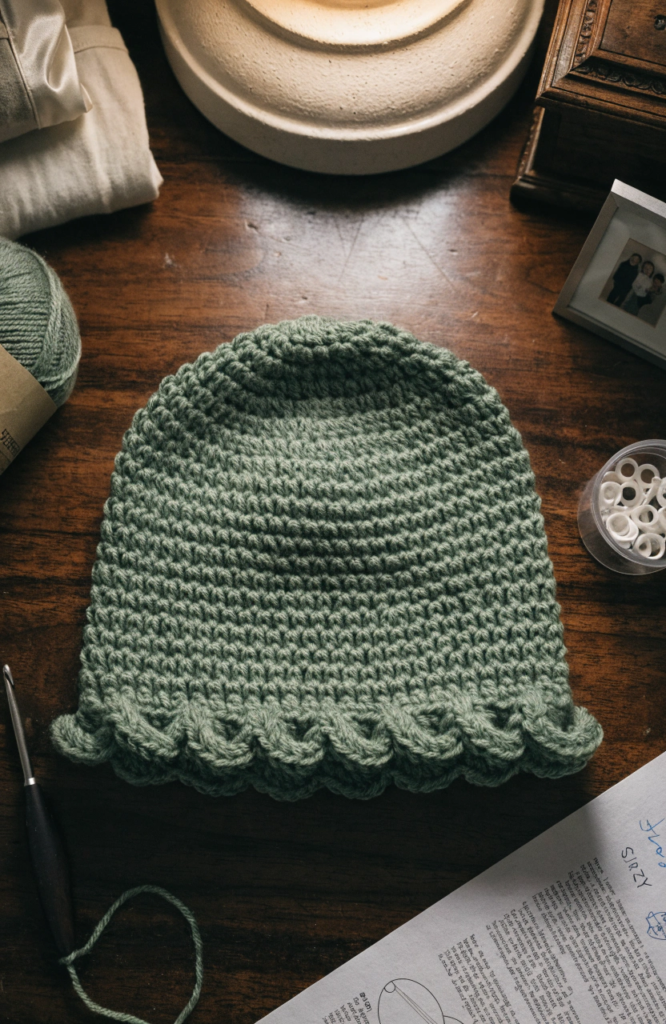
About as quick as baby projects get, and a nice one to practice basic shaping on before moving to something more involved.
Materials: soft worsted weight yarn, 4mm hook, tapestry needle
Steps:
- Start with a small ring of stitches and increase evenly around each round to build a flat circle for the top of the hat.
- Once the circle reaches the right width for the baby’s head, stop increasing and work several rounds even.
- Continue in rounds without further shaping until the hat reaches from crown to just above the ears.
- Work one or two rounds of a simple ribbed or scalloped edge for a finished look.
- Weave in all your ends securely.
3. Cozy Baby Blanket
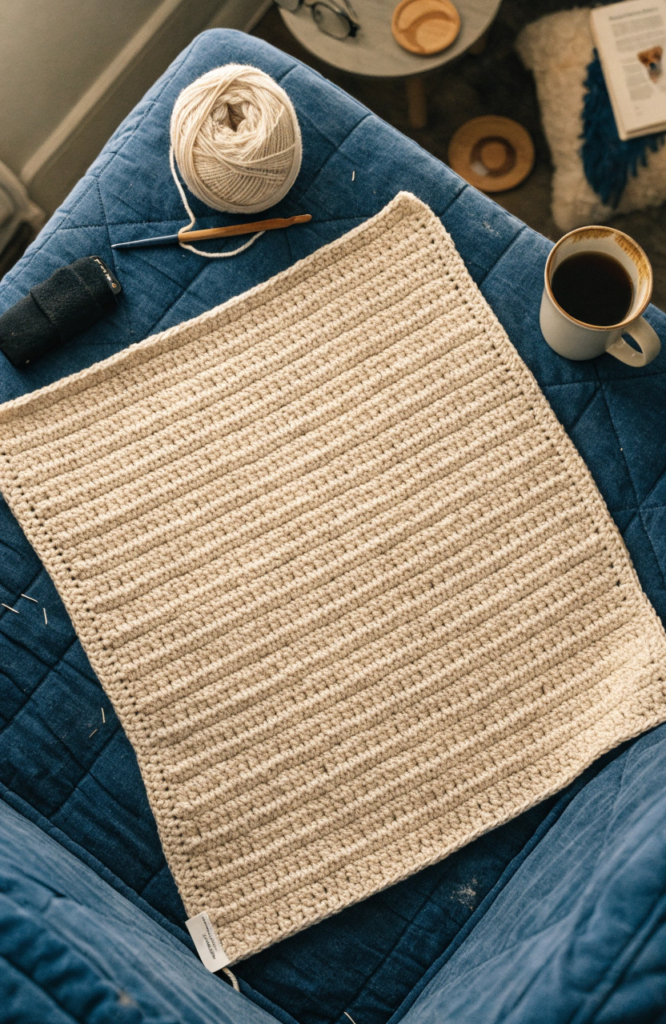
A soft, simple blanket sized for a stroller or a supervised tummy-time session rather than left in a crib, since safe sleep guidelines recommend keeping loose blankets out of a young baby’s sleep space.
Materials: soft worsted weight yarn, 5mm hook, tapestry needle
Steps:
- Chain a length matching your desired blanket width, keeping it smaller than a full adult throw.
- Work straight rows of single or double crochet across, keeping your stitch count even from row to row.
- Continue until the blanket reaches your desired length, usually somewhere around receiving blanket size for a newborn.
- Add a simple border around all four edges to finish it off and prevent curling.
- Weave in all ends thoroughly, since this piece will see a lot of handling and washing.
4. Scalloped Bib
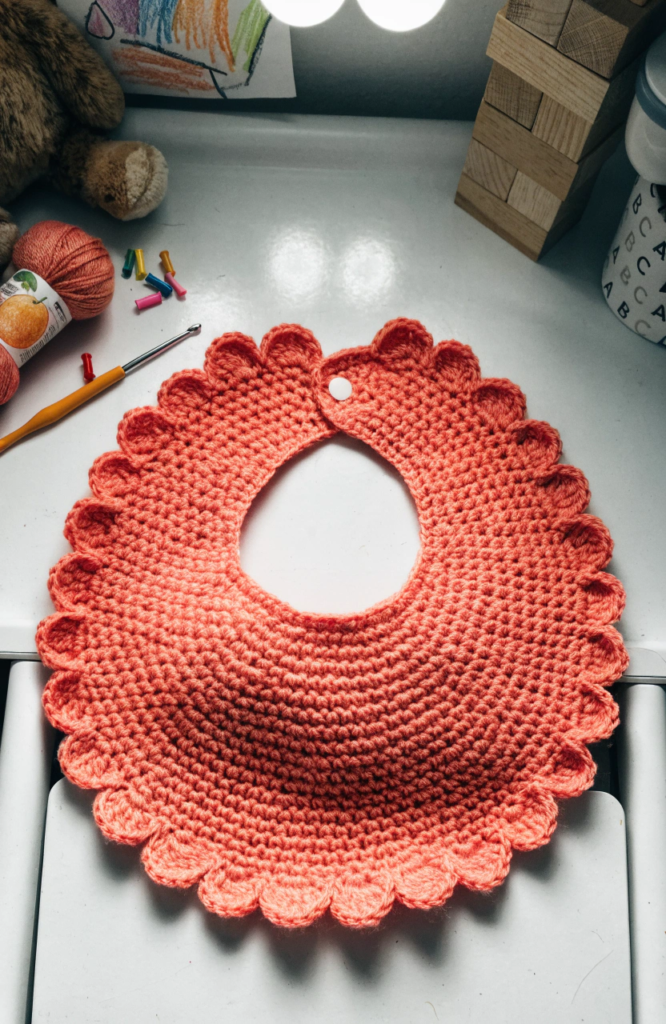
A practical gift that actually gets used almost daily, and the scalloped edge dresses up an otherwise simple shape.
Materials: soft worsted weight yarn, 4mm hook, one snap or hook and loop closure, tapestry needle
Steps:
- Work a rounded triangle or teardrop shape sized to cover a baby’s chest, increasing evenly to build the width.
- Shape a small curved neckline opening at the top, either by working in two separate straps or leaving a gap to close later.
- Work a round of shell stitches around the outer edge to create the scalloped border.
- Attach a snap or a small piece of hook and loop closure at the neckline instead of a button, since it’s safer and easier to fasten.
- Weave in all ends and check that the closure sits comfortably at the neck.
5. No-Scratch Baby Mittens
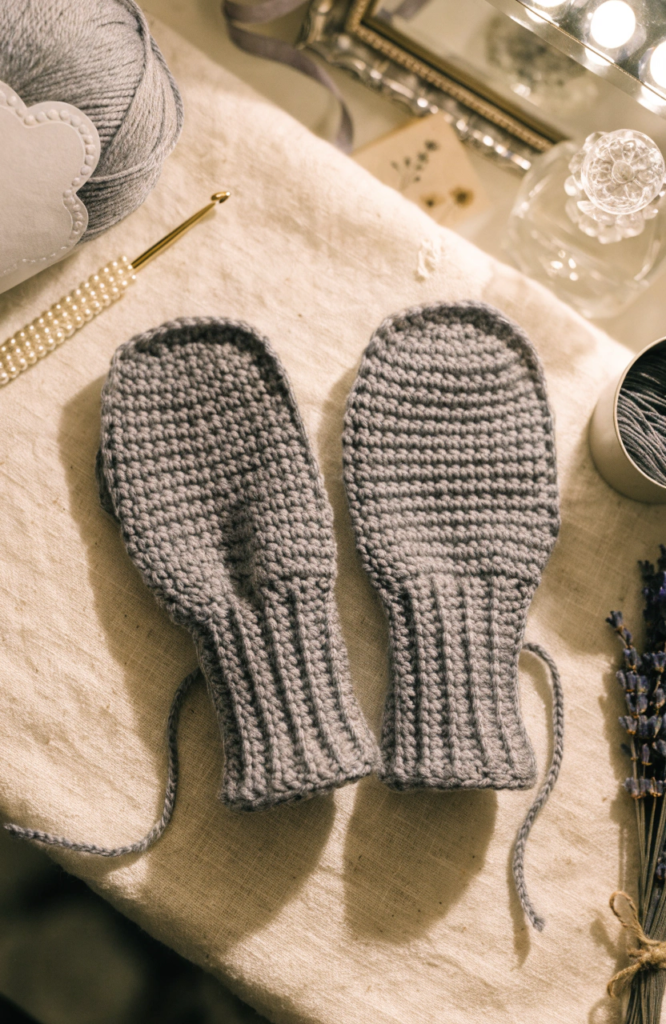
Simple little mitts to keep a newborn from scratching their own face, and they work up fast enough to make several pairs in one sitting.
Materials: soft worsted or sport weight yarn, 3.5mm hook, tapestry needle
Steps:
- Chain a small ring sized to fit around a newborn’s wrist and hand.
- Work in rounds without increasing, building a short tube shape.
- Once the tube reaches past the fingertips, begin decreasing evenly to close the top.
- Add a ribbed section near the wrist opening for a snugger fit that helps the mitten stay on.
- Repeat to make a matching second mitten.
6. Simple Baby Cardigan
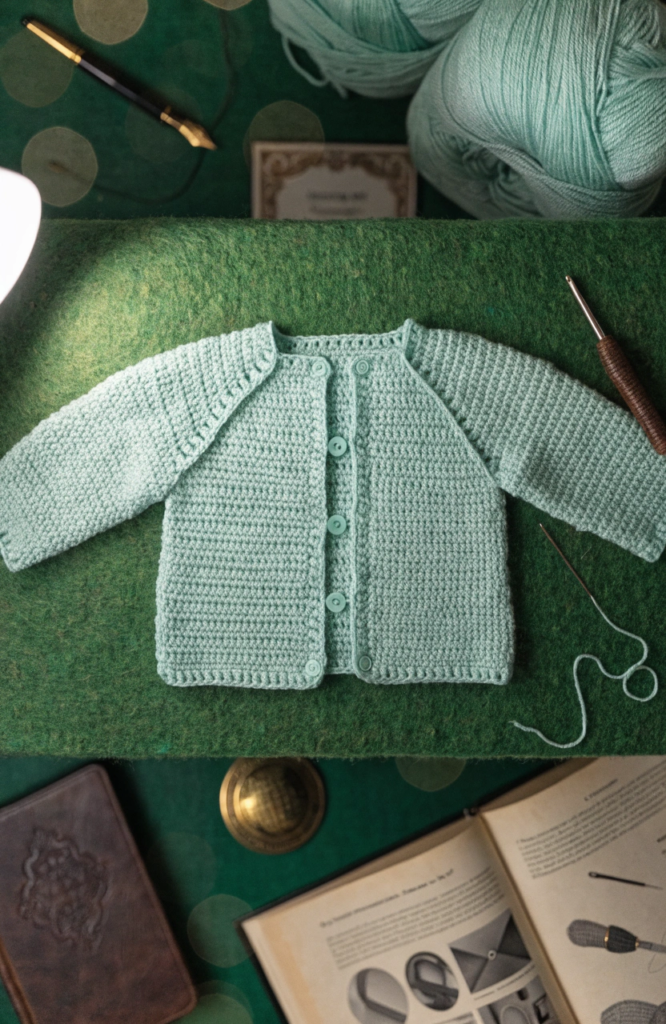
More involved than most on this list, but still approachable, since it’s really just a few rectangles shaped and seamed together.
Materials: soft worsted weight yarn, 4mm hook, one or two snap closures, tapestry needle
Steps:
- Work the back panel as a rectangle sized to the baby’s torso, shaping the armholes with a few decreases partway up.
- Work two matching front panels, each shaped with an armhole on one side and a straight edge down the center front.
- Work two sleeve pieces as tapered tubes, narrower at the wrist and wider at the shoulder.
- Seam the shoulders and sides together, then set the sleeves into the armholes.
- Add a simple border around the neckline, front edges, and cuffs, then attach snap closures down the front instead of buttons.
7. Rattle Toy
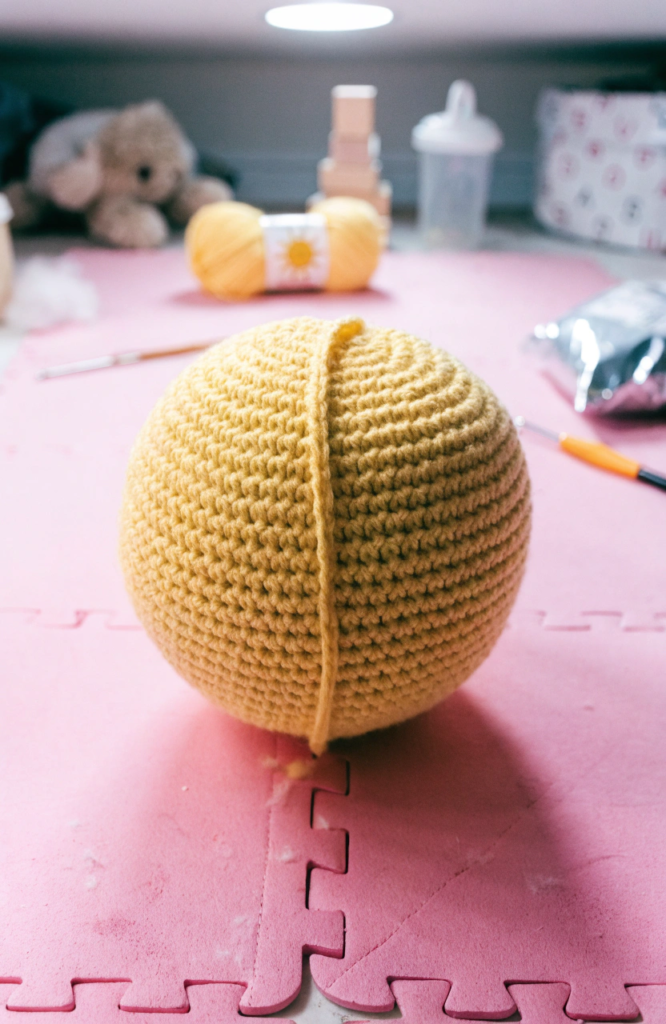
A small stuffed shape with something safely enclosed inside for sound, this one doubles as both a toy and a teether-friendly texture piece.
Materials: soft worsted weight yarn, 3.5mm hook, fiberfill stuffing, a small bell or rattle insert made for baby toys, tapestry needle
Steps:
- Work a small round or ring shape using basic amigurumi rounds.
- Partway through stuffing, tuck a purpose-made rattle insert into the center, fully surrounded by fiberfill so it can’t be felt or reached directly.
- Continue stuffing around the insert and close the shape completely, double-checking the seam is secure.
- Avoid adding any small attached pieces like eyes or buttons, keeping the surface entirely smooth and stitched or embroidered only.
- Give the seams a firm tug test before considering it finished, making sure nothing can work its way loose.
8. Pacifier Clip
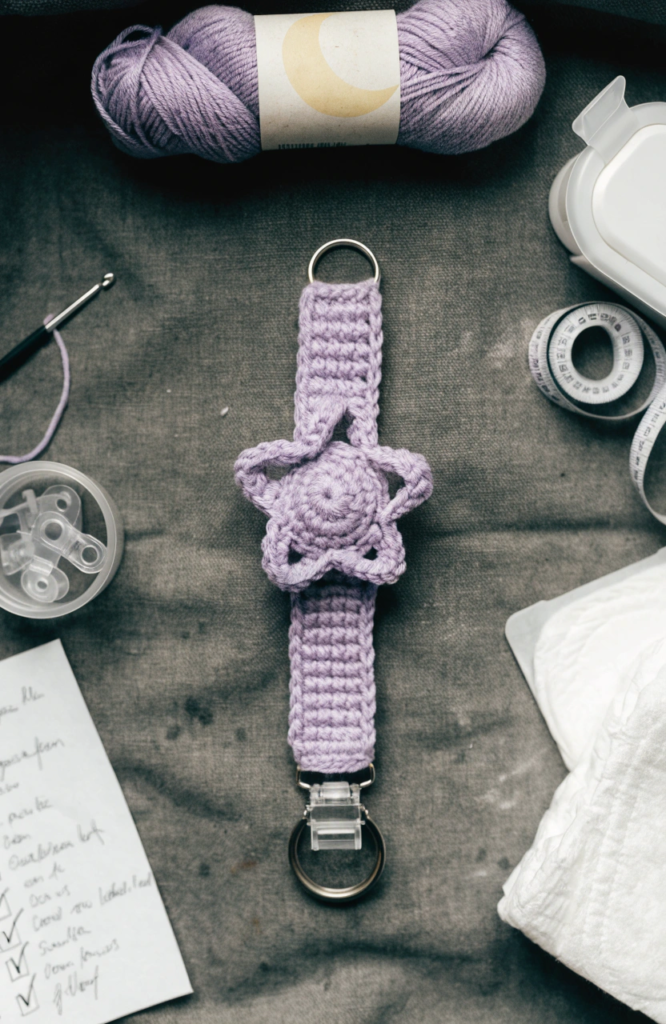
A genuinely useful little accessory, and one of the fastest projects on this whole list to finish.
Materials: soft worsted or sport weight yarn, 3.5mm hook, a purpose-made pacifier clip clasp, tapestry needle
Steps:
- Chain a short length and work a few rows to create a small flat strip or a tiny crocheted motif, like a small flower or star.
- Weave in the ends of the small piece securely.
- Attach one end of the finished piece to the clasp’s fabric loop using a needle and thread or a tight crochet join.
- Double check the attachment is very secure, since this piece will get tugged on repeatedly.
- Clip it onto the pacifier’s ring following the clasp manufacturer’s instructions.
9. Baby Bonnet
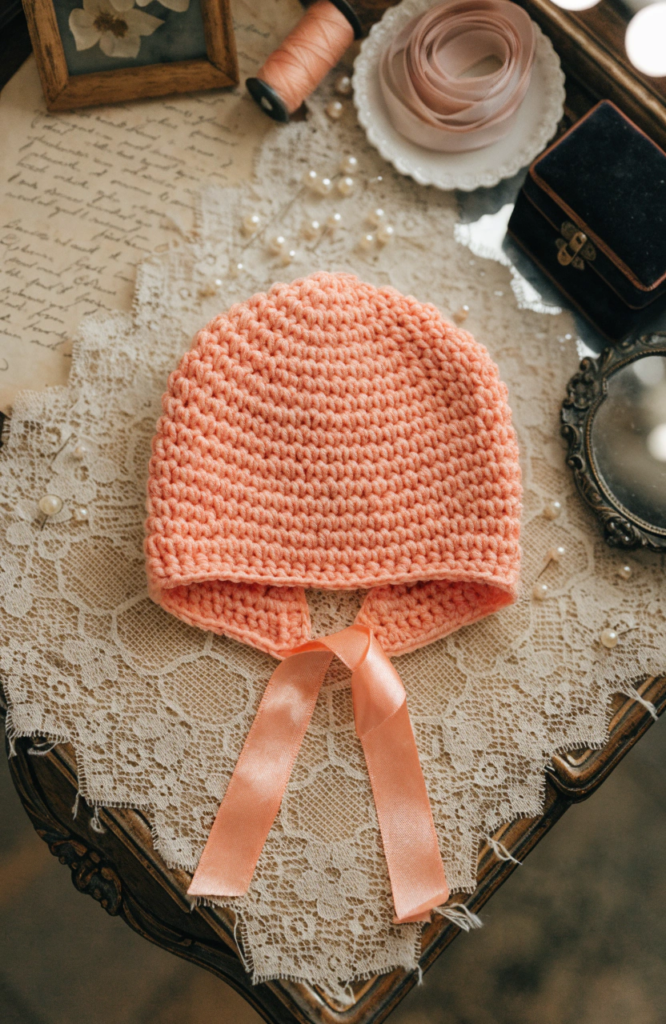
A sweet, old-fashioned accessory that photographs beautifully, just remember to keep any ties short and always supervise a baby while they’re wearing it.
Materials: soft worsted or sport weight yarn, 4mm hook, short ribbon for ties, tapestry needle
Steps:
- Start with a small ring of stitches and increase evenly to build a rounded cap shape for the crown of the head.
- Once the cap reaches the right size, work several rounds even to extend down and cover the ears and back of the head.
- Shape a curved front edge that frames the face, working a few decreases if needed to angle it properly.
- Add a short length of ribbon or a crocheted tie at each side, keeping the ties on the shorter side rather than long and dangling.
- Weave in all ends and check the fit before gifting.
10. Baby Socks
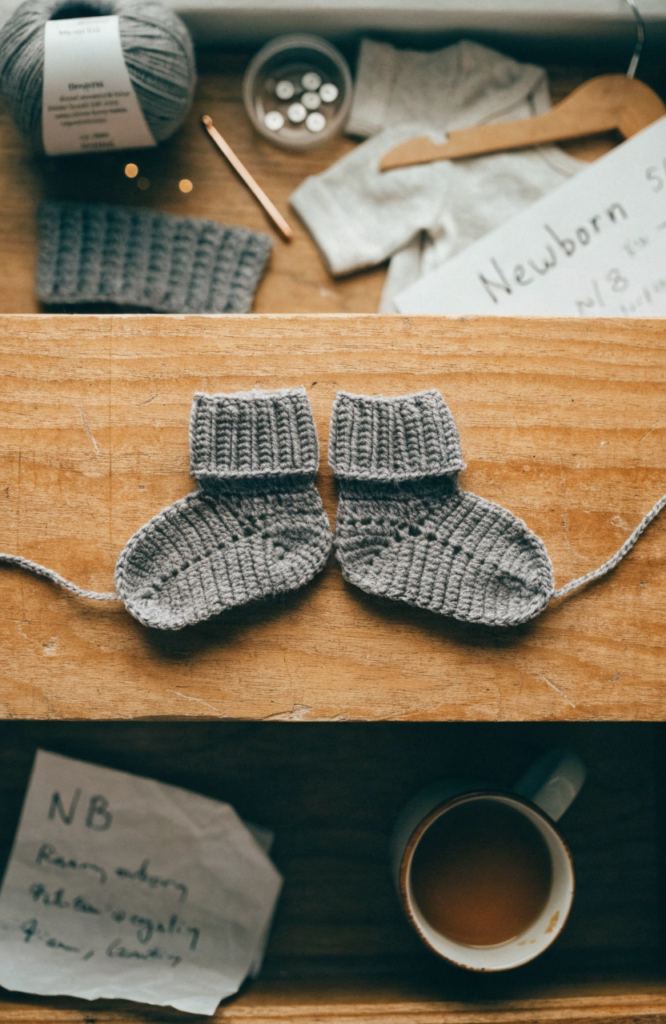
Slightly different from booties since these are thinner and meant to layer under shoes rather than stand alone, which makes them a good practical, everyday gift.
Materials: soft sport or fingering weight yarn, 3mm hook, tapestry needle
Steps:
- Work the toe as a small flat oval, increasing evenly around.
- Continue in rounds, working even for a few rows to build the length of the foot.
- Shape a small heel section using short row shaping or a simple heel turn technique.
- Continue up the ankle in rounds, switching to a ribbed pattern near the top for a snug, stay-up fit.
- Repeat to make a matching second sock.
11. Overall Shorts Romper
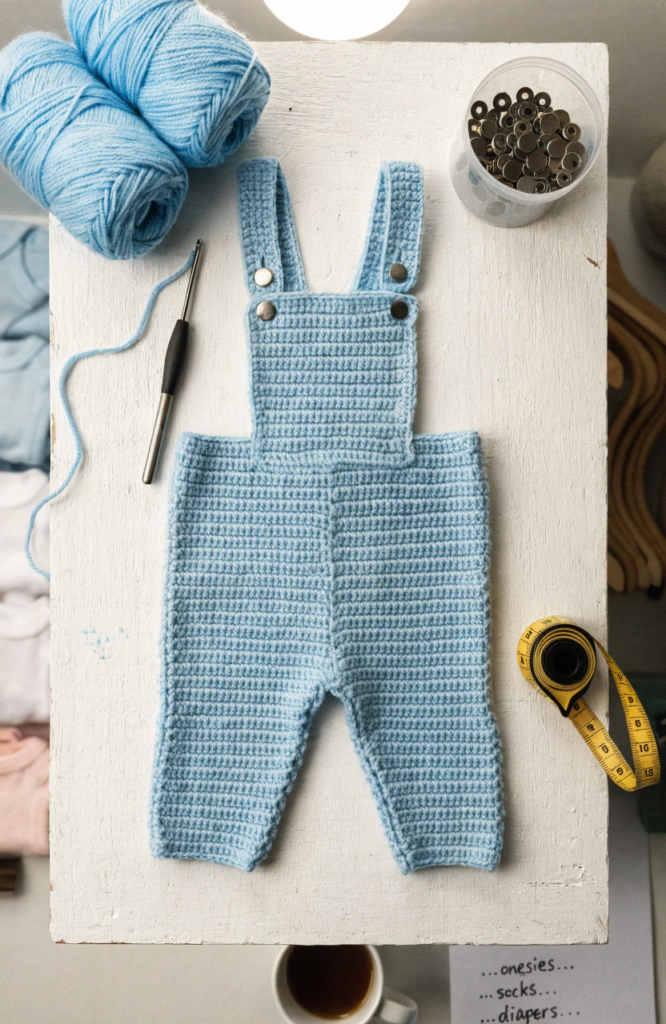
A fun one-piece project that looks a lot more complex from a distance than it actually is to construct, since it’s built from simple shaped panels.
Materials: soft worsted weight yarn, 4mm hook, two buttons or snap closures at the shoulders, tapestry needle
Steps:
- Work the back panel as a rectangle shaped like shorts, tapering at the leg openings.
- Work a matching front panel the same way, with a bib section extending up from the waist.
- Seam the side seams and the inner leg seams together, leaving the shoulder straps unattached for now.
- Add two shoulder strap pieces extending up from the back of the bib.
- Attach snap closures where the straps meet the front bib instead of sew-on buttons, so they’re easy to fasten and won’t come loose.
12. Hooded Baby Towel
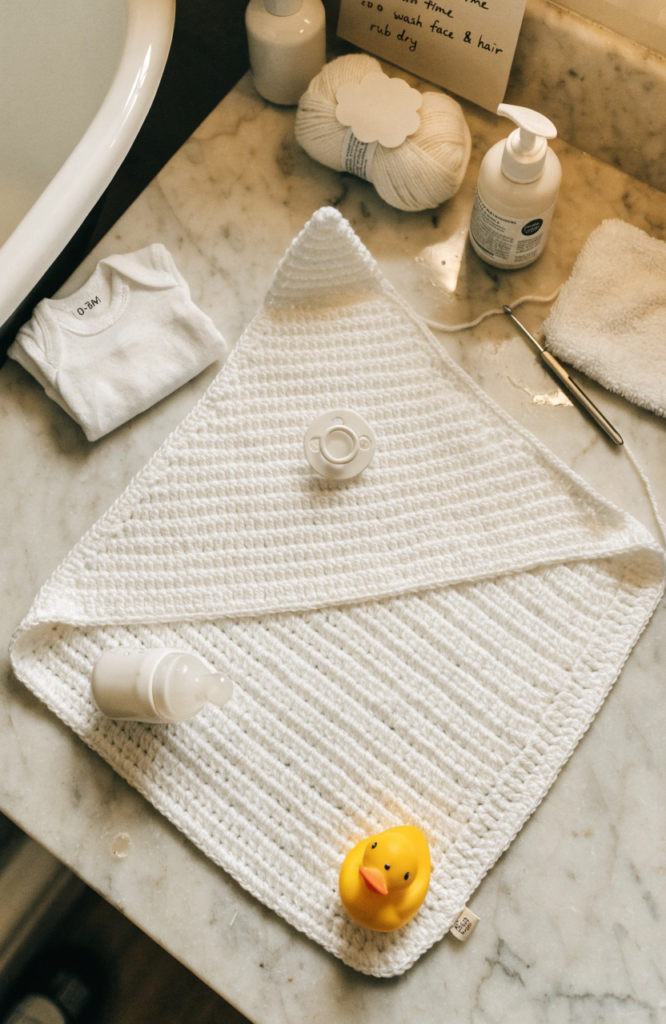
A crocheted hood corner attached to a soft fabric or crocheted towel base makes bath time feel a little more special without much extra effort.
Materials: soft worsted weight yarn, 4mm hook, a plain towel or a large crocheted rectangle base, tapestry needle
Steps:
- If crocheting the towel base yourself, work a large rectangle to your desired towel size using a simple stitch pattern.
- Separately, work a triangular hood piece, increasing evenly from a small starting point out to a wide triangle.
- Fold the hood triangle in half and seam the two shorter edges together to form a simple pointed hood shape.
- Sew the finished hood onto one corner of the towel.
- Add a simple border around the towel’s edges for a finished look.
13. Burp Cloth Edging
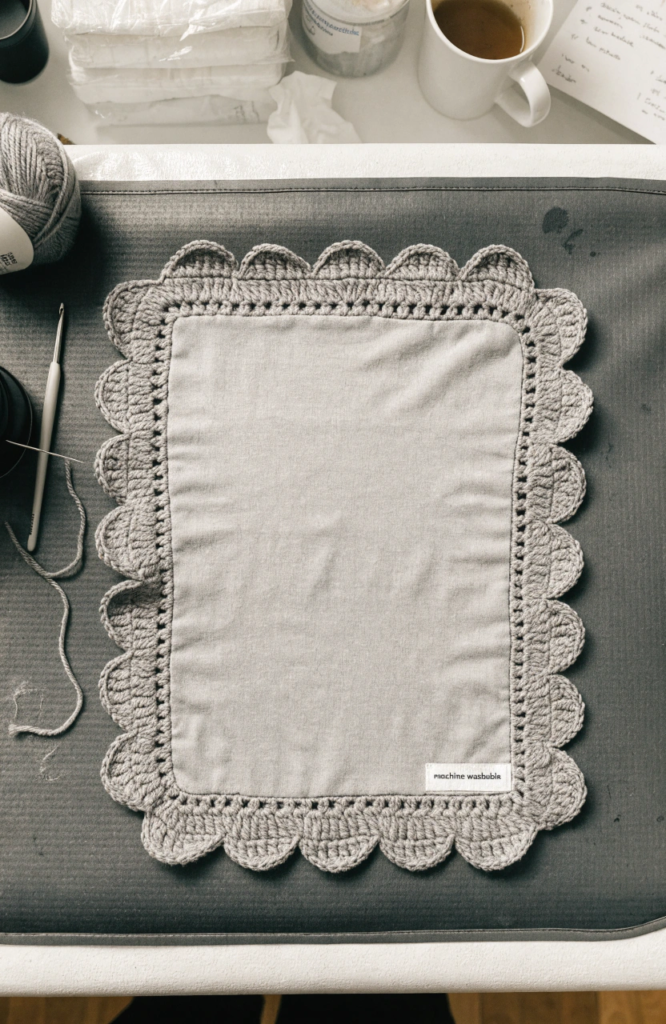
Rather than crocheting the whole cloth, this one adds a decorative crocheted trim directly onto a plain purchased burp cloth, which is a nice option if you want something quick.
Materials: soft sport or worsted weight yarn, 3.5mm hook, a plain fabric burp cloth, sewing needle and thread
Steps:
- Using a sewing needle and thread, work a row of evenly spaced foundation stitches along one edge of the burp cloth to anchor your crochet into.
- Join your yarn into one of those anchor points and work a simple scalloped or shell border directly along the edge.
- Continue the border pattern all the way across.
- Fasten off and weave in the yarn ends securely on the back side of the fabric.
- Repeat along additional edges if you’d like a fuller trimmed look.
14. Baby Sun Hat
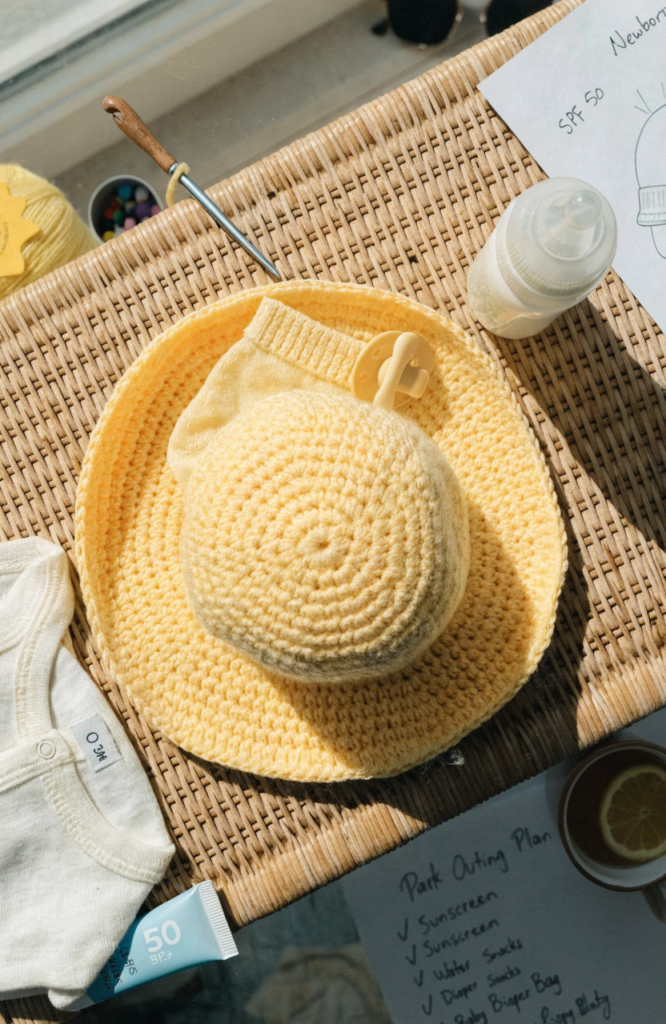
A wide brim keeps a baby’s face shaded, and the shaping is really just an extension of the basic beanie technique with a longer brim added on.
Materials: soft worsted weight yarn, 4mm hook, tapestry needle
Steps:
- Start with a small ring of stitches and increase evenly to build the rounded crown of the hat.
- Once the crown reaches the right size for the baby’s head, work several rounds even without further increasing.
- To start the brim, begin increasing again at a faster rate so the piece flares outward instead of staying straight.
- Continue increasing evenly until the brim reaches your desired width.
- Work one finishing round around the brim’s outer edge to keep it from curling.
15. Simple Security Blanket
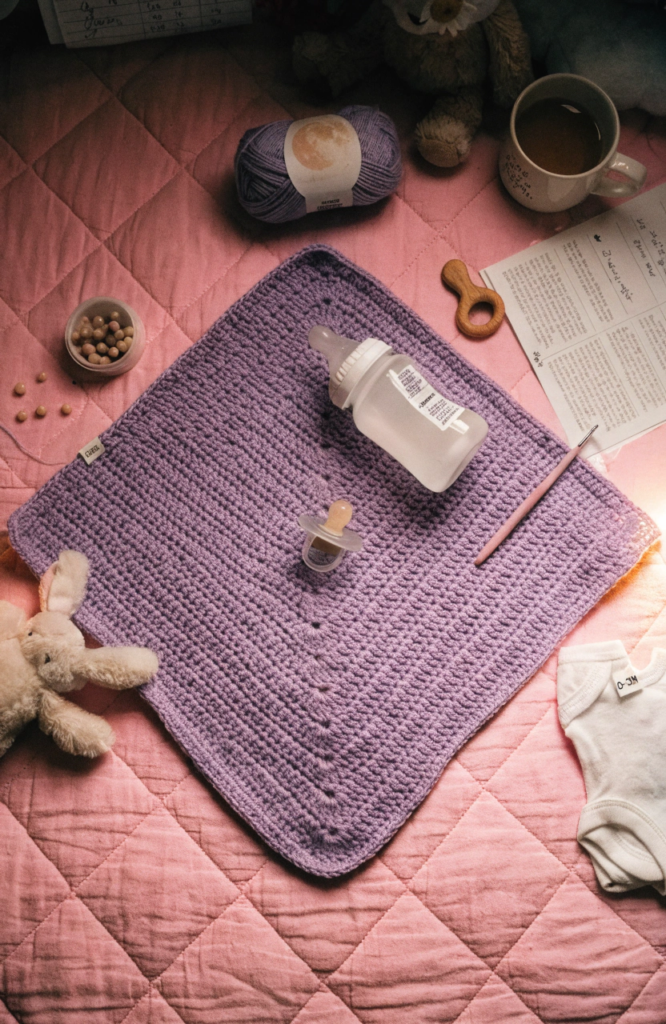
A small, easy to grip blanket square that’s just the right size for tiny hands, and a nice lightweight alternative to the bigger stroller blanket earlier on this list.
Materials: soft worsted weight yarn, 4mm hook, tapestry needle
Steps:
- Chain a length for a small square, much smaller than a full blanket, roughly the size that fits comfortably in a baby’s grip.
- Work straight rows of single or double crochet across until the piece is square.
- Add a simple border around all four edges.
- Keep the piece flat and lightweight rather than adding any bulky attached pieces.
- Weave in all ends securely, since this one will get chewed on and tugged constantly.
A Last Word on Gifting Handmade Baby Items
Always mention the fiber content when you gift something handmade, since some parents are cautious about wool or specific materials against a newborn’s skin, and it helps them make an informed choice about when and how to use it. Wash anything you make before gifting it too, both to soften the yarn up and to rinse away any residue from your hands or workspace. And however small these projects are, they tend to become the things people hang onto the longest, tucked away in a memory box long after the baby’s grown out of them.