A plain mirror does its job and nothing else. A painted one does its job and tells you something about the room it’s hanging in. The trick is knowing where paint actually belongs on a mirror — mostly the frame, sometimes a thin border traced right onto the glass — so you get a finished, gallery-ready look without ever obscuring your own reflection.
Below are 20 designs that work on almost any mirror shape, from a thrifted oval to a plain dollar-store round. Each one leans on a simple technique — dotting, striping, or a single repeated shape — so the final result looks intentional even on a first attempt.
Before You Start
- Tape off the reflective glass with painter’s tape before touching a wooden or plastic frame, so stray brush strokes stay contained.
- If you’re painting directly on the glass edge, use enamel or glass paint markers — regular acrylic scratches off glass over time without a sealant coat.
- Clean the frame and glass edge with rubbing alcohol first; oils from your hands keep paint from gripping properly.
- Let each color dry fully before adding a second one nearby, especially on thin frame edges where colors can bleed together.
1. Sunburst Frame Radiating lines around a round mirror instantly read as a sun motif, and the lines don’t need to be perfectly even to look good.
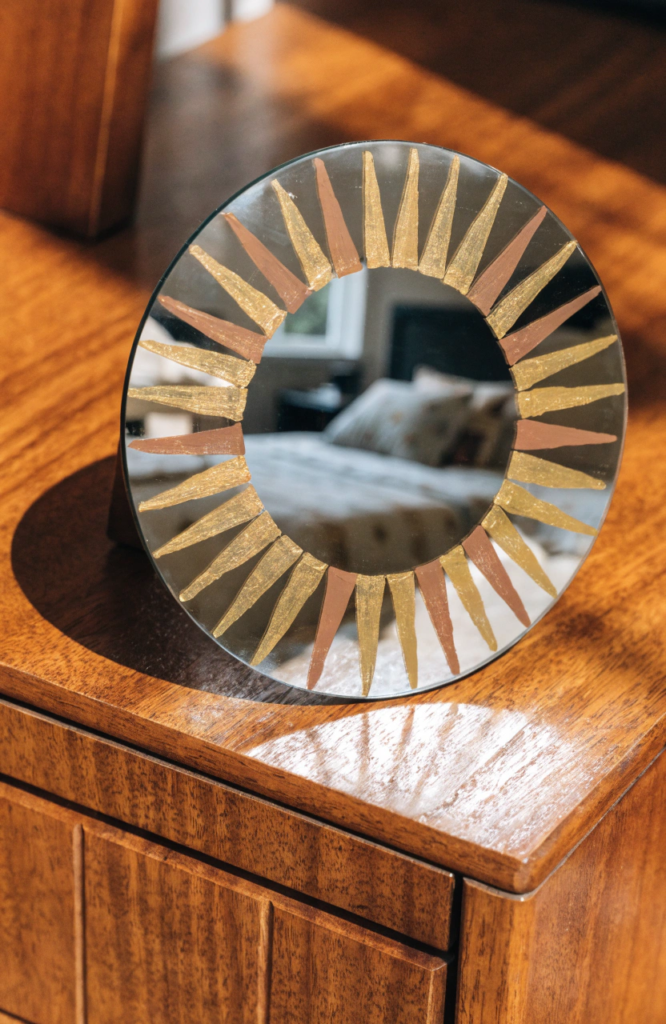
Materials: acrylic paint (gold, mustard, terracotta), round mirror, fine brush, painter’s tape
Steps:
- Tape off the glass, leaving only the frame or outer rim exposed.
- Paint the frame a solid gold base coat and let it dry.
- Starting from the center point of the frame, paint tapered rays outward in mustard, spacing them evenly around the circle.
- Add a few shorter terracotta rays between the mustard ones for depth.
- Remove the tape once fully dry.
2. Scalloped Edge A repeating scalloped line along the frame gives a plain mirror a soft, feminine border without any freehand shapes.
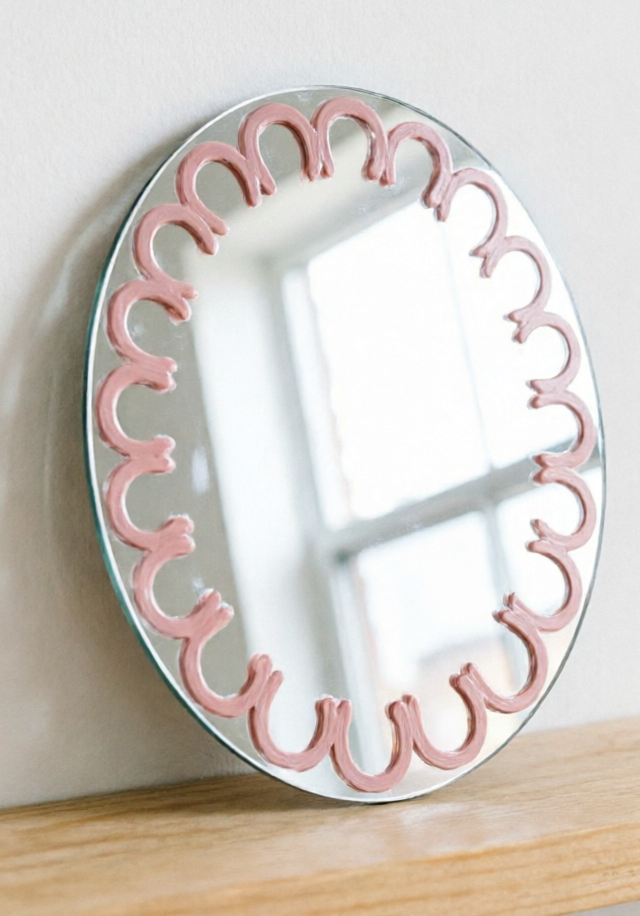
Materials: acrylic paint (cream, blush pink), round or oval mirror, small round brush, pencil
Steps:
- Tape off the glass and paint the frame a solid cream base coat.
- Lightly pencil a row of evenly spaced dots around the frame as scallop guides.
- Connect the dots with small curved “U” shapes using blush pink paint.
- Fill in each scallop shape fully, keeping the curves loose and consistent.
- Let dry and remove the tape.
3. Celestial Border Moon phases and stars traced right onto the glass edge turn a plain mirror into a nighttime scene.
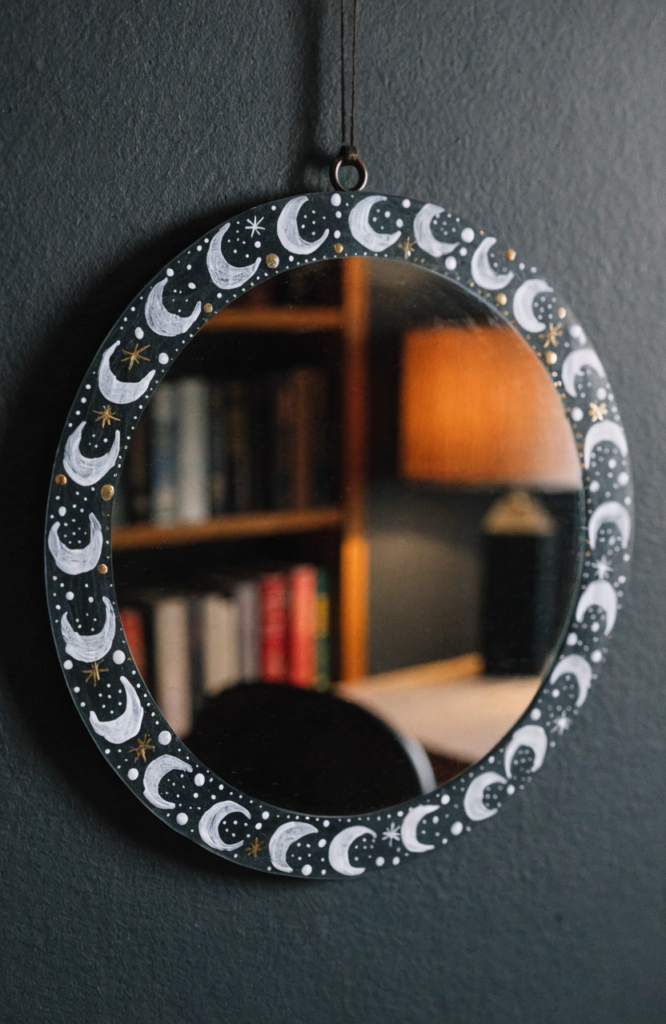
Materials: glass paint markers (white, gold), any mirror shape, ruler for spacing
Steps:
- Clean the outer edge of the glass with rubbing alcohol.
- Using a white glass marker, draw a small crescent moon in one corner of the glass border.
- Continue around the edge with a repeating pattern of dots and tiny stars.
- Add gold accent dots between the white ones for contrast.
- Let the ink cure per the marker’s instructions before wiping the mirror.
4. Rainbow Arch One bold arch shape across the top of a rectangular mirror adds color without covering the whole frame.
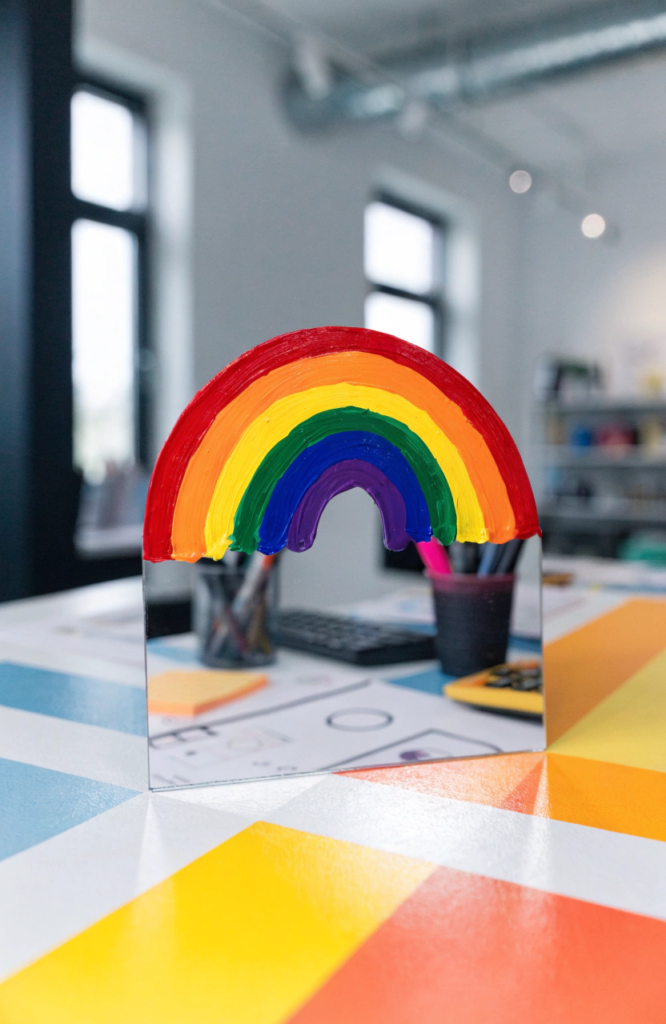
Materials: acrylic paint (5–6 rainbow colors), rectangular mirror, medium flat brush, pencil
Steps:
- Tape off the glass and lightly pencil a series of nested arch lines across the top of the frame.
- Paint the outermost arch red and let it dry slightly.
- Paint each following arch a new color, working inward through the rainbow.
- Clean up any uneven edges with a thin brush once the base colors are down.
- Remove tape once fully dry.
5. Terrazzo Speckle Random paint chips scattered across a frame mimic stone terrazzo and hide any brush inconsistency on purpose.
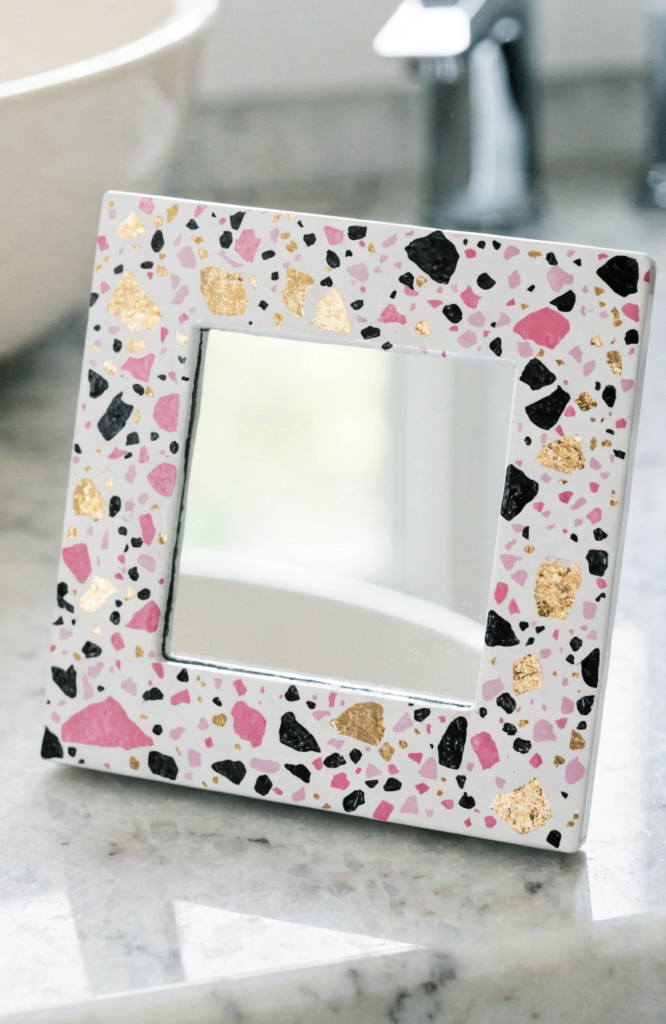
Materials: acrylic paint (white base, plus black, pink, and gold for speckles), any frame shape, fine brush or toothpick
Steps:
- Paint the frame a solid white base coat and let it dry fully.
- Dip a fine brush or toothpick tip into black paint and dot small irregular flecks across the frame.
- Repeat with pink flecks, then gold, layering them randomly and unevenly.
- Vary the size of the flecks so the pattern doesn’t feel too uniform.
- Let dry completely.
6. Botanical Vine A single trailing vine painted along one edge of the frame feels intentional without covering the whole surface.
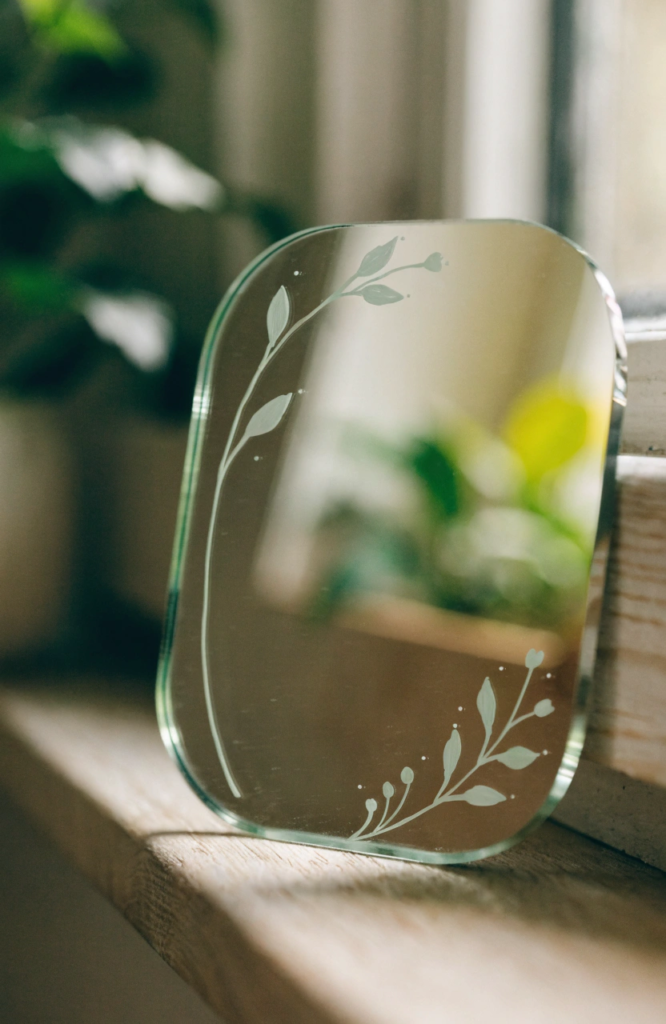
Materials: acrylic paint (sage green, small amount of white), any frame shape, fine liner brush
Steps:
- Tape off the glass and paint the frame a neutral base color if it isn’t already finished wood.
- Starting at one corner, paint a thin curving vine line in sage green along the frame’s edge.
- Add small leaf shapes branching off the vine at varied intervals.
- Add tiny white highlight dots along a few leaves for dimension.
- Let dry and remove the tape.
7. Checkerboard Corner A small checkerboard patch in one corner of the frame is a fast way to add a graphic, modern touch.
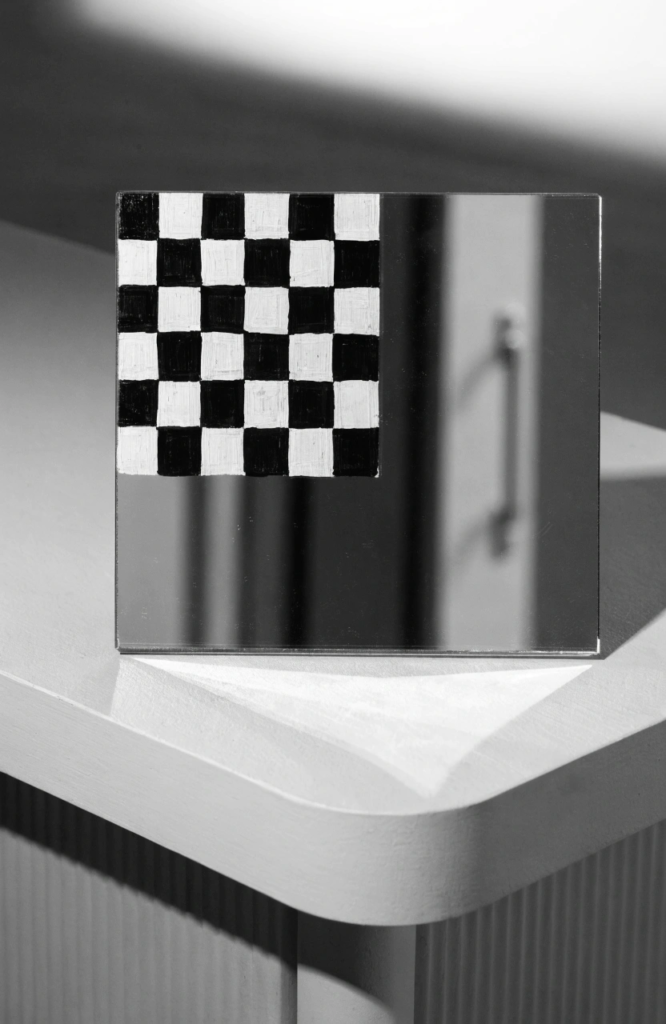
Materials: acrylic paint (black, white), square or rectangular mirror, ruler, pencil, small flat brush
Steps:
- Tape off the glass and lightly pencil a grid of even squares in one corner of the frame.
- Fill in alternating squares with black paint, leaving the others as the base color.
- Clean up any uneven grid lines with a thin brush once dry.
- Let the black paint cure fully.
- Remove the tape carefully along the grid edges.
8. Daisy Chain Simple five-petal daisies repeated around the frame look intricate but only require one petal shape repeated.
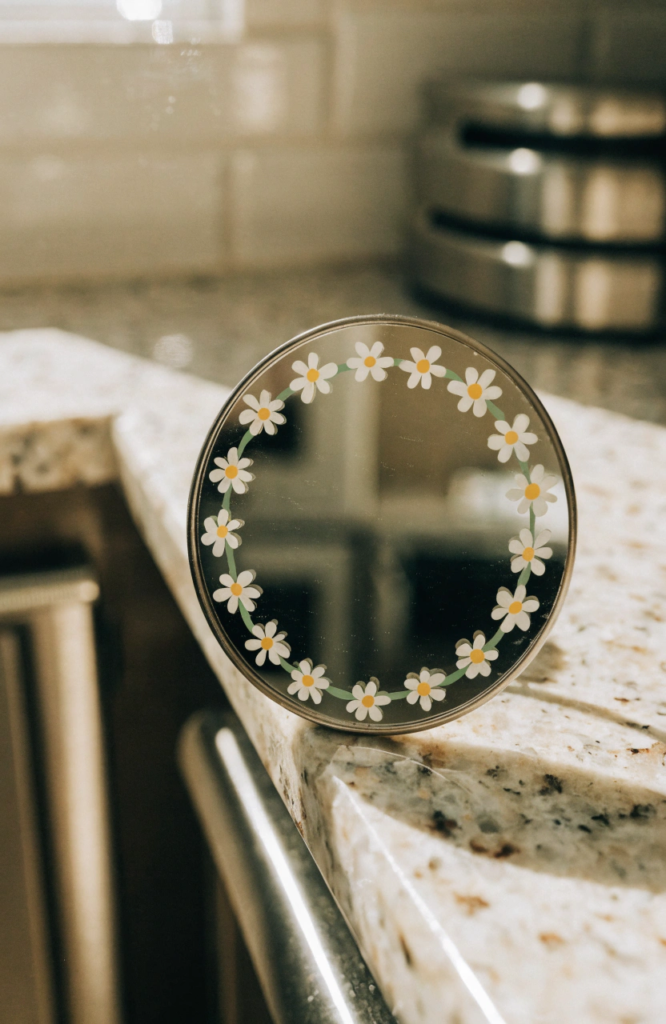
Materials: acrylic paint (white, yellow, green), round mirror, small round brush, dotting tool
Steps:
- Tape off the glass and paint the frame a light background color.
- Space out small yellow dot “centers” evenly around the frame as placement guides.
- Paint five white oval petals around each yellow center.
- Add thin green connecting stems between each daisy.
- Let dry fully and remove the tape.
9. Ocean Ripple Edge Layered blue arcs along the glass edge mimic rippling water without needing a steady freehand line.
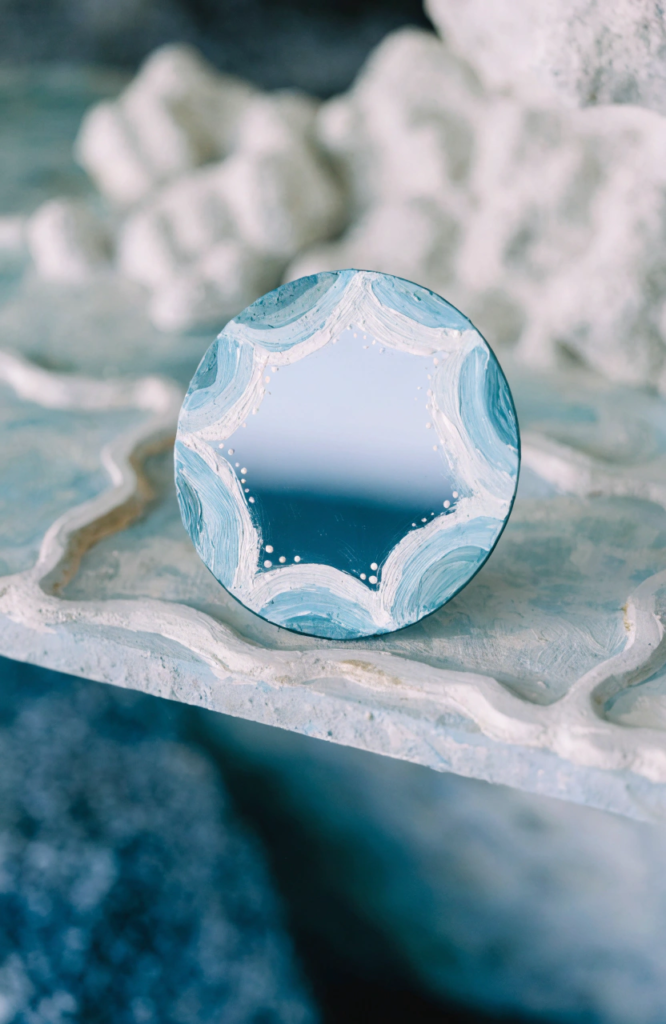
Materials: glass paint markers or acrylic (light blue, teal, white), any mirror shape
Steps:
- Clean the glass edge thoroughly with rubbing alcohol.
- Starting at one point, draw a series of connected shallow arcs in light blue around the border.
- Layer a second row of teal arcs just inside the first, slightly offset.
- Add small white dot “foam” accents where the arcs meet.
- Let cure fully before handling.
10. Gingham Frame A crosshatched gingham pattern gives a plain wooden frame instant cottagecore charm.
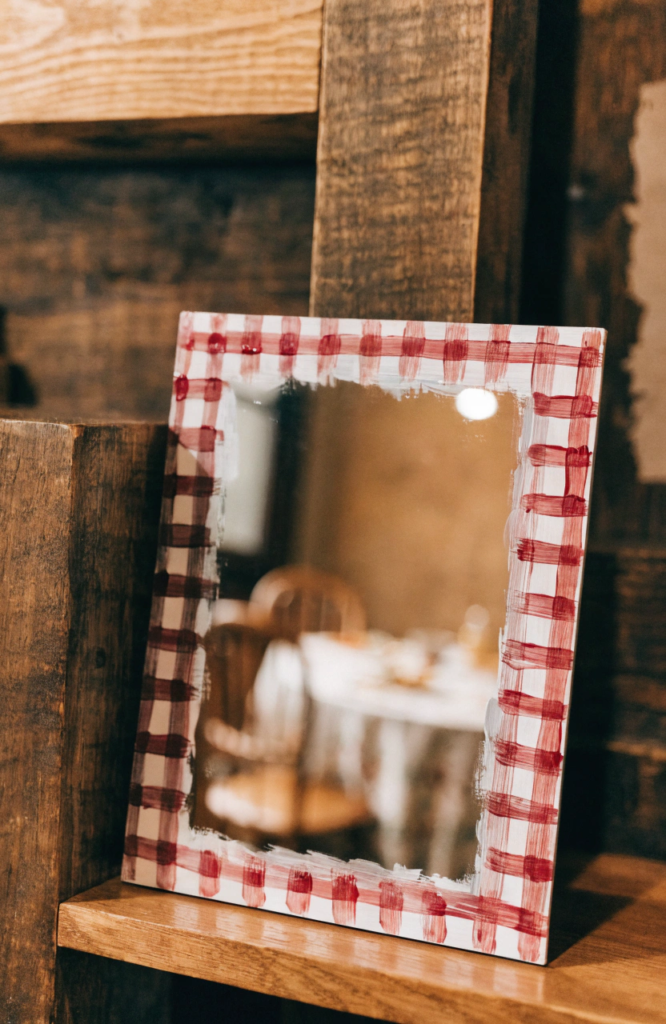
Materials: acrylic paint (white base, red or blue for lines), rectangular frame, ruler, thin flat brush
Steps:
- Paint the frame a solid white base coat and let it dry.
- Using a ruler, lightly pencil evenly spaced vertical lines across the frame.
- Paint over the pencil lines in your chosen color, then repeat with horizontal lines.
- Let the crossing points overlap naturally to create the classic gingham shading.
- Let dry completely.
11. Abstract Brushstroke A handful of loose, confident brushstrokes in contrasting colors look intentional even without any planning.
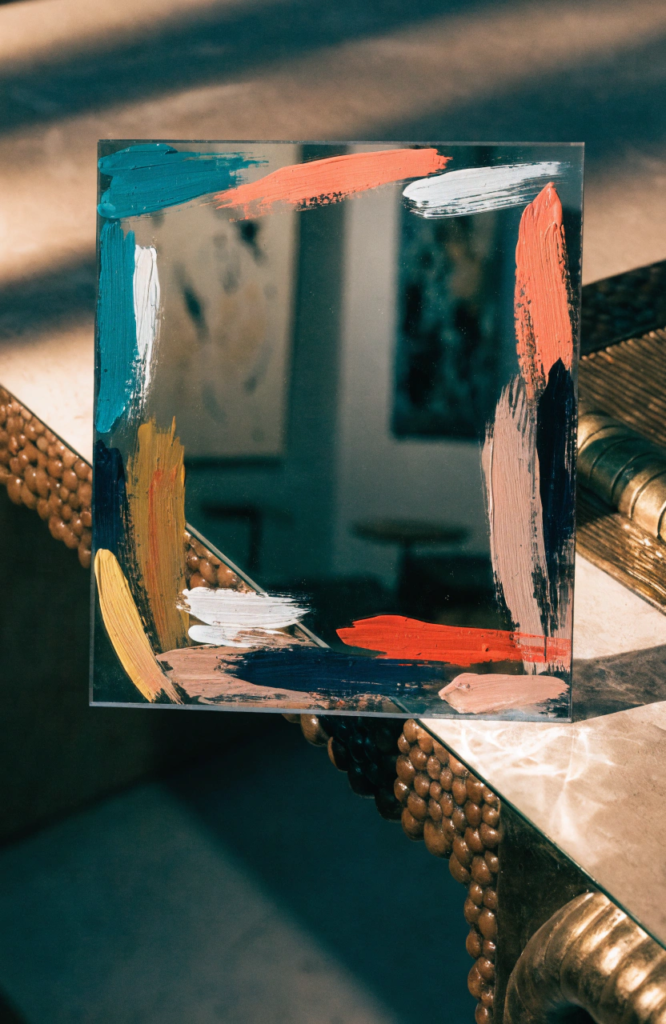
Materials: acrylic paint (2–3 contrasting colors), any frame shape, wide flat brush
Steps:
- Tape off the glass and paint the frame a neutral base color.
- Load a wide brush with your first color and drag a few loose, varied-length strokes across sections of the frame.
- Repeat with a second color, overlapping some strokes and leaving others separate.
- Add a few small strokes in a third color for contrast.
- Let dry and remove the tape.
12. Polka Dot Halo Dots in a single color scattered densely near the frame and sparsely further out create a soft glow effect.
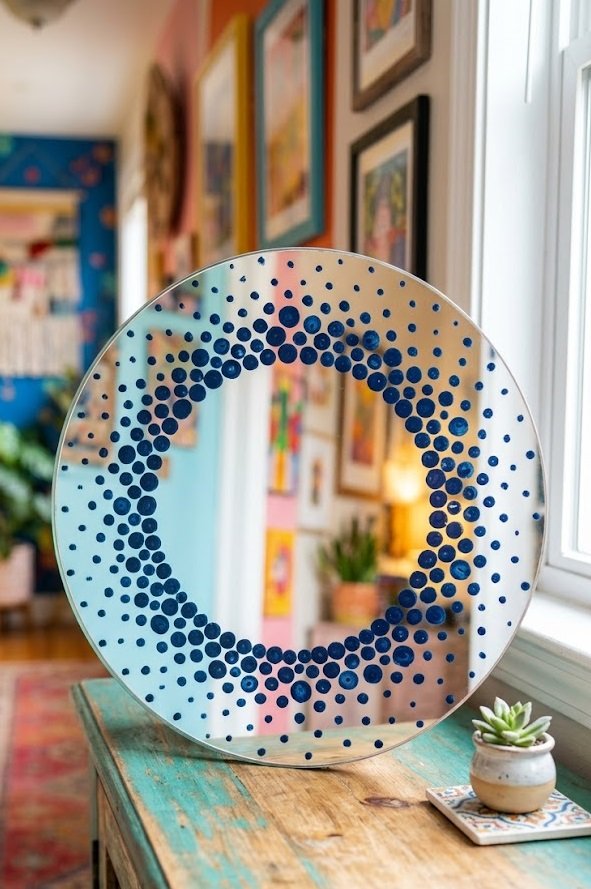
Materials: acrylic paint (one accent color), round mirror, dotting tool or pencil eraser
Steps:
- Tape off the glass and paint the frame in your chosen base color.
- Using a dotting tool, add closely spaced dots directly along the inner edge of the frame.
- Space the dots progressively further apart as you move outward.
- Vary a few dot sizes for texture.
- Let dry and remove the tape.
13. Marbled Edge Swirling two wet paint colors together on the frame mimics natural stone veining with almost no skill required.
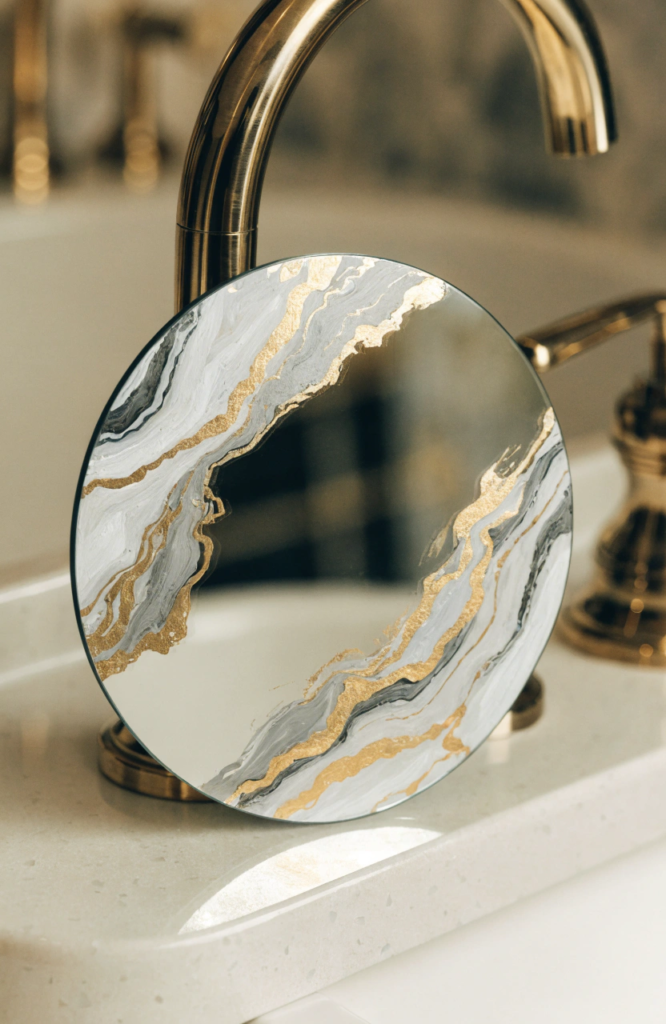
Materials: acrylic paint (white base, plus 1–2 accent colors), any frame shape, toothpick or fine brush
Steps:
- Paint the frame a solid white base coat and let it dry.
- Working in small sections, apply thin squiggly lines of your accent colors while the base stays workable, or use a wet-on-wet technique with a glaze medium.
- Drag a toothpick lightly through the wet lines to create veining.
- Repeat around the frame in small sections so the paint doesn’t dry before you can swirl it.
- Let cure fully.
14. Retro Sunset Stripes Horizontal bands of warm color along the bottom of the frame evoke a sunset without any shapes to draw.
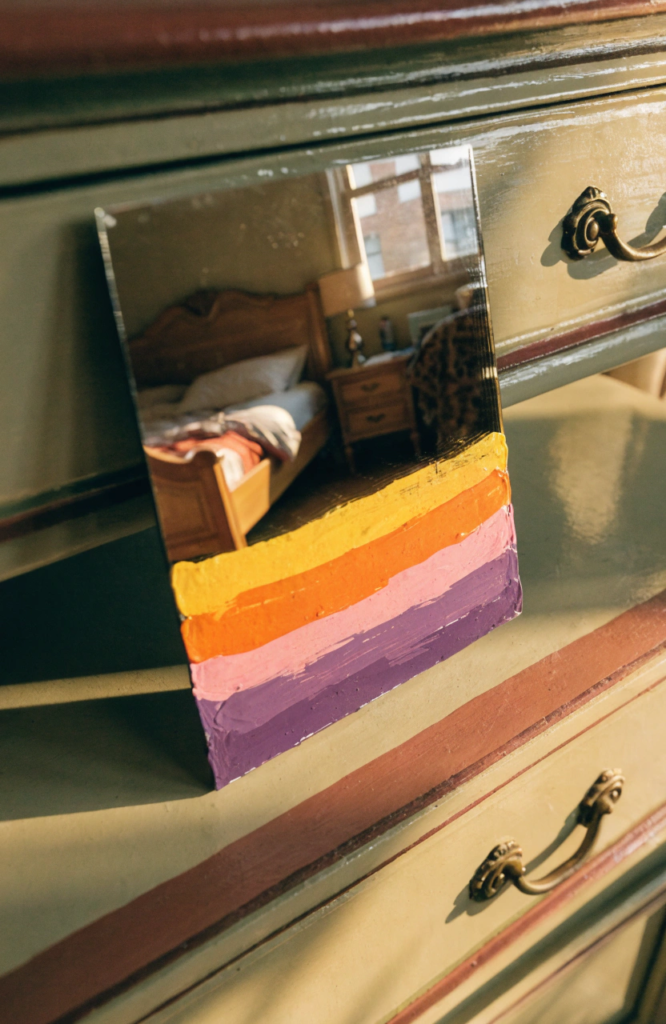
Materials: acrylic paint (yellow, orange, pink, purple), rectangular mirror, painter’s tape, flat brush
Steps:
- Tape off the glass and mask even horizontal bands across the lower half of the frame.
- Paint each band a different warm color, working from yellow at the top to purple at the bottom.
- Remove the tape between bands carefully while the paint is still slightly tacky for crisp lines.
- Touch up any bleed spots with a fine brush.
- Let dry fully.
15. Mini Mushroom Trail A few small mushrooms tucked into one corner of the frame add a whimsical, cottagecore detail.
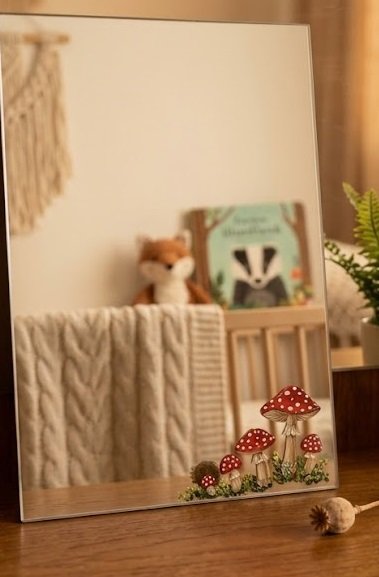
Materials: acrylic paint (red, white, tan), any frame shape, fine round brush
Steps:
- Tape off the glass and paint the frame a neutral base color.
- In one corner, paint a few small rounded mushroom cap shapes in red.
- Add white dots across each cap and a tan stem beneath.
- Vary the mushroom sizes so the cluster looks natural.
- Let dry and remove the tape.
16. Art Deco Fan Fan-shaped rays in one corner or along the top of the frame bring a bold, geometric edge to a plain mirror.
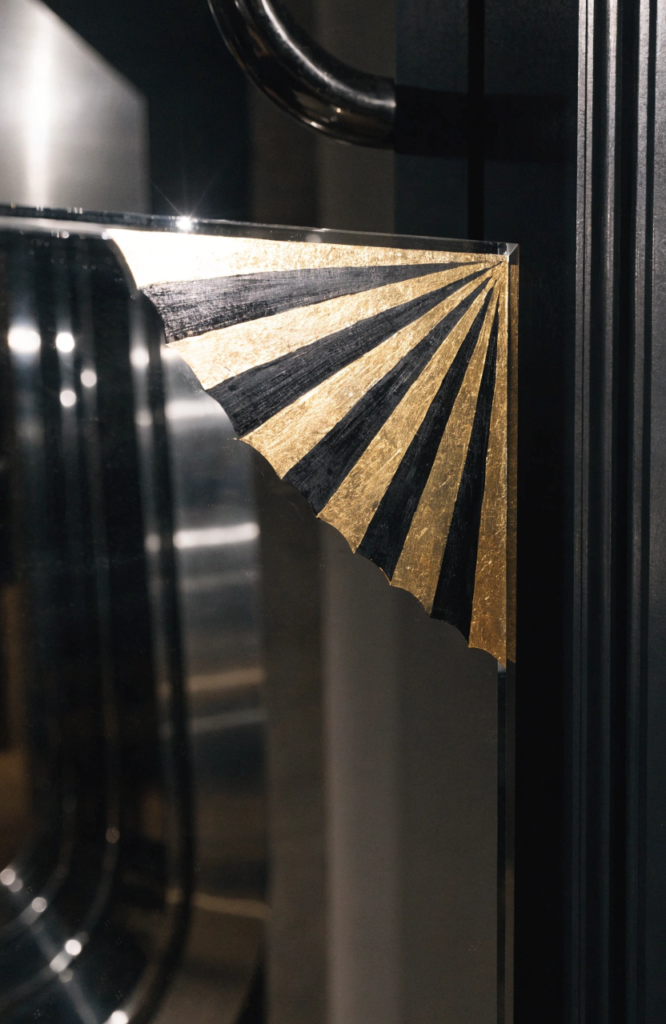
Materials: acrylic paint (gold, black or deep green), any frame shape, ruler, fine brush
Steps:
- Tape off the glass and paint the frame a solid base color.
- Lightly pencil a fan of evenly spaced lines radiating from one point on the frame.
- Paint alternating sections gold and your second color, keeping the lines crisp.
- Clean up any uneven edges with a thin brush.
- Let dry and remove the tape.
17. Watercolor Wash Edge A soft, blended color wash along the inner edge of the frame gives a dreamy look with almost no brushwork skill.
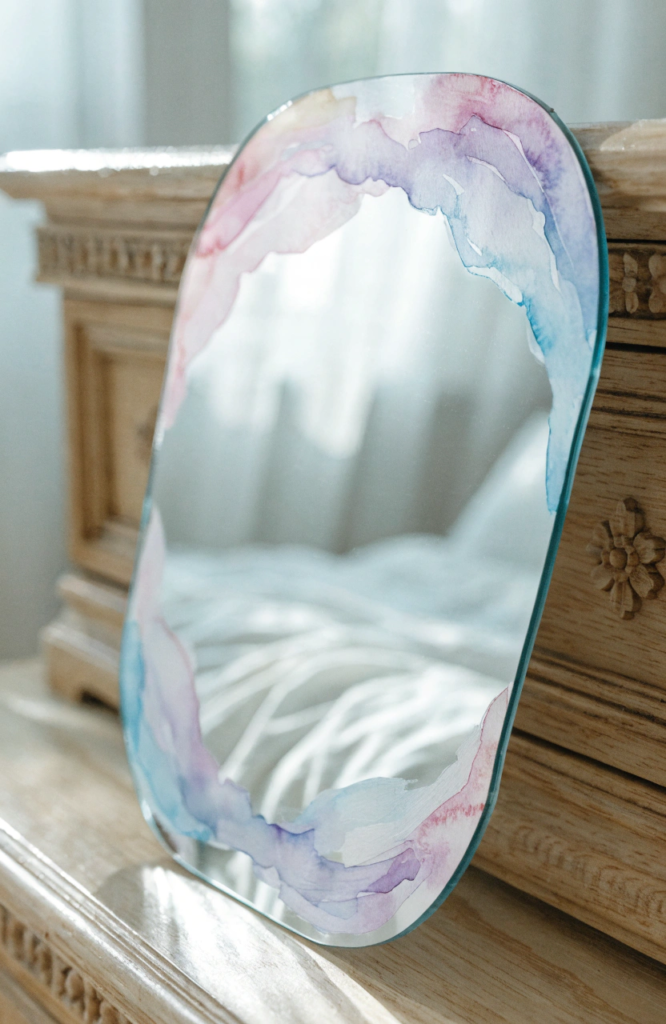
Materials: acrylic paint thinned with water (2–3 soft colors), any frame shape, wide soft brush
Steps:
- Tape off the glass and thin your paint colors slightly with water for a translucent wash.
- Brush the first color loosely along the inner edge of the frame, letting it fade outward.
- Add a second color just beside the first while both are still wet, letting them blend.
- Add a third color sparingly for extra depth.
- Let dry fully and remove the tape.
18. Ladybug Garden Edge Tiny ladybugs and leaf shapes scattered along the frame bring a playful, garden-party feel.
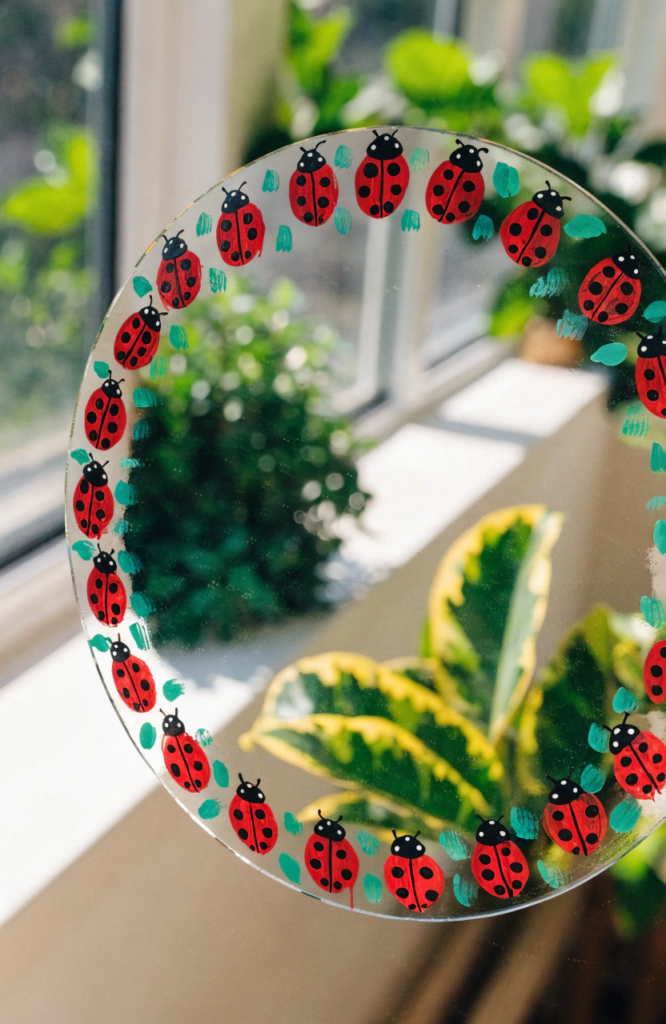
Materials: acrylic paint (red, black, green, white), any frame shape, fine round brush
Steps:
- Tape off the glass and paint the frame a light green or cream base coat.
- Paint several small red oval ladybug bodies at varied spots around the frame.
- Add black head caps, center lines, and dot spots to each ladybug.
- Fill in gaps between them with small green leaf shapes.
- Let dry and remove the tape.
19. Two-Tone Dip Painting just the bottom portion of the frame a contrasting color creates a clean, modern “dipped” effect.
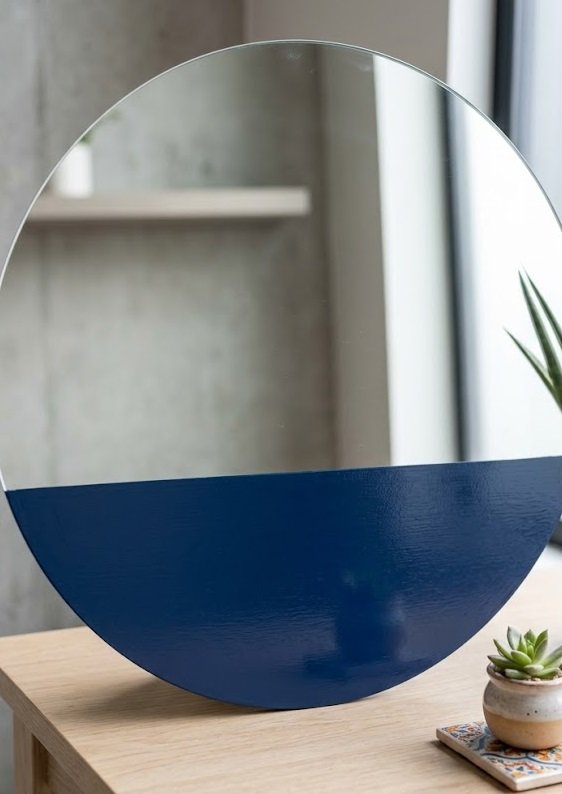
Materials: acrylic paint (one accent color), any frame shape, painter’s tape, flat brush
Steps:
- Tape off the glass and mask a straight or gently curved line across the lower portion of the frame.
- Paint everything below the line your accent color, using two coats for solid coverage.
- Keep the tape line crisp and press it down firmly before painting to prevent bleeding.
- Remove the tape carefully once the paint is dry to the touch.
- Let cure fully before hanging.
20. Stained Glass Border Thin black outlines filled with jewel-toned color along the glass edge mimic a stained glass window.
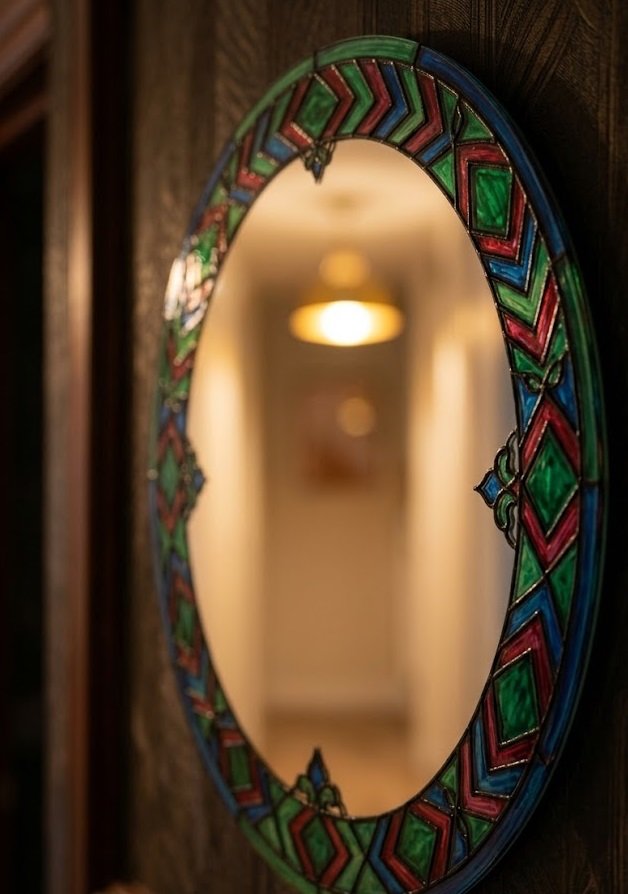
Materials: glass paint markers or paint pens (black, plus jewel tones like emerald, ruby, sapphire), any mirror shape
Steps:
- Clean the glass edge with rubbing alcohol.
- Using a black marker, draw a repeating pattern of connected geometric shapes around the border.
- Fill each shape with a different jewel-toned color, keeping colors from touching while wet.
- Let each section dry before filling in the next to avoid smudging.
- Let cure fully before wiping the mirror clean.
Displaying Your Finished Mirror
A painted frame changes the whole personality of a wall, so give it room to be seen — hang it somewhere it isn’t competing with a busy gallery wall, or lean it on a shelf or mantel where the light hits the painted edge directly. If you used glass markers along the border, wipe only the clear center of the mirror when cleaning and avoid running a wet cloth directly over the painted line.