Borax slime is the recipe that basically started the whole slime craze, and there’s a reason it’s stuck around this long. It’s cheap, it comes together in a few minutes, and the borax solution gives you way more control over the final texture than a lot of the newer no-borax methods out there. If you’ve been wanting to make a proper stretchy, glossy batch from scratch, this is the version to start with.
A Quick Safety Note
Borax is a mineral, not something wildly dangerous, but it’s not meant to be eaten and it can irritate skin if someone’s sensitive to it. Keep an eye on younger kids during the mixing step, wash hands after playing, and don’t let anyone put the slime in their mouth. If you or your kid has sensitive skin, doing a small patch test on the back of a hand before diving into a full batch isn’t a bad idea.
What You’ll Need
- 1/2 cup white school glue, like Elmer’s
- 1/2 cup warm water, divided
- 1 teaspoon borax powder
- Food coloring or liquid watercolor, optional
- Glitter, foam beads, or other mix-ins, optional
- Two mixing bowls
- A spoon or craft stick for stirring
Steps to Make It
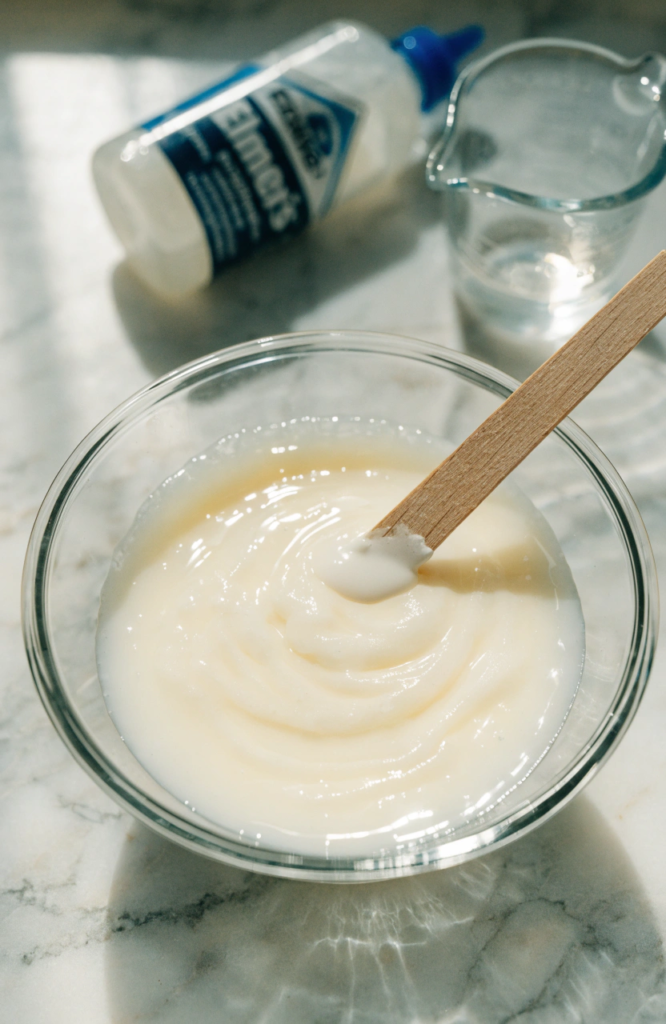
1. Pour the glue into one bowl and add 1/4 cup of warm water. Use water that’s warm to the touch rather than hot, since hot water can make the glue feel stringy as it mixes. Stir slowly with a spoon or craft stick, scraping along the bottom and sides of the bowl, until the mixture turns smooth and fully combined with no streaks of white glue left sitting on the surface. This should take about a minute of steady stirring.
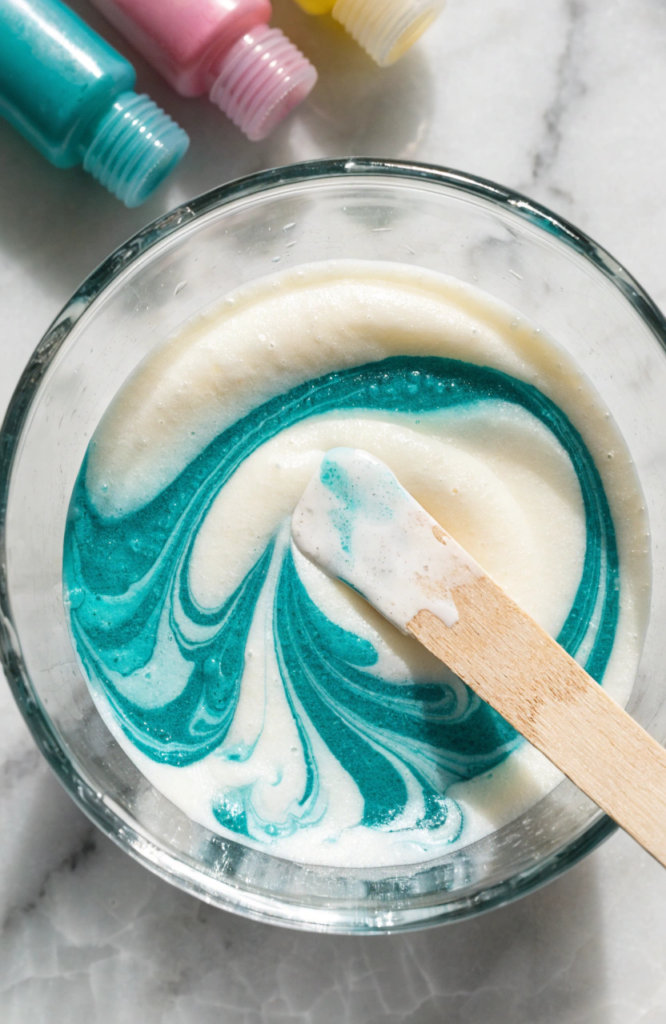
2. If you’re adding color, stir it in now while the glue mixture is still thin and easy to work with. Start with just two or three drops of food coloring or liquid watercolor, since it’s a lot easier to deepen the shade later than to lighten one that’s gone too dark. Stir until the color is evenly distributed with no streaks, then take a look and add a drop or two more if you want it bolder.
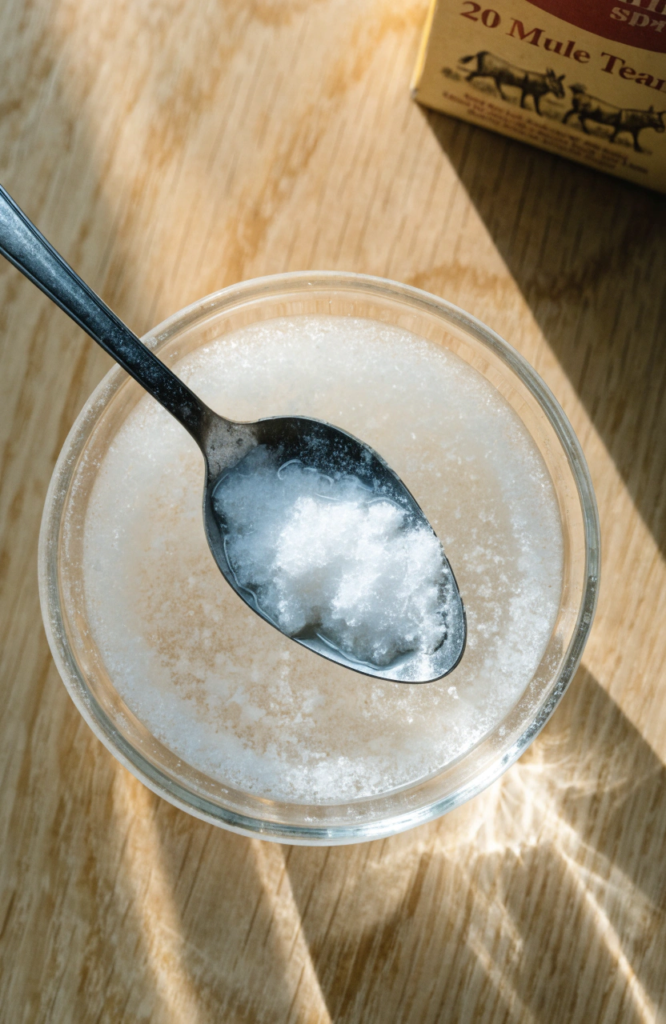
3. In your second bowl, add the teaspoon of borax powder to the remaining 1/4 cup of warm water. Stir this mixture continuously for 20 to 30 seconds. It won’t turn fully clear the way sugar or salt does in water, and you may still see a faint cloudiness or a few tiny undissolved specks, which is completely normal and won’t affect how the slime turns out.
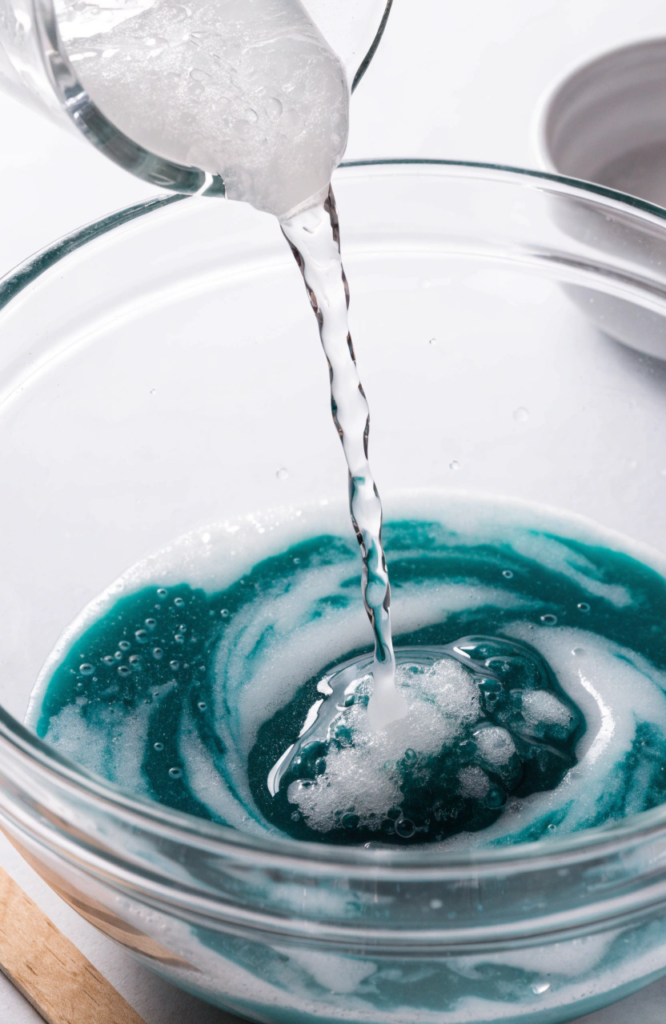
4. Slowly pour the borax solution into the glue mixture a little at a time rather than all at once, stirring continuously as you go. You don’t need to add the entire solution right away. Within a few seconds of the first pour, you’ll notice the mixture starting to clump and thicken around your spoon, which is the borax beginning to bond with the glue’s polymer strands.
5. Keep stirring and adding the borax solution gradually, watching how the texture changes with each addition. The mixture will go from watery to stringy to a single cohesive ball fairly quickly. Stop adding borax solution once the slime pulls together into one mass and starts pulling cleanly away from the sides of the bowl, even if you have a little of the solution left over.
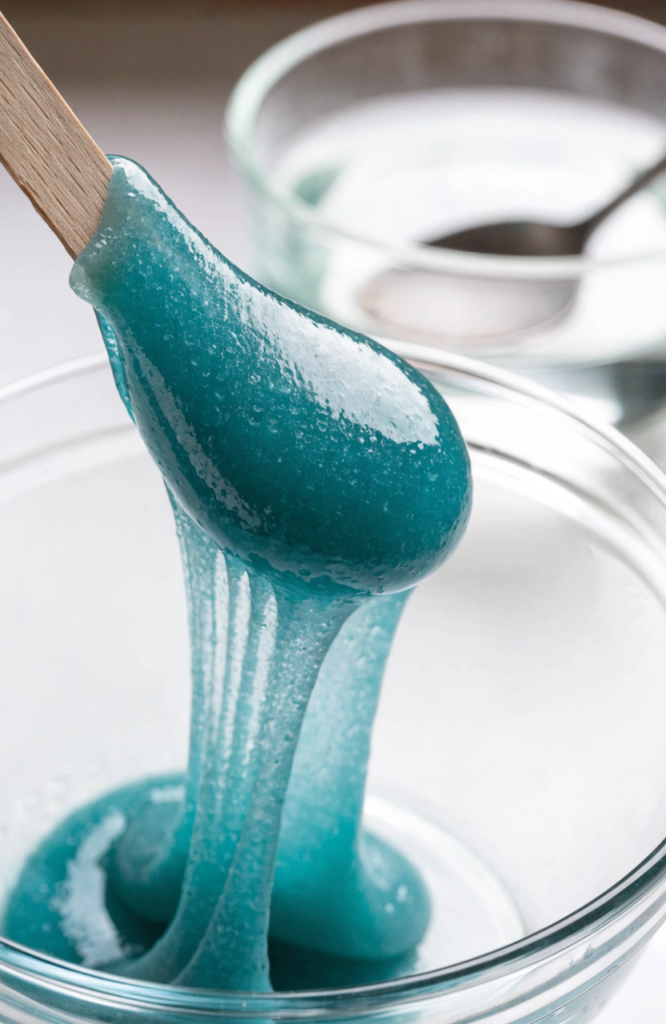
6. Lift the slime out of the bowl and start kneading it between your hands, folding it over on itself and pressing it back together, similar to kneading dough. It’ll feel noticeably sticky and slightly wet for the first 30 seconds or so, but keep going. The kneading motion works any remaining liquid into the slime and helps it firm up, usually within a minute or two of steady kneading.Take the slime out and knead it with your hands for a minute or two. It’ll feel sticky at first, but it firms up fast as you work it.
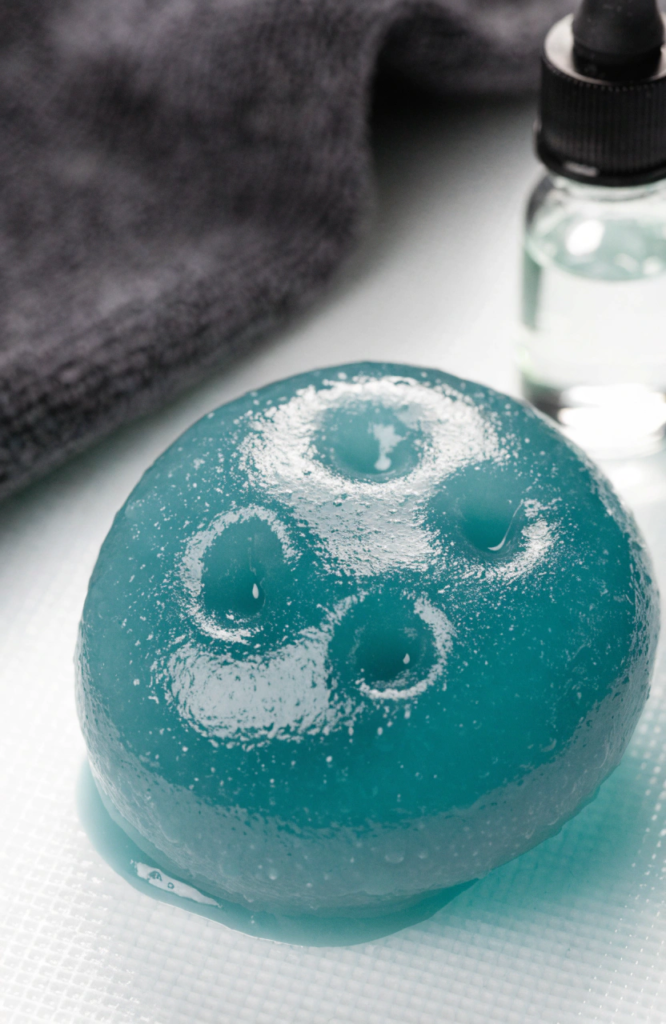
7. Check the texture after kneading. If it’s still tacky or sticking to your fingers, you have two easy fixes: either wet your hands lightly with water and continue kneading, which helps work out the stickiness without adding more borax, or mix up a small extra amount of the borax solution and knead in just a few drops at a time, checking the texture after each addition so you don’t overdo it.
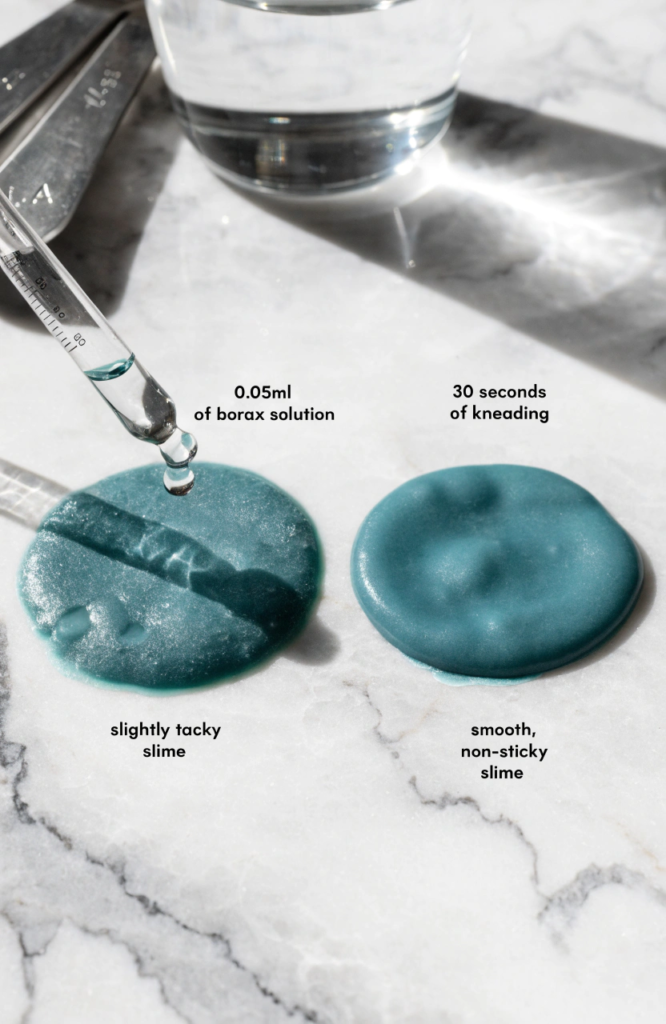
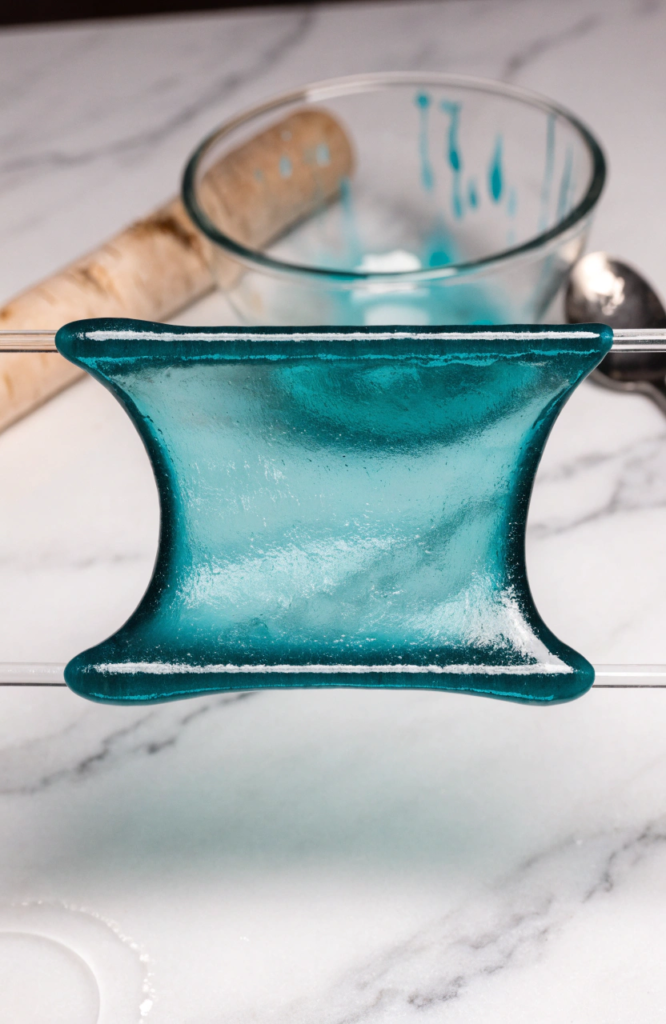
8. Keep kneading and testing as you go, stretching a small piece between your fingers to see how it behaves. Once it holds together smoothly, stretches without tearing or sticking, and no longer clings to your hands, it’s fully ready to play with. Once it’s smooth and stretchy without sticking to your hands, it’s ready to play with.
Getting the Texture Right
The whole trick with borax slime is balance. Too little borax solution and the slime stays runny and won’t hold together. Too much and it turns stiff and rubbery instead of stretchy. If your batch comes out too sticky, don’t panic and dump in a ton of extra borax solution all at once. Add it in small amounts, a few drops at a time, kneading between each addition until you land on that smooth, stretchy consistency. It’s a lot easier to add a little more than to fix a batch that’s gone stiff.
A Few Variations Worth Trying
- Glitter slime: Knead in a spoonful of fine glitter after the base slime comes together for a sparkly finish that doesn’t clump.
- Fluffy slime: Mix a cup of shaving cream into the glue mixture before adding the borax solution for a lighter, airier texture.
- Clear slime: Swap the white glue for clear glue and skip the food coloring for a jelly-like, see-through batch.
- Scented slime: A drop or two of a mild extract like vanilla stirred into the glue mixture adds a subtle scent without affecting the texture.
Storing It
Keep finished slime in an airtight container or a resealable bag between uses. Left out in the open air, it’ll dry out within a day or two. Stored properly, a batch can easily last a few weeks, though it’s normal for it to firm up slightly over time. If it starts feeling dry, kneading in a small drop of water or lotion usually brings it back to life.