Keychains might be the most underrated craft surface out there. They’re small enough to finish in one sitting, cheap enough that a mistake doesn’t sting, and once they’re done you actually use them every single day instead of letting them collect dust on a shelf.
If you’ve got a bag of blank wood or acrylic keychain shapes sitting around wondering what to become, here are 19 ideas that don’t require any painting experience to pull off.
A Few Notes Before You Dive In
Most of these work on either wood or clear acrylic blanks, though a couple lean better one way than the other, and I’ll flag that when it matters. Acrylic paint pens are honestly your best friend here since the tip control makes tiny details so much easier than trying to wrangle a wet brush on something this small.
If you’re working on wood, seal your painted keychain once it’s dry with a matte or gloss varnish so it can survive being tossed around in a bag or pocket. And don’t skip attaching the keyring hardware before you start if your blank has a pre-drilled hole, because painting around it later is way more annoying than just working with it from the start.
1. Mini Taco
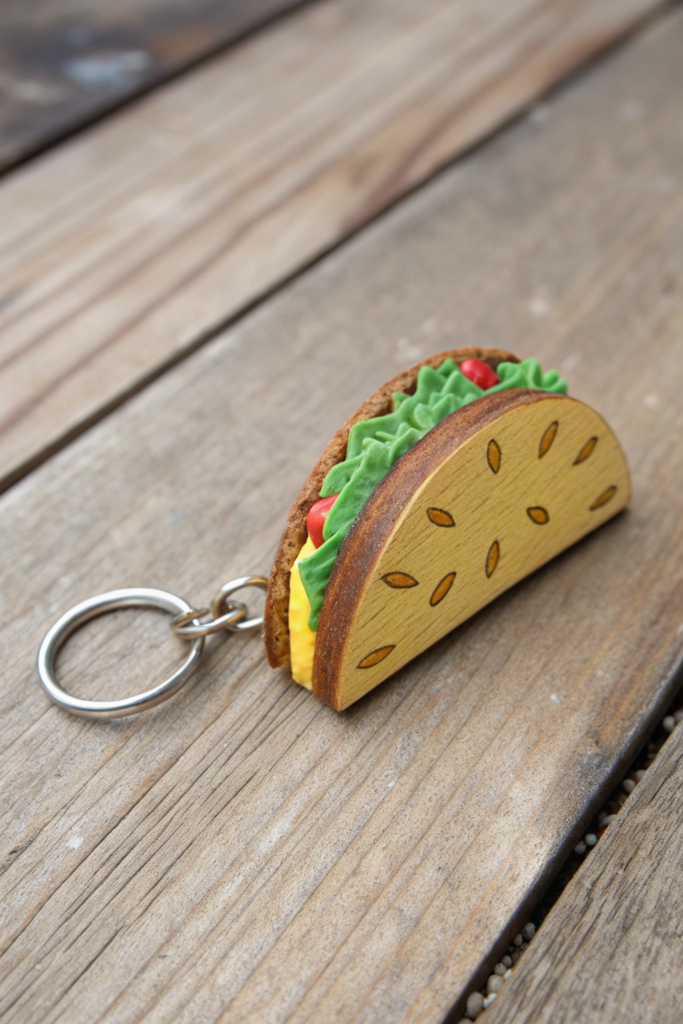
There’s something genuinely satisfying about painting a taco small enough to fit on your keys. Give the shell a golden-brown crescent shape, then pile “toppings” on top in loose blobs of color.
Materials: acrylic paint or paint pens (tan, brown, green, red, white), wood or acrylic blank, fine brush
Steps:
- Paint the bottom crescent shape a warm golden-tan for the shell and let it dry.
- Add a thin brown line along the curved edge for a toasted look.
- Layer shredded lettuce as loose green squiggles across the top opening.
- Dot in a few red tomato bits and a scribble of white for cheese or sauce.
- Let everything dry, then seal.
2. Paint-Splat Abstract
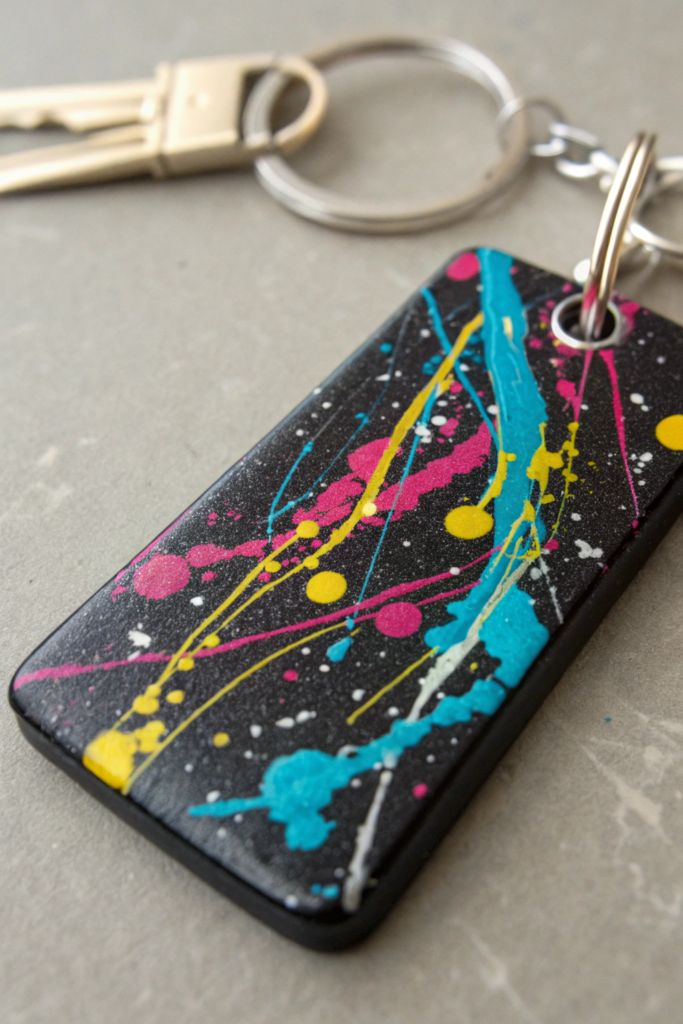
Honestly, this one’s for anyone who just wants to relax and not overthink it. Flick a few colors around, let them land where they land, and call it done.
Materials: acrylic paint (2 to 3 colors you like together), wood or acrylic blank, old toothbrush or brush
Steps:
- Paint a solid white or black base coat and let it dry completely.
- Dip a toothbrush or the tip of a brush into your first color and flick it lightly across the surface.
- Repeat with your second and third colors, layering the splatters.
- Step back and add a few extra flicks anywhere it looks too sparse.
- Let dry fully, then seal.
3. Bookworm and Page
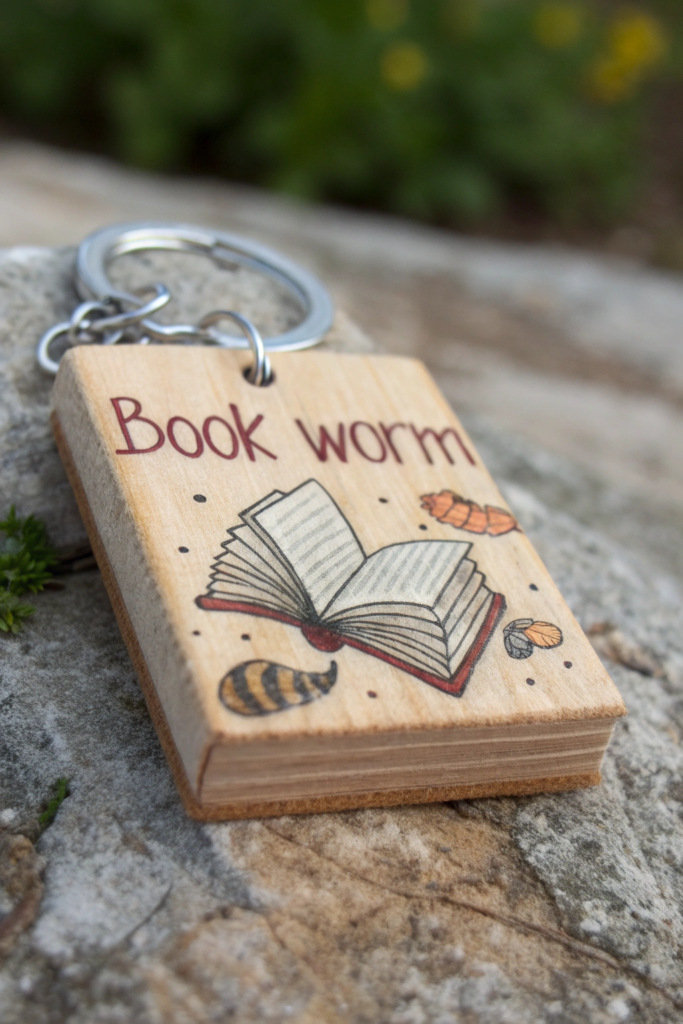
Perfect if you’re the kind of person who always has a book in your bag. A tiny open book shape with an even tinier worm peeking out of it.
Materials: acrylic paint (cream, brown, green), wood blank, fine brush
Steps:
- Paint the main shape cream for the open pages.
- Add a thin brown line down the center to suggest the book’s spine.
- Paint a few short gray lines across the pages to look like text.
- Add a small curved green worm poking out from behind one page, with two tiny dot eyes.
- Dry and seal.
4. Retro Cassette Tape
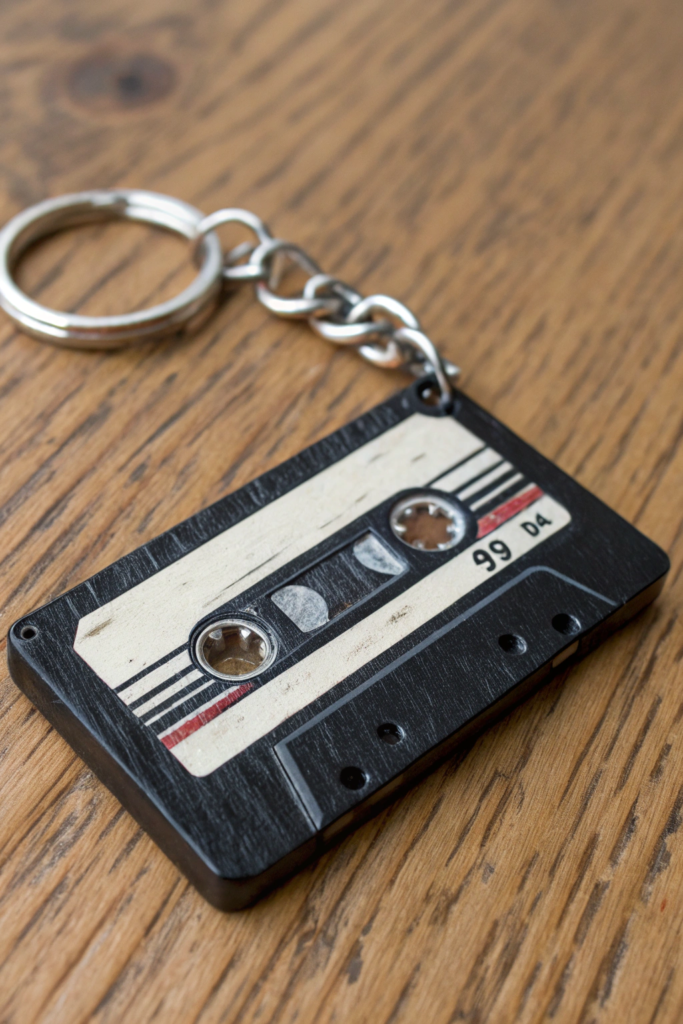
A little nostalgic, a little nerdy, and genuinely fun to paint because the shapes are all rectangles and circles.
Materials: acrylic paint (black, white, one accent color), rectangular wood blank, fine brush
Steps:
- Paint the whole rectangle black as your base.
- Add a white rectangle label across the middle third, leaving a black border around it.
- Paint two small circles below the label for the tape reels.
- Add a thin accent-colored stripe across the label for that mixtape look.
- Let dry and seal.
5. Fluffy Croissant
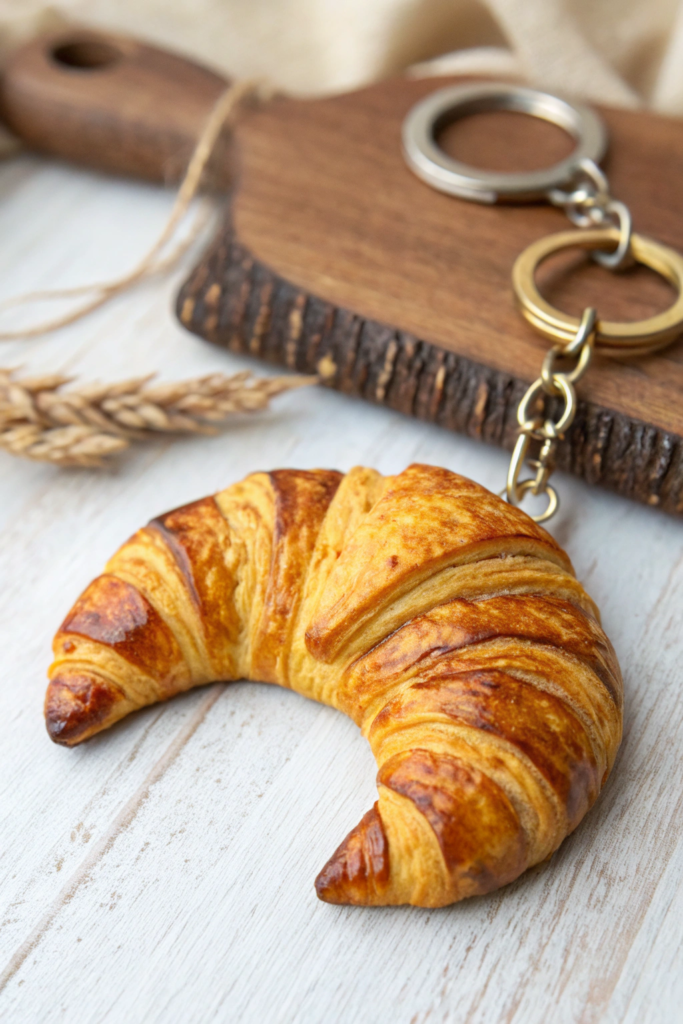
Curved, golden, and way easier to paint than you’d think. Just a few overlapping crescent strokes and you’re basically done.
Materials: acrylic paint (golden tan, darker brown), wood blank shaped like a crescent if you have one, fine brush
Steps:
- Paint the whole shape a warm golden base color.
- Add curved brown lines following the natural bend of the croissant for those signature ridges.
- Add a few lighter highlight streaks between the ridges for texture.
- Dot on a couple of tiny seed shapes if you’re feeling fancy.
- Dry and seal.
6. Tiny UFO
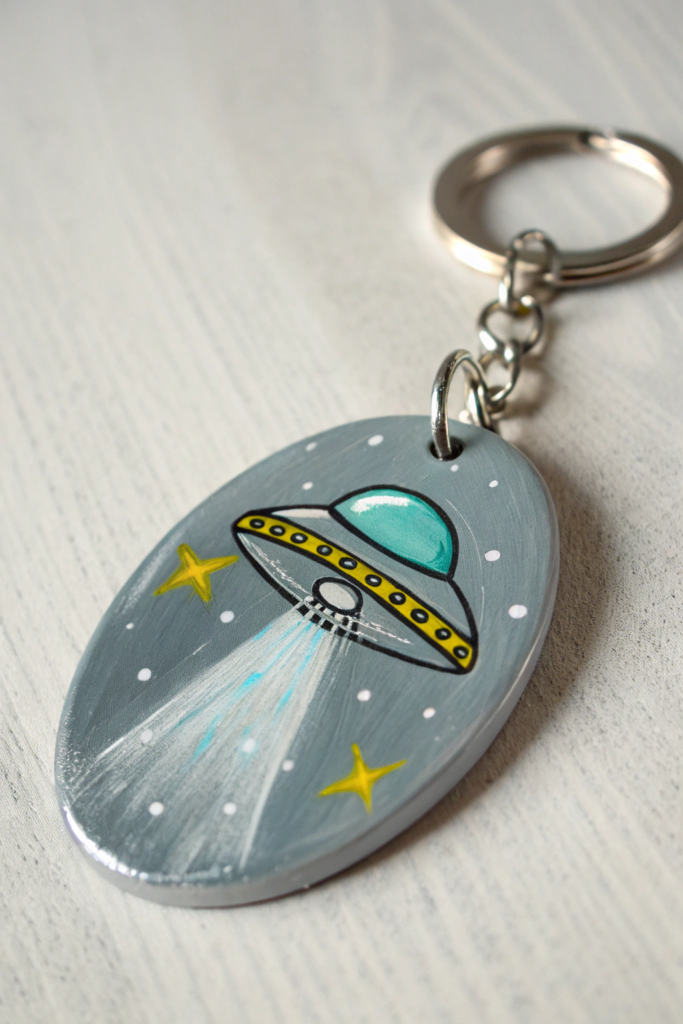
A little flying saucer with a glowing dome is way more charming than it has sense to be, and the shapes couldn’t be simpler.
Materials: acrylic paint (silver or gray, teal or green for the dome), round or oval blank, fine brush
Steps:
- Paint the wider bottom section silver or metallic gray for the saucer body.
- Paint a small dome shape on top in teal or green.
- Add a row of small white or yellow dot lights along the widest part.
- Add a thin light beam shooting downward if there’s room on your blank.
- Let dry and seal.
7. Sunny-Side Egg
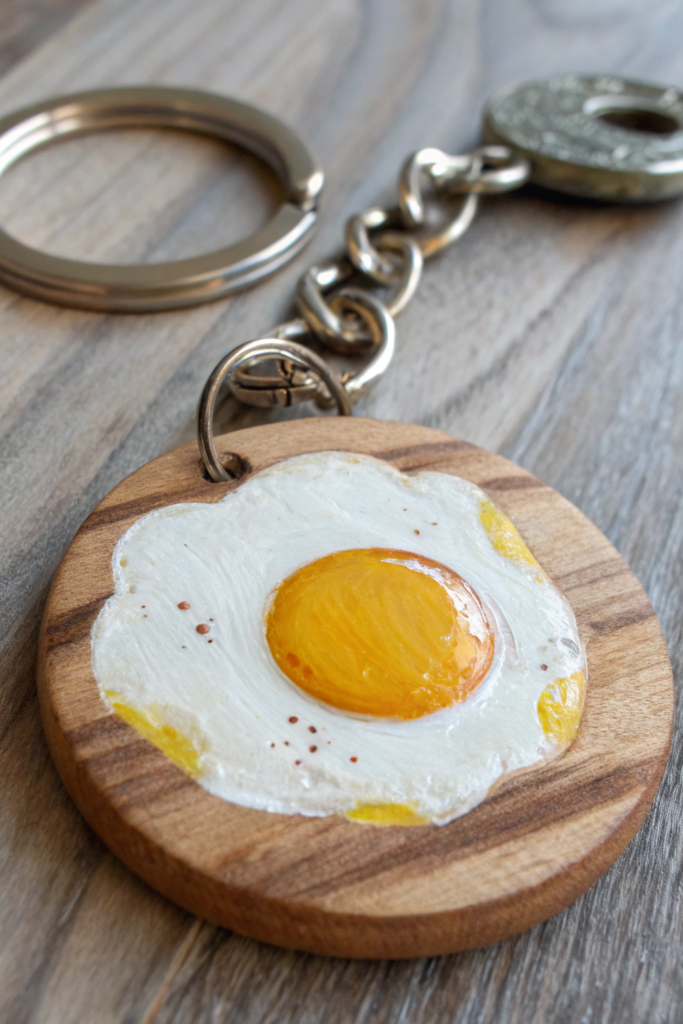
Weirdly one of the most satisfying things to paint. A white oval, a yellow circle, done. It somehow always looks cute no matter how it turns out.
Materials: acrylic paint (white, yellow, tiny bit of brown), round or free-form blank, fine brush
Steps:
- Paint the whole surface white for the egg white, keeping the edges a little irregular for realism.
- Paint a bright yellow circle slightly off-center for the yolk.
- Add a thin darker yellow ring around the yolk’s edge for depth.
- Dot on a few tiny brown flecks for that fried, slightly crispy look.
- Dry and seal.
8. Friendly Ghost
Not spooky at all, just a soft rounded shape with a wavy bottom edge and a sweet little face.
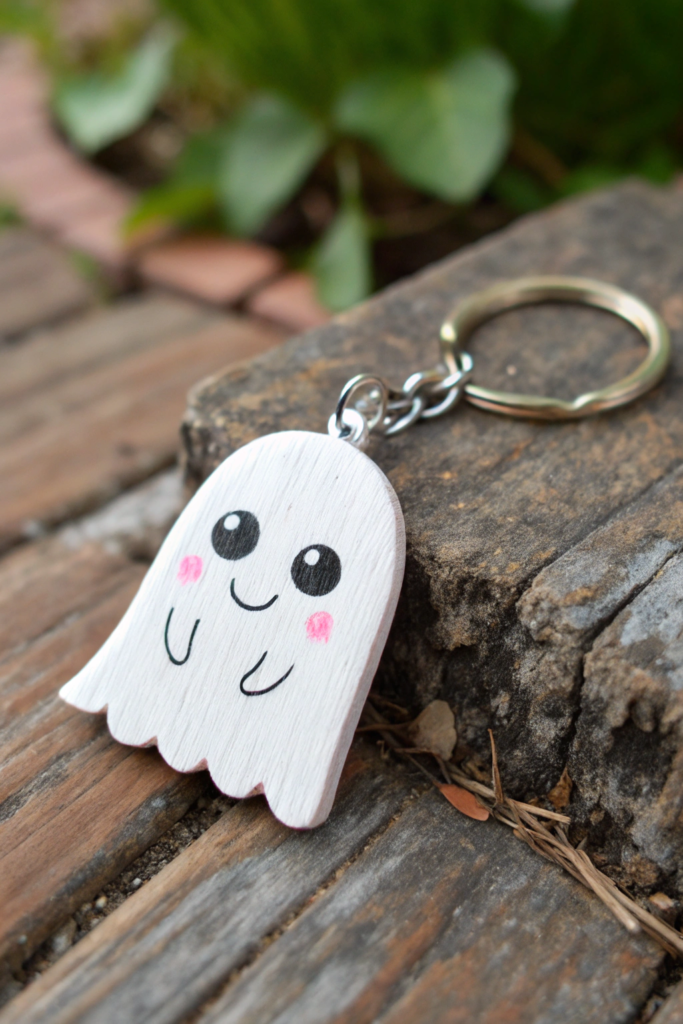
Materials: acrylic paint (white, black, pink), rounded wood blank, fine brush
Steps:
- Paint the whole shape white, building up two coats for solid coverage.
- Once dry, paint two small black dot eyes and a round “o” mouth.
- Add tiny pink circles on the cheeks for blush.
- If your blank has a wavy bottom edge, outline it lightly in gray for dimension.
- Let dry and seal.
9. Vintage Camera
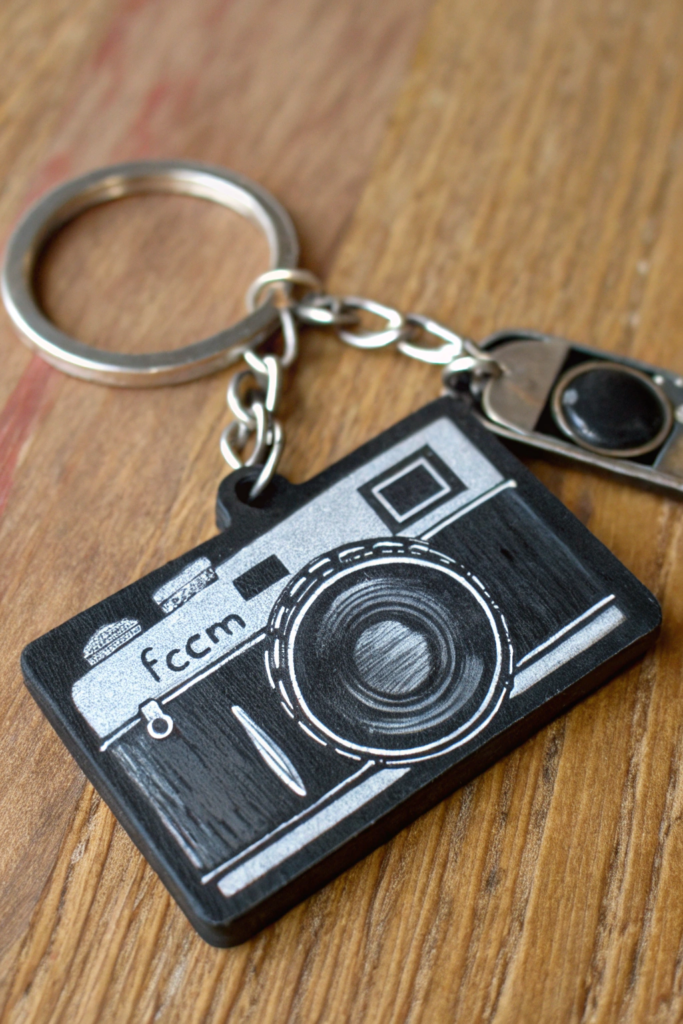
A boxy little camera shape with one big lens circle in the middle is way easier to paint than it looks, and it’s a great gift for anyone into photography.
Materials: acrylic paint (black or tan body color, silver, dark gray), rectangular blank, fine brush
Steps:
- Paint the main body black or a warm tan, whichever fits your style.
- Paint a large dark gray circle in the center for the lens.
- Add a smaller silver circle inside the lens for the glass.
- Add a tiny rectangle on top for the flash and a small button dot beside it.
- Dry and seal.
10. Drippy Ice Cream Cone
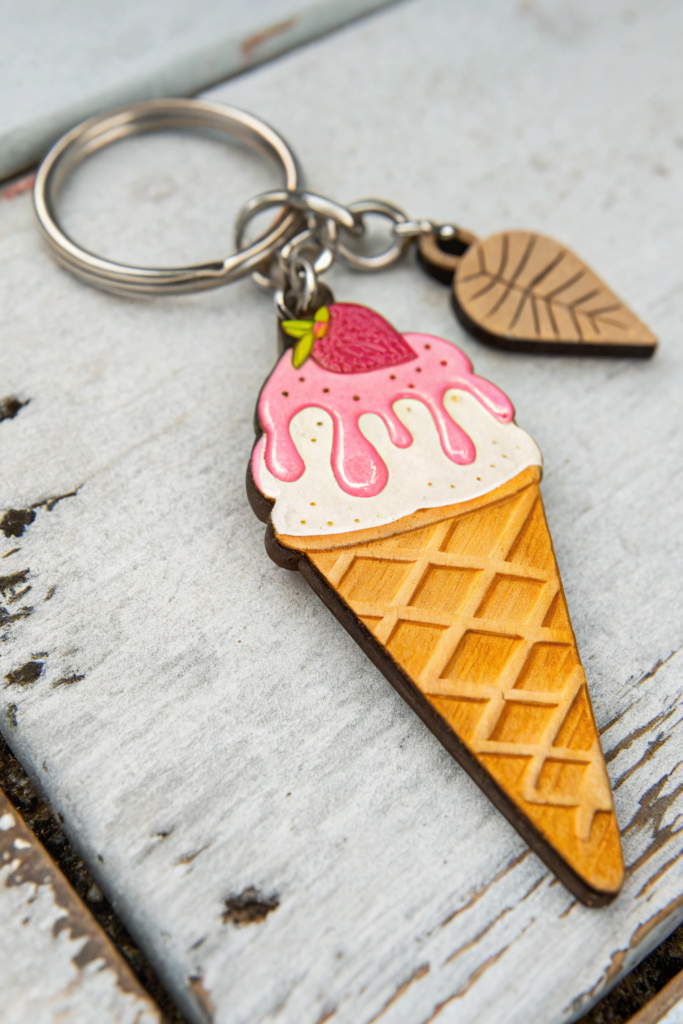
The waffle texture on the cone is the fun part here, and the scoop on top can be any color you’re craving.
Materials: acrylic paint (tan, your choice of scoop color, white), cone-shaped or free-form blank, fine brush
Steps:
- Paint the bottom triangle tan for the waffle cone.
- Add a crosshatch pattern of thin lines across the cone for texture.
- Paint a round scoop shape on top in your favorite ice cream color.
- Add a few white drip lines running down from the scoop onto the cone.
- Let dry fully and seal.
11. Smiley Raincloud
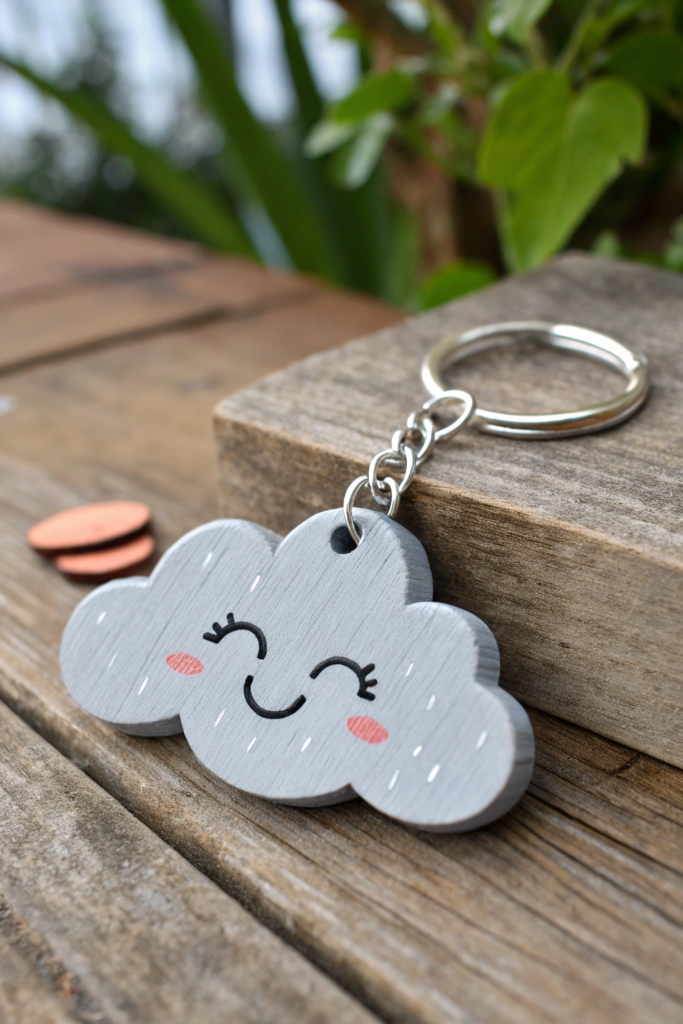
A gray cloud that’s smiling anyway, because sometimes rainy days just need a better attitude.
Materials: acrylic paint (light gray, blue, white), cloud-shaped or oval blank, fine brush
Steps:
- Paint the whole shape a soft gray with a rounded, puffy outline.
- Add a simple smiling face using black or dark gray dots and a curved line.
- Paint a few small blue teardrop raindrops falling beneath the cloud.
- Add tiny white highlight dabs on the top of the cloud for dimension.
- Dry and seal.
12. Glazed Donut
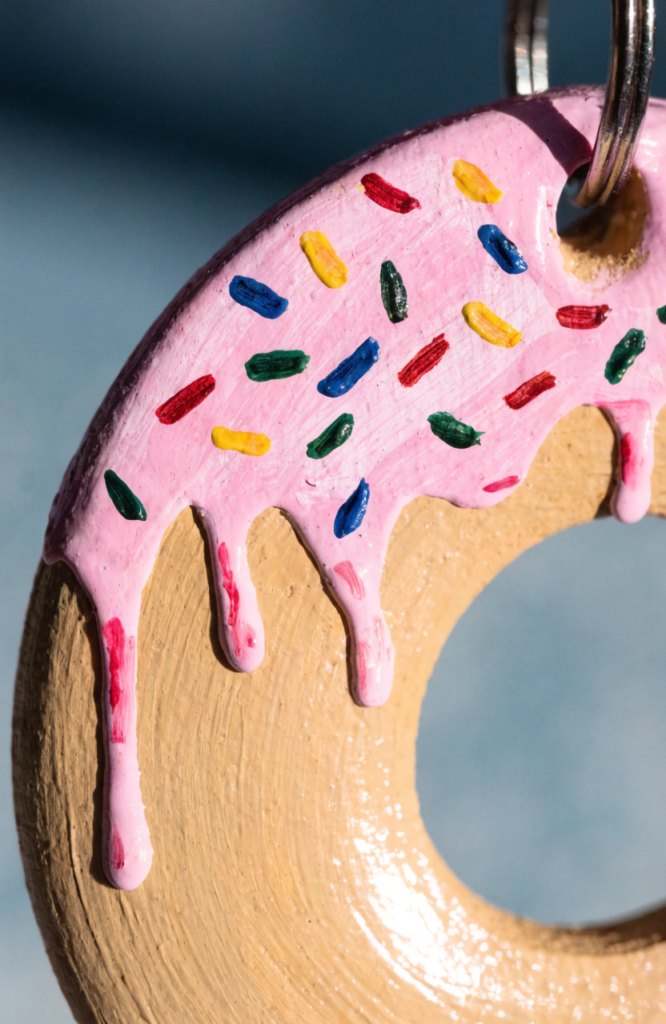
Round, colorful, and one of those designs where messy sprinkles actually look better than neat ones.
Materials: acrylic paint (tan, glaze color of your choice, several sprinkle colors), round blank with a hole if possible
Steps:
- Paint the ring shape a warm tan for the donut base.
- Paint the top half in your glaze color, letting the edge stay a little uneven like a real drip.
- Once the glaze is dry, add small sprinkle lines in 3 or 4 different colors scattered across the top.
- Vary the sprinkle angles so they don’t look too uniform.
- Let dry and seal.
13. Mini Artist Palette
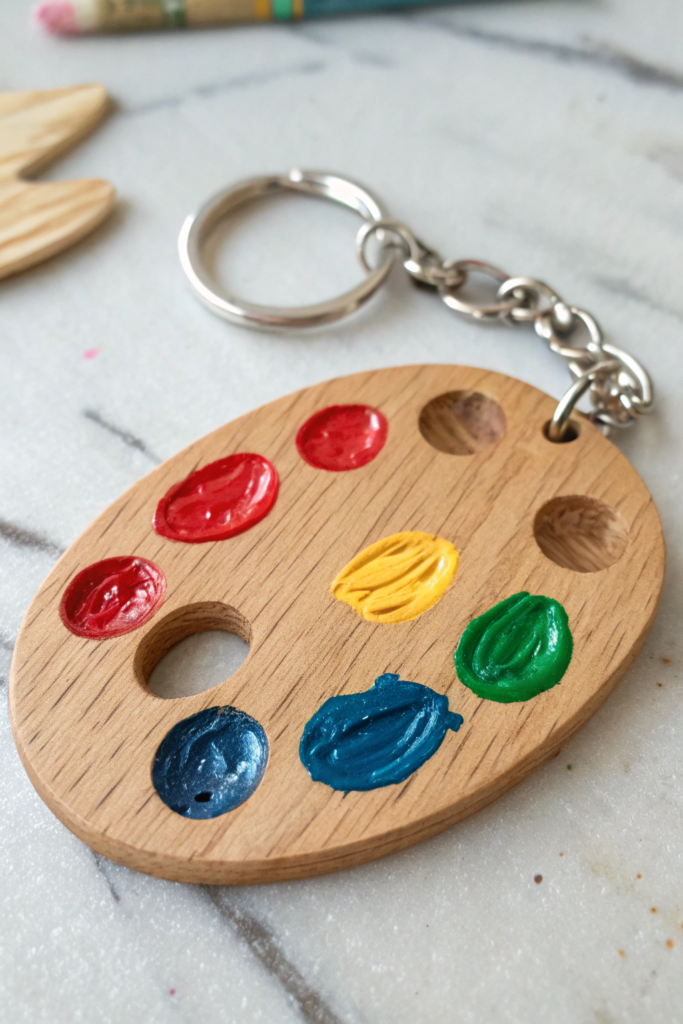
A little meta, sure, but a tiny painted palette with dabs of “paint” on it is a great gift for anyone who’s into crafting.
Materials: acrylic paint (wood tone plus 4 to 5 bright colors), palette-shaped or oval blank, fine brush
Steps:
- Paint the base shape a light wood tone or leave it natural if your blank is unfinished wood.
- Paint a small thumb-hole circle near one edge if your shape allows for it.
- Dot several small circles of different bright colors around the surface to look like dabs of paint.
- Add a couple of thin brush-stroke marks trailing from one or two of the dots.
- Dry and seal.
14. Garden Snail
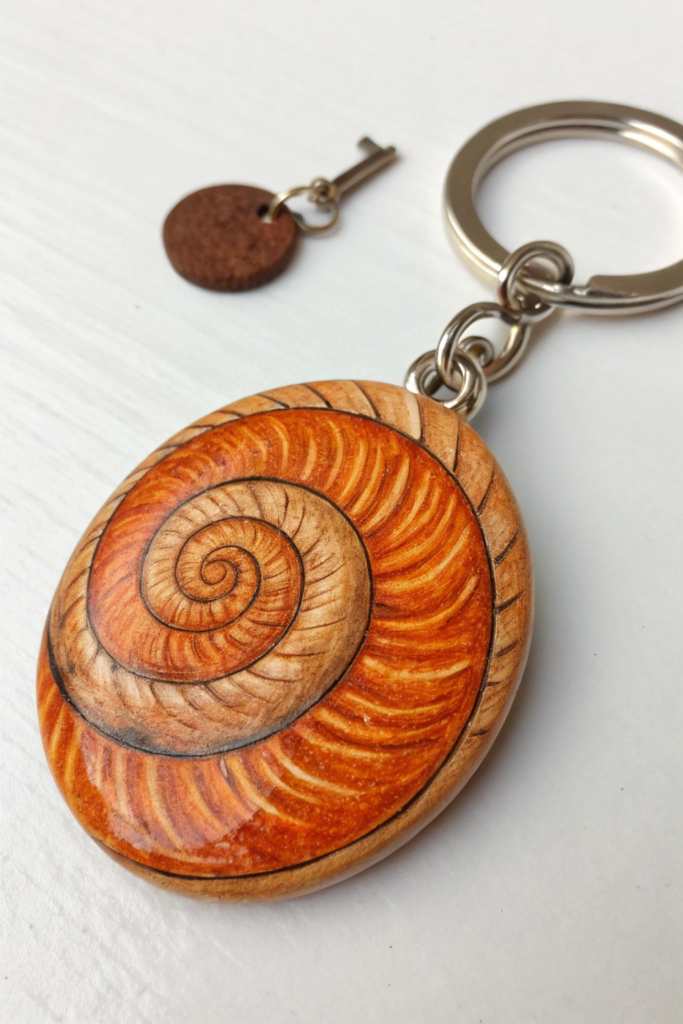
A swirly shell and a simple curved body make this one weirdly relaxing to paint, almost like doodling.
Materials: acrylic paint (brown or orange for the shell, tan for the body), oval blank, fine brush
Steps:
- Paint a rounded shell shape in warm brown or orange on one side of the blank.
- Add a spiral line inside the shell, working from the center outward.
- Paint a simple curved tan body extending from the shell.
- Add two thin antennae lines with small dot tips at the top of the head.
- Let dry and seal.
15. Pocket Umbrella
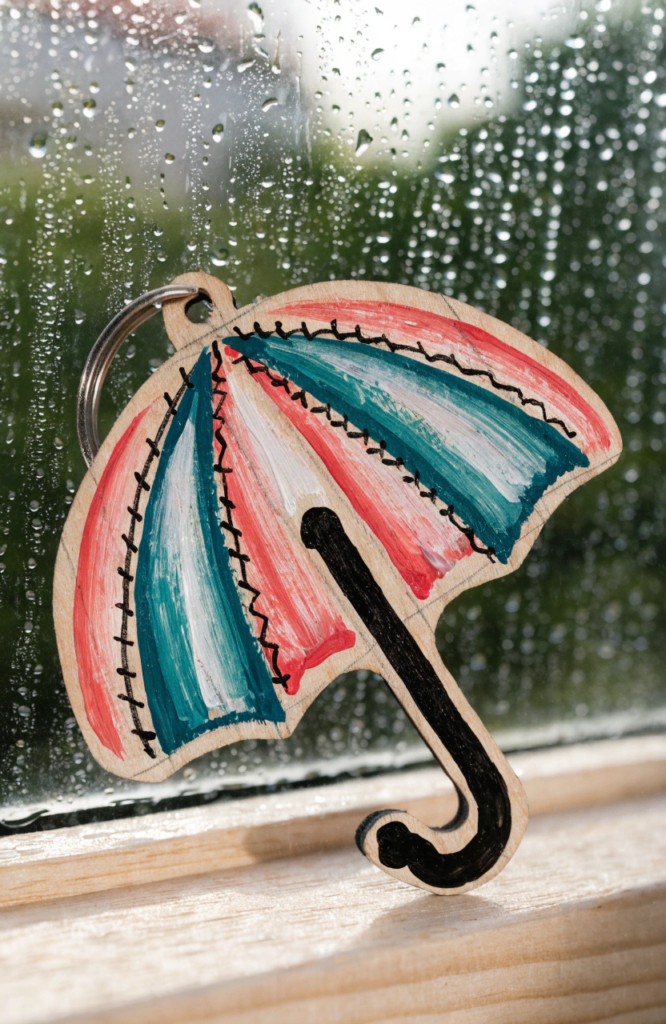
Simple triangle top, thin curved handle, and you can make it any color combination you want.
Materials: acrylic paint (2 alternating colors, black for the handle), fan or triangle-shaped blank, fine brush
Steps:
- Paint the dome shape in alternating panels of your two chosen colors.
- Add thin black lines separating each panel for a stitched look.
- Paint a thin curved handle extending down from the center of the dome.
- Add a small hook shape at the bottom of the handle.
- Dry and seal.
16. Retro Boombox
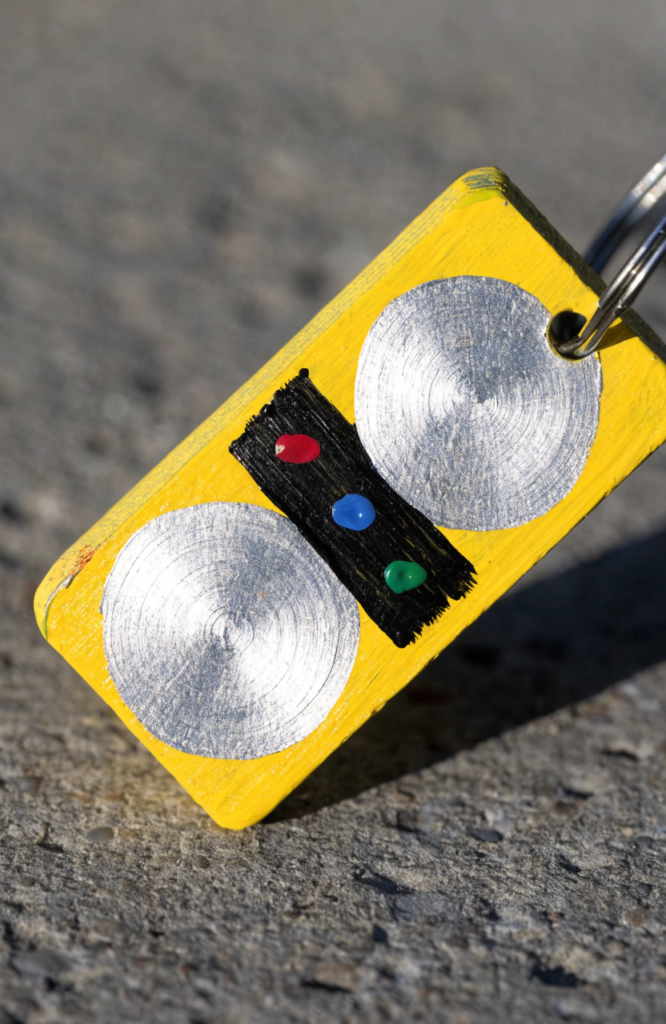
Boxy and a little bit blocky, which honestly makes it one of the easier shapes on this whole list to paint clean lines on.
Materials: acrylic paint (black or bright color for the body, silver, one accent color), rectangular blank, fine brush
Steps:
- Paint the rectangular body in your main color.
- Add two silver circles for speakers on either side.
- Paint a thin rectangle between the speakers for the control panel.
- Add a couple of tiny colored dots and lines on the control panel for buttons and dials.
- Let dry and seal.
17. Folded Paper Crane
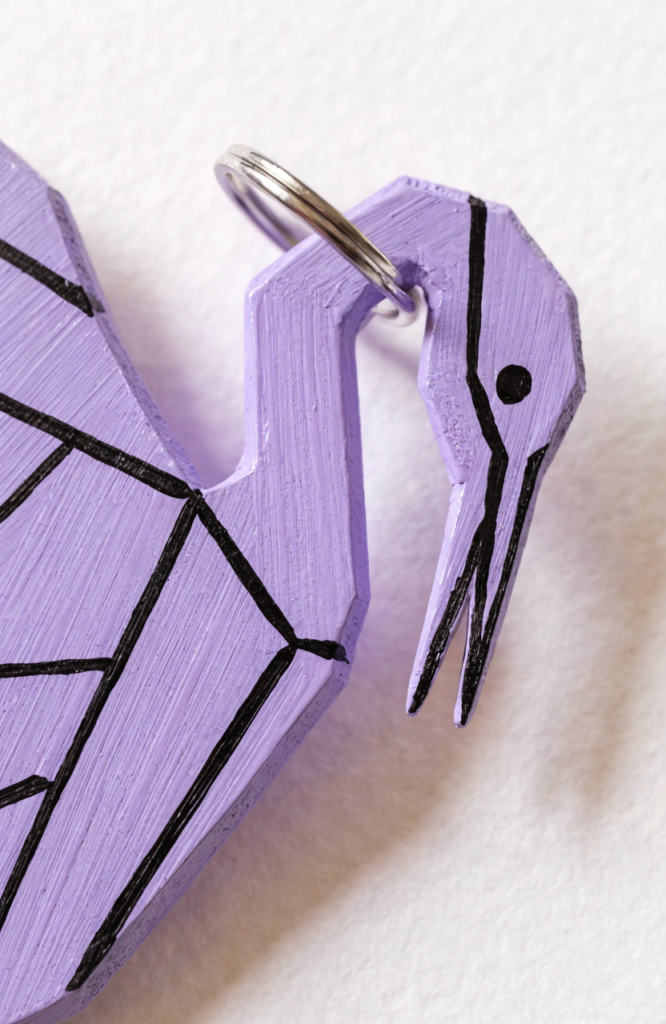
A little more geometric than the others, this one uses straight angled lines instead of curves, which makes it feel totally different to paint.
Materials: acrylic paint (white or pastel color, thin black or gray for fold lines), crane or free-form blank, fine liner brush
Steps:
- Paint the whole shape a solid pastel color or white as your base.
- Once dry, add thin lines following the angular folds of a paper crane’s wings and body.
- Keep the lines straight rather than curved to keep that origami feel.
- Add a tiny dot for the eye near the head fold.
- Dry and seal.
18. Tiny Teacup and Saucer
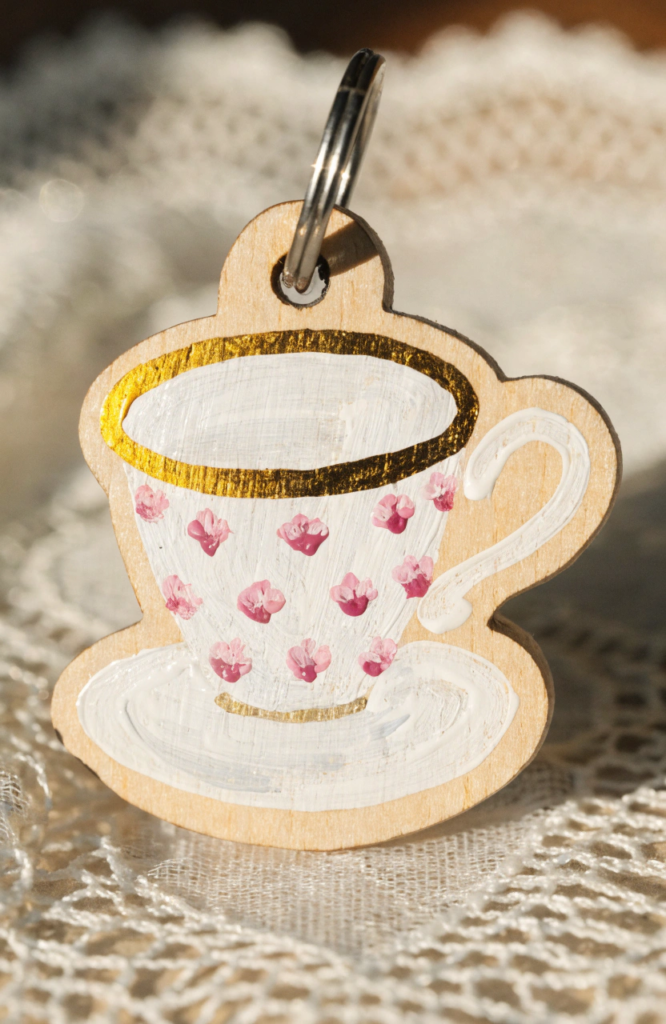
Sweet, dainty, and a nice one to paint if you’re into a slightly more delicate look than some of the bolder designs here.
Materials: acrylic paint (white base, floral accent colors), teacup-shaped or oval blank, fine liner brush
Steps:
- Paint the cup and saucer shapes white and let them dry fully.
- Add a thin colored band around the rim of the cup.
- Paint a few small flower dots scattered across the body of the cup.
- Add a tiny curved handle line on one side if your blank includes it.
- Let dry and seal.
19. Dangling Star Cluster
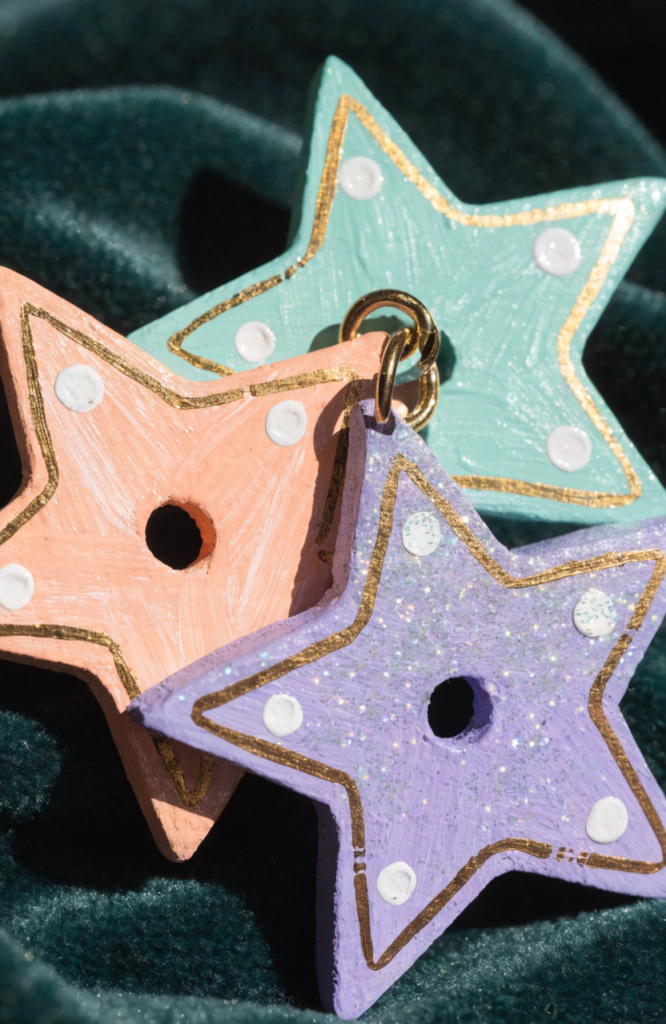
If your blank has multiple small charms or a cluster shape, this one’s an easy way to make each star look a little different from the next.
Materials: acrylic paint or paint pens (gold, silver, a couple of pastel colors), star-shaped blanks, fine brush
Steps:
- Paint each star a different base color so the cluster has some variety.
- Once dry, add a thin metallic outline around each star’s edge.
- Dot a few tiny white highlight marks onto each star’s points.
- Mix in one or two stars with a subtle glitter topcoat if you want extra sparkle.
- Let everything dry fully and seal.
Finishing Things Off
Once your keychain’s fully dry, a coat of sealant makes a real difference in how long the paint actually holds up against keys jingling around it all day. If you’re gifting these, a small tag with the design name is a cute touch, and grouping a few together on a ring makes for a genuinely nice little handmade present. Either way, these are small enough that you can knock out two or three in an evening without it ever feeling like a big project.