This easy No Knead Bread makes use of all the simple things you are likely to have in your pantry right now: flour, water, yeast and a bit of salt.
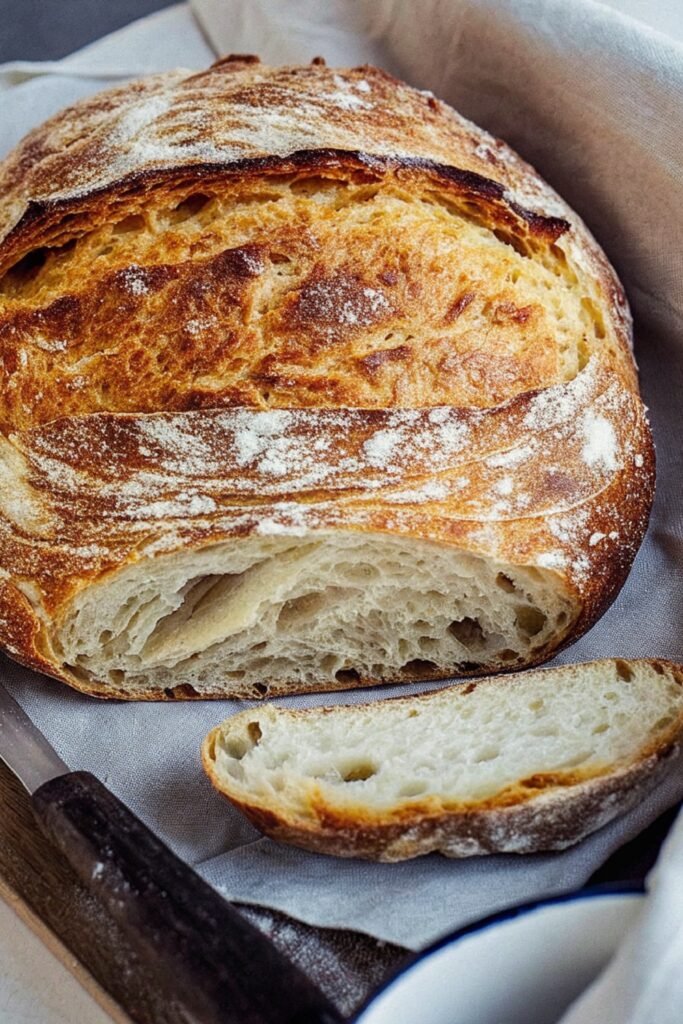
I am a big fan of the traditional bakery loaf – a lovely crusty bread with a soft airy crumb, but the trouble is, no matter how hard I try, I (and most of the population) don’t always have the time or energy for endless kneading!
I really don’t want to settle for shop-bought, but I’m not a big fan of complicated baking methods.
So recently I set about trying to come up with a bread recipe that would create a bakery-style loaf, but which didn’t involve mixing machines or tired arms. And, most importantly, it had to be super easy!
Why You’ll Love This Recipe
No Knead Bread proves that great bread does not need stress or special skills.
Hands off process: No kneading keeps things relaxed.
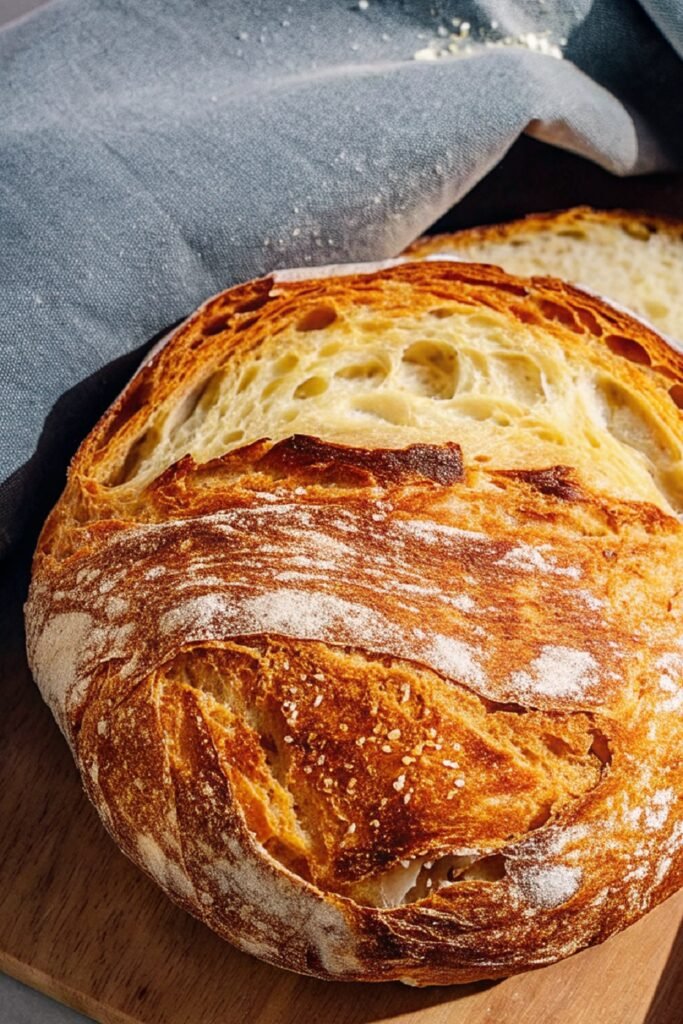
Crispy crust: The outside bakes bold and golden.
Soft center: Inside stays light with open bubbles.
Simple ingredients: Pantry basics create big flavor.
Flexible timing: Long rest works around your schedule.
Beginner friendly: Anyone can bake this loaf successfully.
Ingredients
For the Bread Dough:
- 3 cups all purpose flour
- ½ teaspoon active dry yeast
- 1 ¾ teaspoons salt
- 1 ½ cups warm water, around 42°C to 47°C

Step by Step Instructions
1. Mix the Dough
Start with a large bowl and add the flour, yeast, and salt. Stir gently so everything spreads evenly. Pour in the warm water and mix with a spoon until a rough, sticky dough forms. The dough will look shaggy and uneven, which is exactly right. Do not try to smooth it out.
2. Cover and Rest
Cover the bowl with plastic wrap or a clean towel. Place it somewhere warm and quiet. Let the dough rest for at least 12 hours and up to 18 hours. During this time, bubbles form and flavor builds naturally without effort.
3. Check the Dough
After resting, the surface should look bubbly and slightly puffed. The dough will feel loose and sticky. That texture creates the airy crumb later, so resist adding more flour at this stage.
4. Shape Gently
Lightly flour a clean surface. Turn the dough out carefully and fold it over itself once or twice using floured hands. Shape it into a rough round. No need to smooth it. Keep handling minimal.
5. Second Rest
Place the dough seam side down on parchment paper. Cover loosely and let it rest for about 30 to 45 minutes. This short rest helps the loaf relax before baking.
6. Heat the Pot
While the dough rests, place a heavy oven safe pot with a lid into the oven. Heat the oven to 230°C. Let the pot heat for at least 30 minutes. A hot pot helps create that crisp crust.
7. Bake the Bread
Carefully remove the hot pot. Lift the parchment with the dough and place it inside. Cover with the lid and return it to the oven. Bake for 30 minutes covered, then remove the lid and bake another 10 to 15 minutes until the crust turns deep golden.
8. Cool Before Slicing
Remove the bread and place it on a rack. Let it cool fully before slicing. Cutting too soon releases steam and affects texture.
Tips and Variations
- Add herbs or garlic to the dry ingredients.
- Replace one cup of flour with whole wheat flour.
- Bake uncovered a few minutes longer.
- Brush the crust lightly with olive oil after baking.
- Keep wrapped at room temperature for two days.
Serving Suggestions
No Knead Bread works with almost any meal. Serve it warm with butter for a simple treat. Pair it with soup, stew, or salad for an easy dinner side. It also makes excellent toast the next day.
When friends come over, I like setting it on the table whole and letting everyone tear off pieces. It creates a relaxed feeling that fits the bread perfectly.
Frequently Asked Questions
Can I shorten the resting time?
A shorter rest works, though longer resting builds better flavor and texture.
Why is the dough so sticky?
High moisture helps create the airy inside. Stickiness means success here.
What pot works best?
A cast iron or heavy Dutch oven works very well.
Can I add seeds?
Yes, seeds mix well into the dough or sprinkle on top before baking.
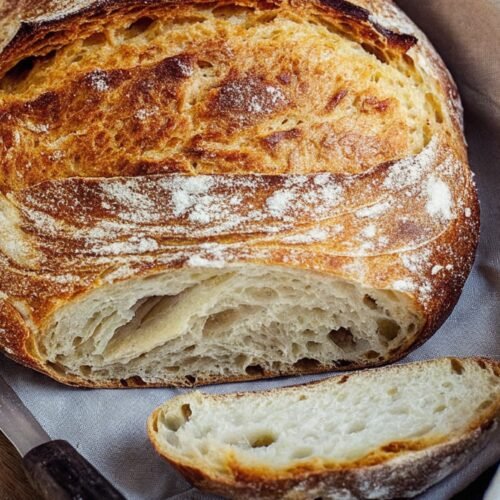
How do I know it is done?
The crust should look deep golden and sound hollow when tapped.
Final Thoughts
No Knead Bread shows how simple baking can feel when time does the work. The crisp crust, soft center, and deep flavor come together without effort or stress. It feels comforting, reliable, and deeply satisfying.
No Knead Bread
Ingredients
For the Bread Dough:
- 3 cups all purpose flour
- ½ teaspoon active dry yeast
- 1 ¾ teaspoons salt
- 1 ½ cups warm water around 42°C to 47°C
Instructions
- Mix the Dough: Start with a large bowl and add the flour, yeast, and salt. Stir gently so everything spreads evenly. Pour in the warm water and mix with a spoon until a rough, sticky dough forms. The dough will look shaggy and uneven, which is exactly right. Do not try to smooth it out.
- Cover and Rest: Cover the bowl with plastic wrap or a clean towel. Place it somewhere warm and quiet. Let the dough rest for at least 12 hours and up to 18 hours. During this time, bubbles form and flavor builds naturally without effort.
- Check the Dough: After resting, the surface should look bubbly and slightly puffed. The dough will feel loose and sticky. That texture creates the airy crumb later, so resist adding more flour at this stage.
- Shape Gently: Lightly flour a clean surface. Turn the dough out carefully and fold it over itself once or twice using floured hands. Shape it into a rough round. No need to smooth it. Keep handling minimal.
- Second Rest: Place the dough seam side down on parchment paper. Cover loosely and let it rest for about 30 to 45 minutes. This short rest helps the loaf relax before baking.
- Heat the Pot: While the dough rests, place a heavy oven safe pot with a lid into the oven. Heat the oven to 230°C. Let the pot heat for at least 30 minutes. A hot pot helps create that crisp crust.
- Bake the Bread: Carefully remove the hot pot. Lift the parchment with the dough and place it inside. Cover with the lid and return it to the oven. Bake for 30 minutes covered, then remove the lid and bake another 10 to 15 minutes until the crust turns deep golden.
- Cool Before Slicing: Remove the bread and place it on a rack. Let it cool fully before slicing. Cutting too soon releases steam and affects texture.