Glazing is where a piece of pottery actually becomes finished, and it’s also where a lot of people freeze up because the color you see in the bucket almost never matches what comes out of the kiln. Once you get comfortable with a handful of reliable techniques, though, glazing stops feeling like a gamble and starts feeling like the fun part. Here are 12 approaches that work well whether you’re glazing your first mug or you’ve got a shelf full of bisqueware waiting for attention.
A Few Notes Before You Start
Always test a new glaze or glaze combination on a spare tile or the bottom of a piece before committing to something you actually care about, since color and texture can shift a lot depending on thickness and firing temperature. Wipe glaze off the bottom inch of any piece before it goes in the kiln, or it’ll fuse to the kiln shelf, and you’ll have a bad afternoon.
Stir your glaze bucket thoroughly before dipping since the heavier particles settle fast, and keep a damp sponge nearby to clean up drips before they dry. If a piece will actually hold food or drink, double-check that every glaze you’re using is labeled food-safe once fired. And always work in a ventilated space, since glaze dust and some raw materials aren’t something you want to be breathing in regularly.
1. Ombre Dip
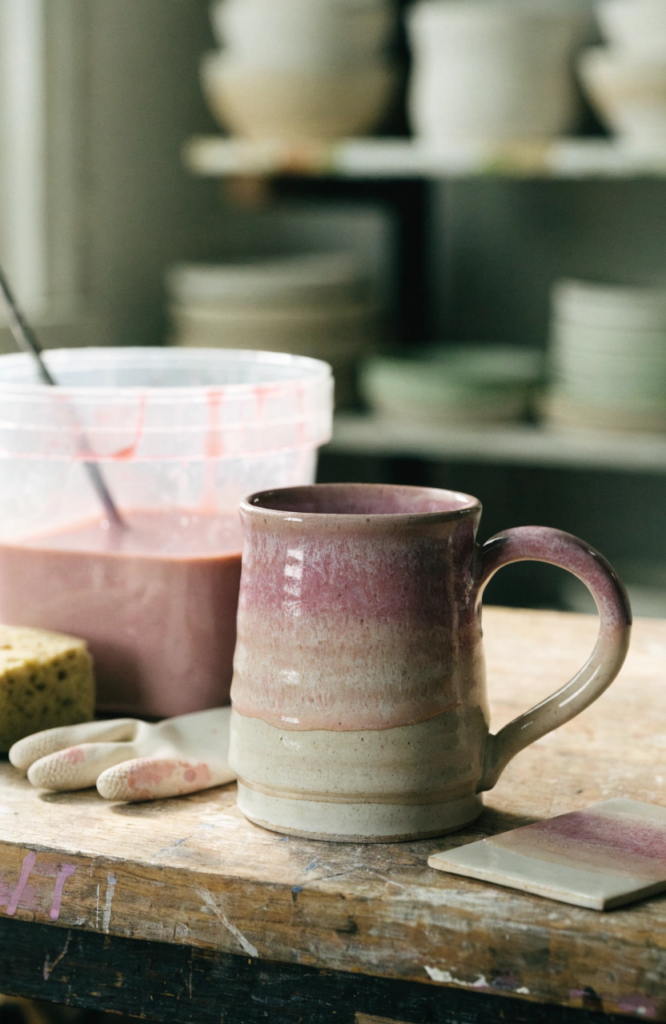
Dipping a piece partway into glaze at slightly different depths a few times in a row gives you a smooth gradient without any brushwork at all.
Materials: one glaze color, dipping tongs or gloves, bisque-fired piece
Steps:
- Dip the piece fully into the glaze bucket, holding it there for a few seconds, then pull it out and let it set up.
- Dip again, this time only submerging about three-quarters of the piece.
- Repeat once more at about half the depth, then a final time at just the bottom edge.
- Let each layer firm up slightly between dips so the lines stay somewhat defined.
- Clean the base and fire according to your glaze’s recommended cone.
2. Drip Edge Contrast
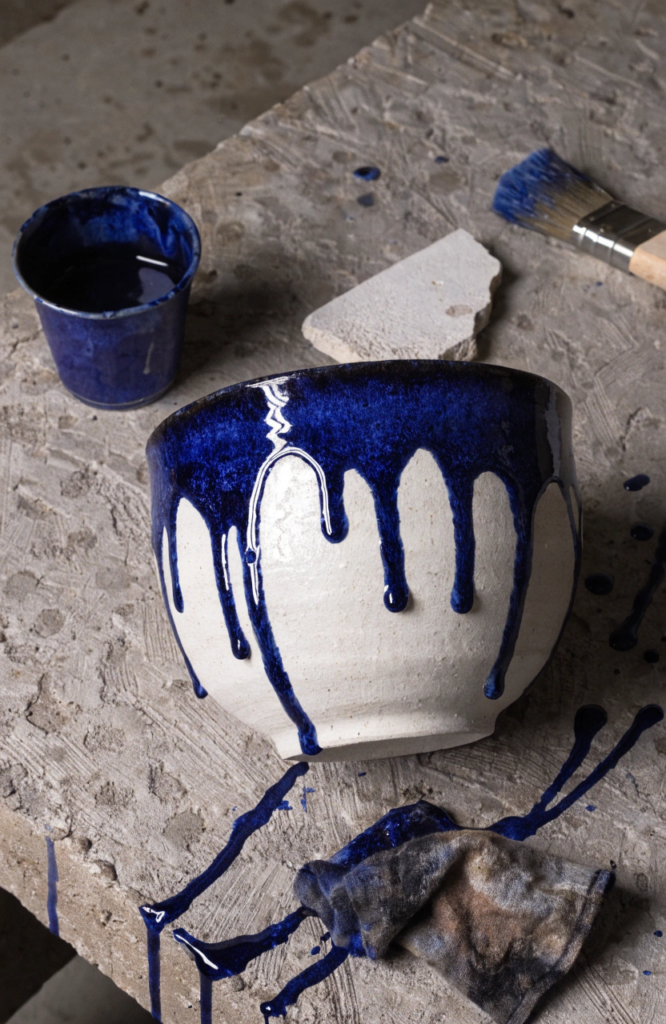
A darker glaze poured or brushed just along the rim lets gravity pull it down over a lighter base coat while it’s firing, which gives you those classic drip marks without faking them by hand.
Materials: two glazes with contrasting colors and different melt points, brush or small cup for pouring, bisque-fired piece
Steps:
- Apply an even base coat of your lighter glaze across the entire piece and let it dry.
- Brush or pour a band of your darker, more fluid glaze around the rim or shoulder of the piece.
- Keep the second layer a little thicker right at the application line, so it has enough glaze to actually drip.
- Wipe any glaze that’s dripped too far down toward the base.
- Fire according to the glaze’s recommended cone, keeping in mind the drip glaze may run further during firing.
3. Crackle White Overlay
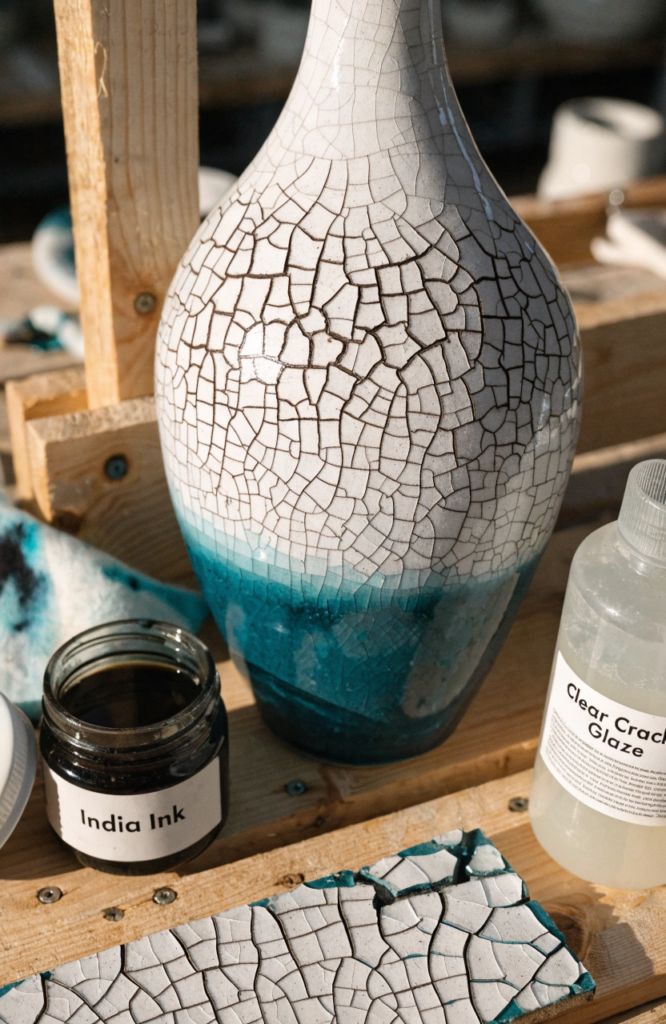
A crackle glaze over a colored base gives you that fine spiderweb texture, and it looks even better if you rub a little stain or ink into the cracks after the first firing.
Materials: colored base glaze, clear or white crackle glaze, oxide stain or India ink (optional), soft cloth
Steps:
- Apply your colored base glaze evenly and let it dry completely.
- Apply the crackle glaze over the top in a thin, even layer.
- Fire the piece according to the crackle glaze’s instructions.
- Once cooled, rub a small amount of oxide stain or ink into the cracks with a cloth if you want them to stand out more.
- Wipe away the excess from the surface, leaving color settled only in the cracked lines.
4. Speckled Stoneware Wash
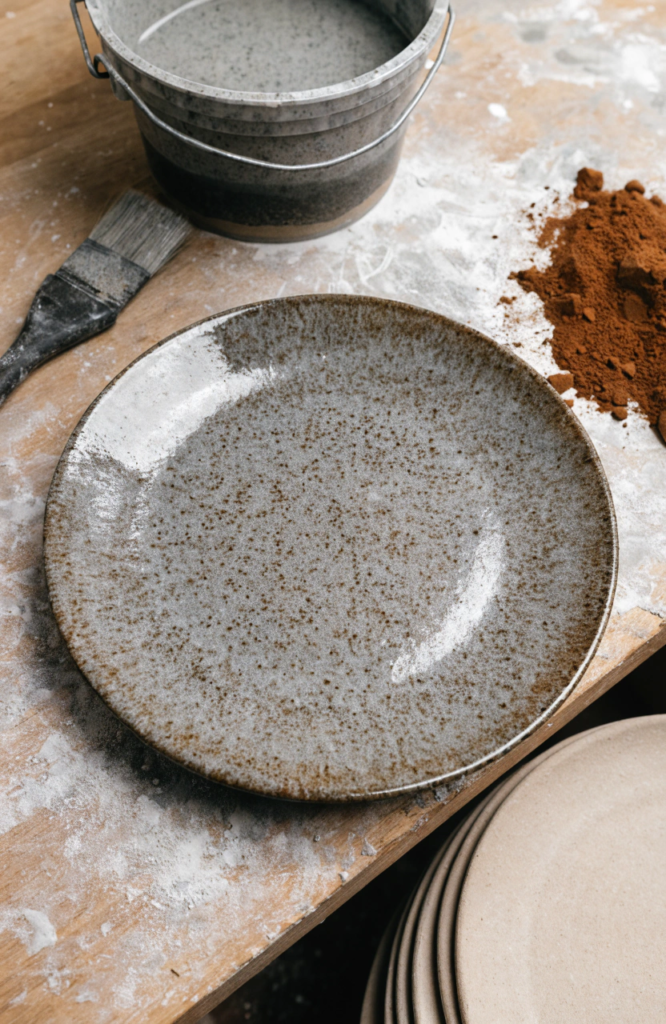
An iron-speckled glaze over a plain stoneware body gives you that flecked, earthy look that shows up on a lot of handmade tableware, and it’s honestly just a single glaze doing all the work.
Materials: iron-speckled or granite-style glaze, brush or dipping tongs, bisque-fired stoneware piece
Steps:
- Apply an even coat of the speckled glaze across the whole piece using a brush or a full dip.
- Let the first coat dry, then apply a second even layer for fuller coverage.
- Wipe the base clean of any glaze before firing.
- Fire according to the glaze’s recommended cone.
- Inspect the fired result, since the speckling intensity can vary a bit by thickness and kiln placement.
5. Wax Resist Dot Pattern
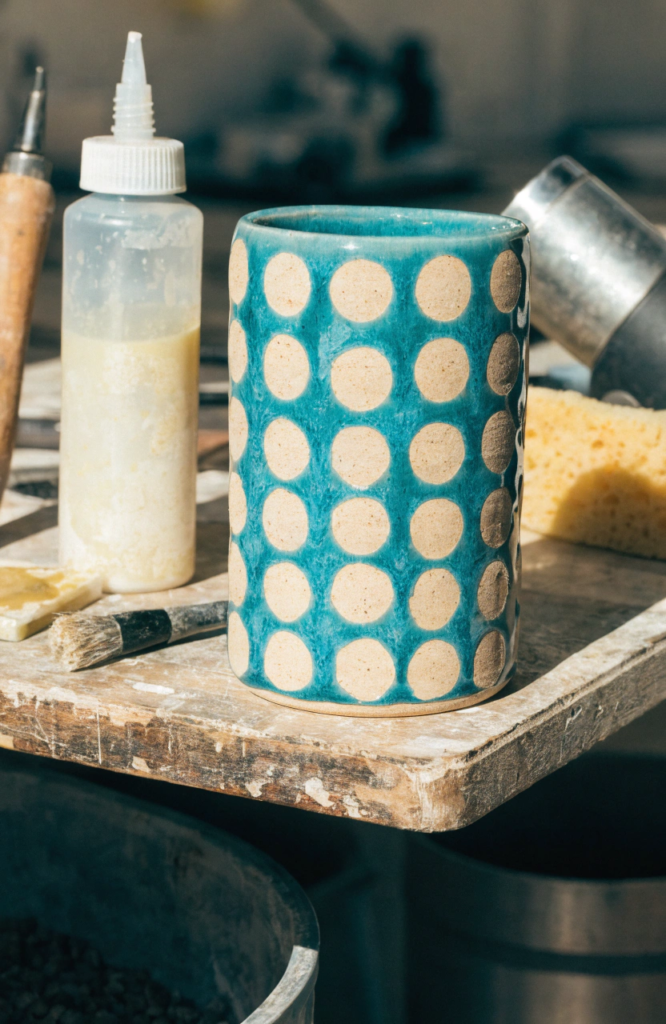
Painting a pattern in wax resist before glazing means those spots stay bare or take on the raw clay color, which creates a clean, graphic contrast against the glazed background.
Materials: wax resist medium, small round brush, glaze of your choice, bisque-fired piece
Steps:
- Dip a small brush in wax resist and dot a pattern across the surface of the bisque piece.
- Let the wax dry completely, since glaze will stick to it if it’s still tacky.
- Apply your glaze over the entire piece as you normally would.
- The waxed dots will resist the glaze and stay bare, revealing the clay body underneath once fired.
- Fire according to the glaze’s recommended cone.
6. Two-Tone Half Dip
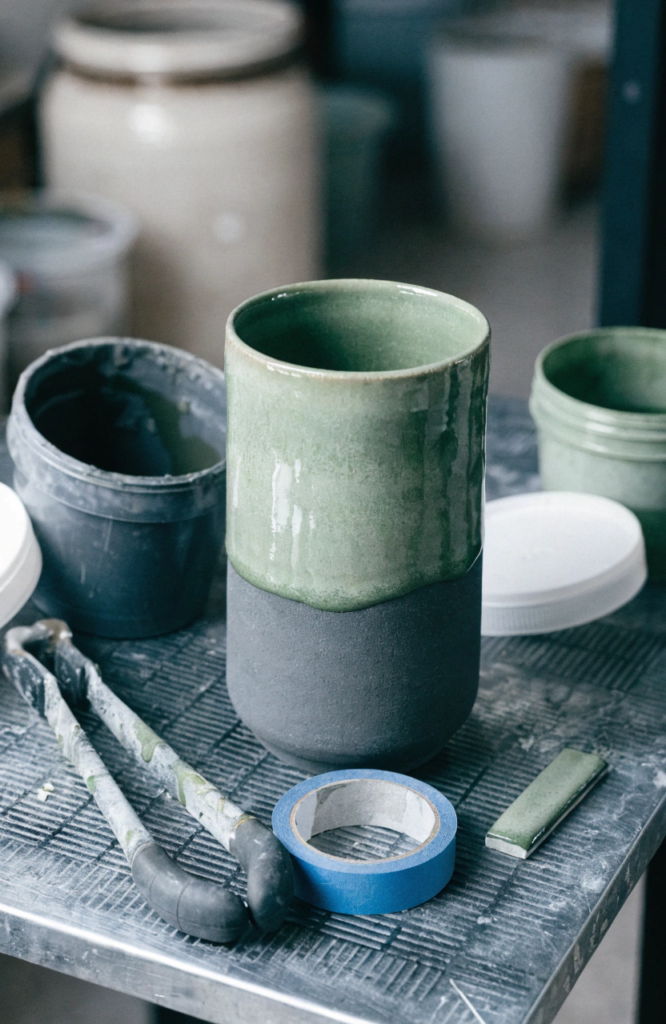
Straightforward, bold, and reliable. Half the piece in one glaze, half in another, with a clean line where they meet.
Materials: two contrasting glazes, dipping tongs, painter’s tape (optional), bisque-fired piece
Steps:
- Dip the bottom half of the piece into your first glaze and let it set.
- Once dry, tape off the line where the two colors will meet if you want a crisp edge.
- Dip or brush the top half with your second glaze.
- Remove the tape carefully before it’s fully set.
- Fire according to whichever glaze has the more particular firing requirements.
7. Sgraffito Line Reveal
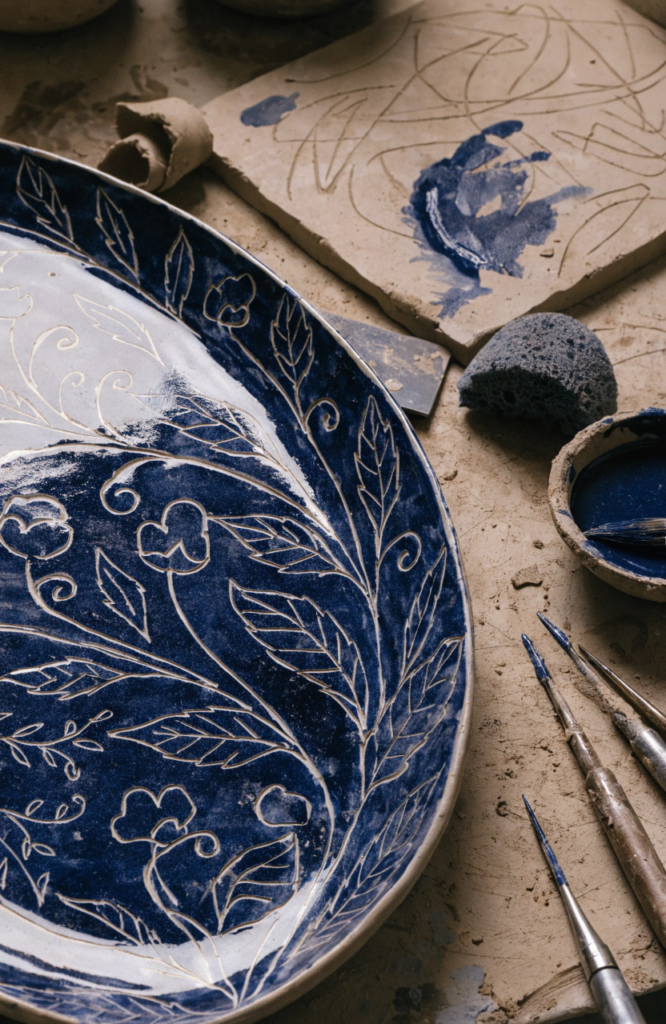
Carving a design through a layer of glaze or slip down to the clay body underneath gives you crisp linework that no brush could really match.
Materials: colored slip or underglaze, sgraffito or carving tool, clear glaze for the final coat, bisque-fired or leather-hard piece
Steps:
- Apply an even coat of colored slip or underglaze across the surface.
- Once it’s dry to the touch but not fully hardened, carve your design through the layer using a fine sgraffito tool.
- Carve carefully down to the clay body so the design shows real contrast.
- Once fully dry, apply a clear glaze over the entire piece to seal and add shine.
- Fire according to the clear glaze’s recommended cone.
8. Glaze Pooling Well
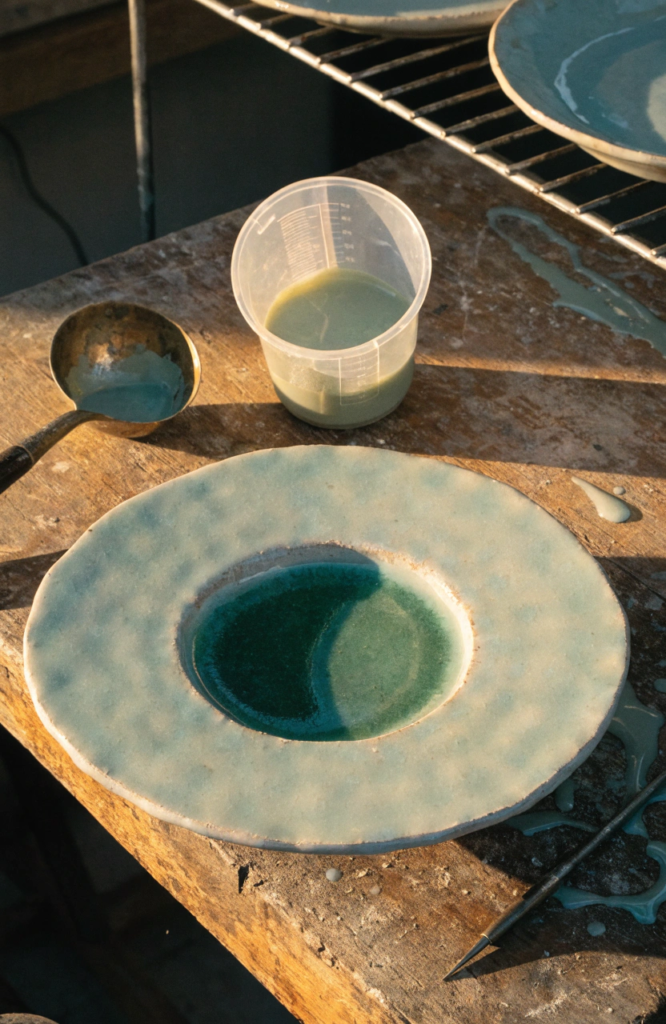
Letting extra glaze pool inside a carved or recessed area of a piece creates a deep, saturated color spot that plain flat glazing just can’t achieve.
Materials: glaze that’s known to pool nicely, such as a celadon or a crystalline-style glaze, brush or small cup, piece with a carved or recessed detail
Steps:
- Apply a thin, even coat of glaze across the rest of the piece.
- Pour or brush extra glaze specifically into the recessed or carved section until it’s noticeably thicker there.
- Let the piece dry fully before handling, since the pooled area will take longer to set.
- Fire according to the glaze’s recommended cone.
- Expect the pooled section to come out visibly darker and glossier than the rest of the piece.
9. Oxide Wash Highlight
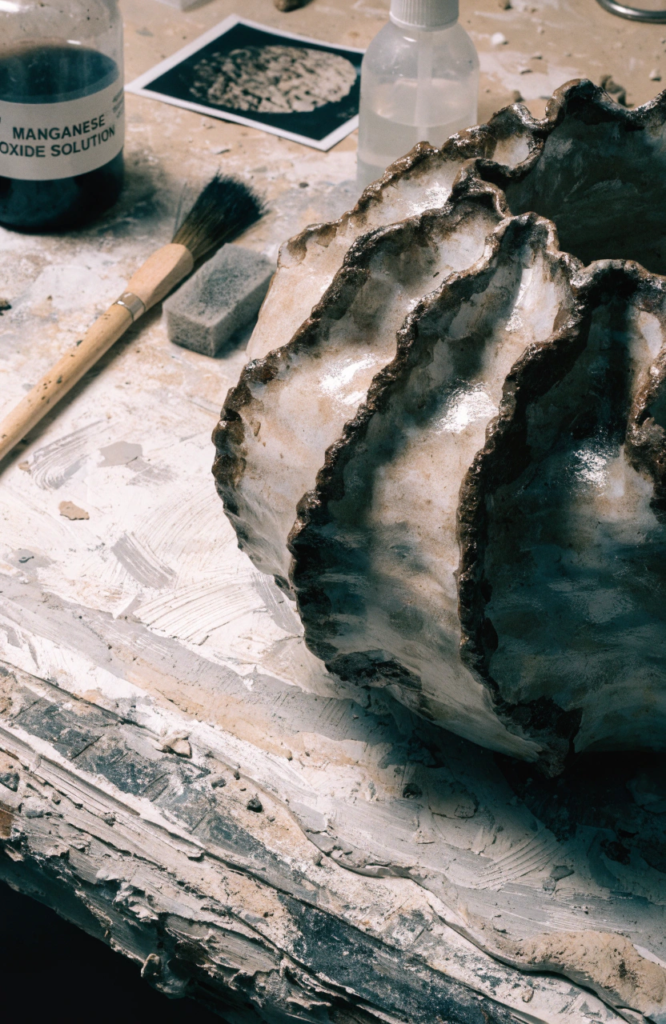
Brushing a thin oxide wash over texture or carved detail and then wiping the high points clean is one of the fastest ways to make handbuilt texture actually pop.
Materials: iron oxide or manganese wash, soft brush, damp sponge, clear glaze, textured or carved bisque piece
Steps:
- Brush the oxide wash generously over the textured area, working it into every groove.
- Before it dries fully, wipe the raised surface areas clean with a damp sponge, leaving the wash settled in the low points.
- Let the piece dry completely.
- Apply a clear glaze over the entire surface to seal everything in.
- Fire according to the clear glaze’s recommended cone.
10. Banded Rim Stripe
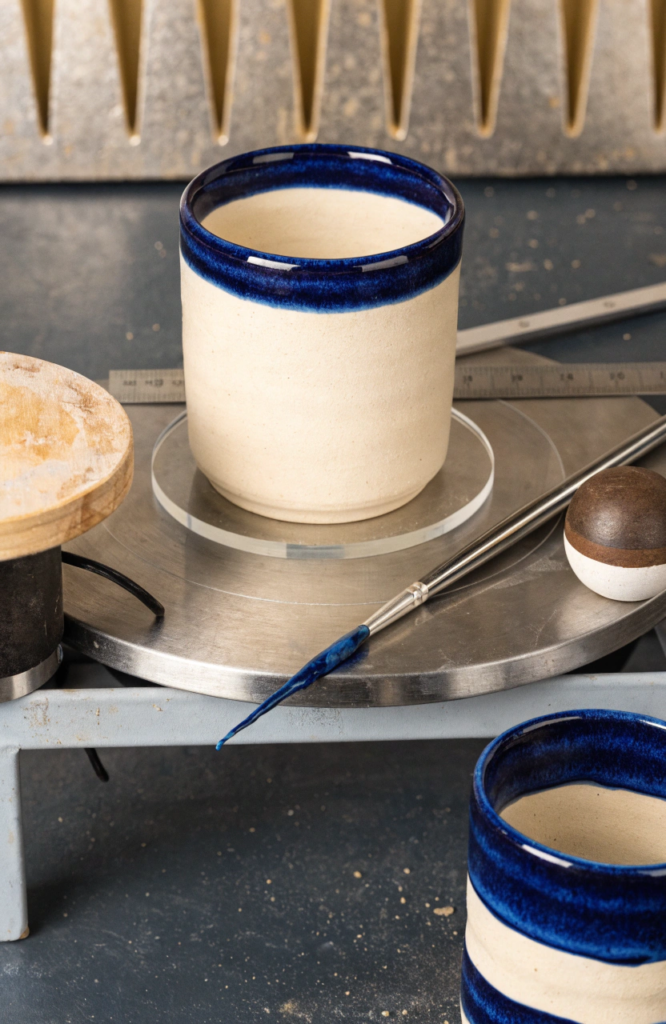
A banding wheel makes this one almost foolproof. One steady band of color right at the rim adds a clean, finished detail to an otherwise simple glaze.
Materials: accent glaze, fine brush, banding wheel or turntable, base glaze
Steps:
- Apply your base glaze to the entire piece and let it dry.
- Set the piece on a banding wheel and spin it slowly while holding a loaded brush steady against the rim.
- Let the wheel’s rotation lay down an even band of the accent color as it turns.
- Clean up any wobble in the line once the wheel stops.
- Fire according to the base glaze’s recommended cone.
11. Mishima Inlay Pattern
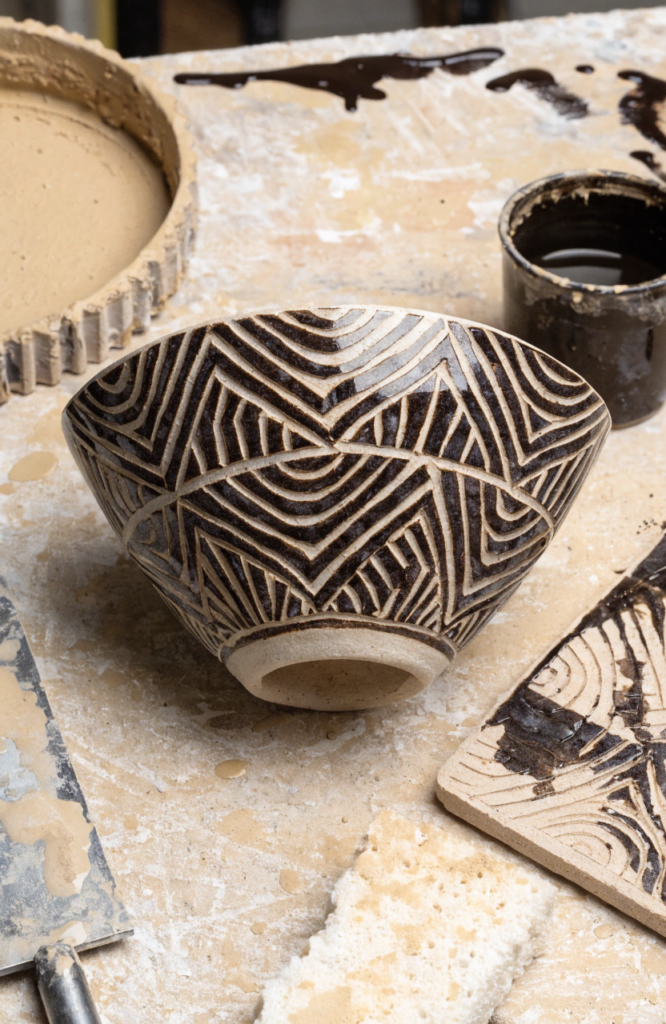
This one leans more into surface decoration than glazing, but pairing carved inlay work with a clear glossy glaze over the top is what really makes the contrast sing.
Materials: dark slip or underglaze, carving tool, rib or scraper, clear glaze, leather-hard piece
Steps:
- Carve your design into the leather-hard clay surface.
- Pack dark slip or underglaze into the carved lines, filling them completely.
- Once the slip has firmed up slightly, scrape the excess off the surface with a rib, leaving color only in the carved grooves.
- Once bisque fired, apply a clear glaze over the entire piece.
- Fire according to the clear glaze’s recommended cone.
12. Reactive Glaze Layering
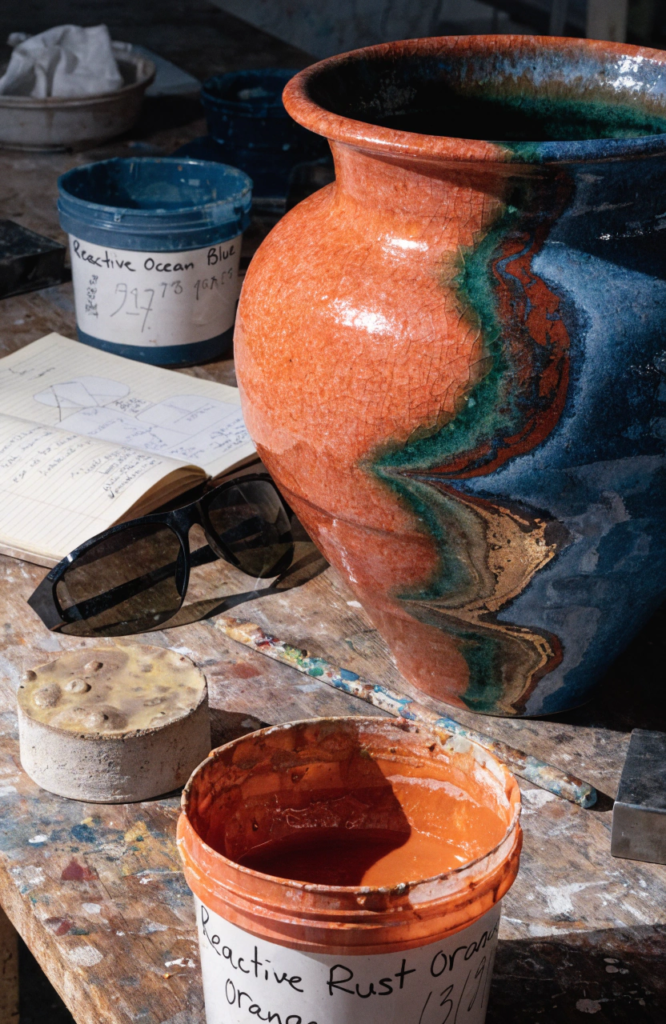
Layering two glazes that are known to react with each other in the kiln gives you unpredictable, painterly results that a single glaze just can’t produce on its own.
Materials: two glazes labeled as reactive or known to work well layered, brush or dipping tongs, bisque-fired piece
Steps:
- Apply an even base coat of your first glaze and let it dry fully.
- Apply your second glaze over the top, either as a full second coat or in a partial overlapping pattern.
- Leave a section of the base glaze exposed if you want to compare the reaction zone against the untouched color.
- Wipe the base of the piece clean before firing.
- Fire according to the recommended cone for the pair, and expect some genuine surprise once it comes out.
After the Kiln
Let pieces cool completely inside the kiln before opening it, since pulling something out too early can cause cracking from the temperature shock. Run a finger along the base and any unglazed foot ring to check for roughness, and sand lightly if needed so it won’t scratch a table or countertop. Beyond that, the real test is just using the piece. Glaze results always look a little different in daylight versus kiln light, and honestly, that’s part of what makes opening a kiln one of the most satisfying parts of the whole process.